

What Are Cherry Blossom Nails?
Cherry blossom nails have emerged as a sought-after nail art design, drawing inspiration from the ethereal beauty of cherry blossoms that bloom in spring. This intricate and delicate style captures the essence of these fleeting flowers through detailed and artistic nail designs.
The Artistic Process
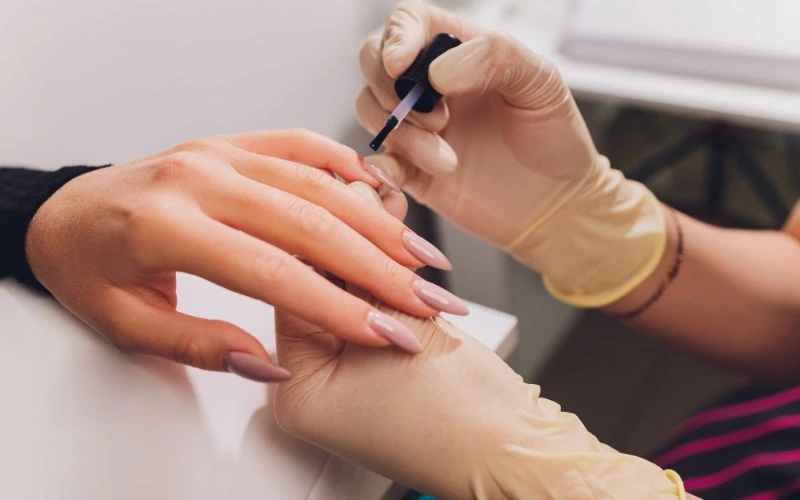
Nail technicians employ various techniques and tools to bring cherry blossom nails to life. The process begins with a protective base coat, ensuring a smooth canvas. A light-colored polish, often in pale pink or nude, serves as the base color to emulate the soft petals of cherry blossoms. Technicians use fine brushes or dotting tools to paint branches and petals with contrasting colors, such as white or light pink. The level of intricacy can vary, allowing for personalized touches like tiny buds or falling petals.
Finishing Touches with Top Coat
Upon completing the cherry blossom design, a top coat is applied to seal the artwork and provide a glossy finish. This protective layer enhances the aesthetic and safeguards the nail art against chipping and peeling, ensuring longevity and durability.
Versatility in Design
Cherry blossom nails offer versatility, allowing customization to individual preferences. Some may prefer a subtle and minimalist approach, while others opt for more elaborate and detailed designs. The adaptability of cherry blossom nails also enables creative combinations with other techniques, such as ombre or glitter, to produce a unique and personalized look.
Timeless Beauty for Every Season
Cherry blossom nails, with their ability to capture the delicate and transient nature of cherry blossoms, stand as a timeless and beautiful nail art style. Whether seeking simplicity or intricate detailing, cherry blossom nails present a stunning choice that transcends seasons, bringing the charm of spring to any occasion.
How to Create Cherry Blossom Nails
What Colors Are Used for Cherry Blossom Nails?
Cherry blossom nails are a popular choice for those who want to add a touch of elegance and beauty to their manicure. These delicate and feminine designs are inspired by the beauty of cherry blossoms, known for their soft pink and white petals. When it comes to choosing the right colors for cherry blossom nails, there are a few key shades that are commonly used.
Pink Color
One of the most popular colors for cherry blossom nails is, of course, pink. Soft pastel pinks are often used to create the base color for the nails, mimicking the delicate hues of cherry blossom petals. Light pinks like blush or baby pink can give your nails a subtle and romantic look. For a bolder statement, you can opt for brighter shades of pink, like hot pink or fuchsia.
White Color
In addition to pink, white is another essential color for cherry blossom nails. White is often used to create delicate cherry blossom flowers. You can achieve a stunning and realistic cherry blossom design by using white polish to paint small, intricate flowers on the nails. The combination of pink and white creates a beautiful contrast that perfectly captures the essence of cherry blossoms.
Shades of Green
You can also incorporate shades of green to add more depth and dimension to your cherry blossom nails. Light green or mint green can be used to create the leaves and branches of the cherry blossom tree. By carefully painting these details on your nails, you can bring the entire design to life.
When it comes to cherry blossom nails, the colors used are predominantly pink, white, and green. These colors work together to create a delicate and feminine design that captures the beauty of cherry blossoms. Whether you prefer a soft and romantic look or a bolder statement, cherry blossom nails are a timeless choice that will always be in style.
What Tools Do I Need for Cherry Blossom Nails?

Cherry blossom nails are a beautiful and delicate nail art design that can add a touch of elegance to any look. You will need a few essential nail art tools to achieve this stunning look. This section will explore the tools you need to create gorgeous cherry blossom nails.
Good Quality Base and Top Coat
First and foremost, you will need a good quality base coat and top coat. The base coat will help to protect your nails and create a smooth canvas for the design, while the top coat will seal in the design and add a glossy finish. Look for base and top coats specifically formulated for nail art to ensure the best results.
Nail Polishes
Next, you will need a selection of nail polishes in various shades. Opt for soft pastel colors such as pinks, purples, and whites for cherry blossom nails. These colors will mimic the delicate hues of cherry blossoms and create a romantic and feminine look.
Thin Nail Art Brush or Dotting Tool
You will need a thin nail art brush or a dotting tool to create the cherry blossom design. The thin brush will allow you to paint intricate branches and petals, while the dotting tool can create the signature cherry blossom flowers. Experiment with different brush sizes to achieve different effects and add depth to your design.
Acetone and Clean-up Brush
Lastly, you will need a small container of acetone and a clean-up brush. These tools will come in handy for cleaning up any mistakes or smudges during the nail art process. Dip the clean-up brush into the acetone and gently remove any excess polish around the nails for a clean and polished finish.
Creating stunning cherry blossom nails requires a few essential tools. With the right base and top coat, a selection of soft pastel nail polishes, a thin brush or dotting tool, and acetone with a clean-up brush, you will be well-equipped to create beautiful cherry blossom nail designs. So, gather your tools and let your creativity blossom!
How Long Does Cherry Blossom Nail Art Last?
Cherry blossom nail art has become increasingly popular in recent years, with its delicate and feminine designs capturing the essence of spring. But how long can you expect this beautiful nail art to last?
The longevity of cherry blossom nail art depends on several factors. Firstly, the quality of the nail polish used plays a significant role. Higher-quality polishes tend to last longer and resist chipping and fading. Additionally, nail artist skills are crucial. A well-executed design will not only look stunning but also have better longevity.
On average, cherry blossom nail art can last anywhere from one to two weeks. However, this can vary depending on individual factors such as the wearer’s lifestyle and daily activities. Those who engage in manual labor or frequently expose their nails to water may experience shorter wear.
To extend the lifespan of your cherry blossom nail art, you can follow a few tips. Firstly, applying a base coat before the design can help protect your natural nails and provide a smoother surface for the polish. Additionally, applying a top coat every few days can help seal and protect the design, preventing chipping and fading.
It’s important to note that even with proper care, cherry blossom nail art will eventually start to show signs of wear. The design may chip or fade as the days pass, requiring touch-ups or removal.
Cherry blossom nail art can last one to two weeks with proper care and maintenance. By following these tips and considering the factors that affect longevity, you can enjoy your beautiful cherry blossom nails for as long as possible. So go ahead and embrace the beauty of spring with this stunning nail art!
Can I Wear Cherry Blossom Nails on Natural Nails?
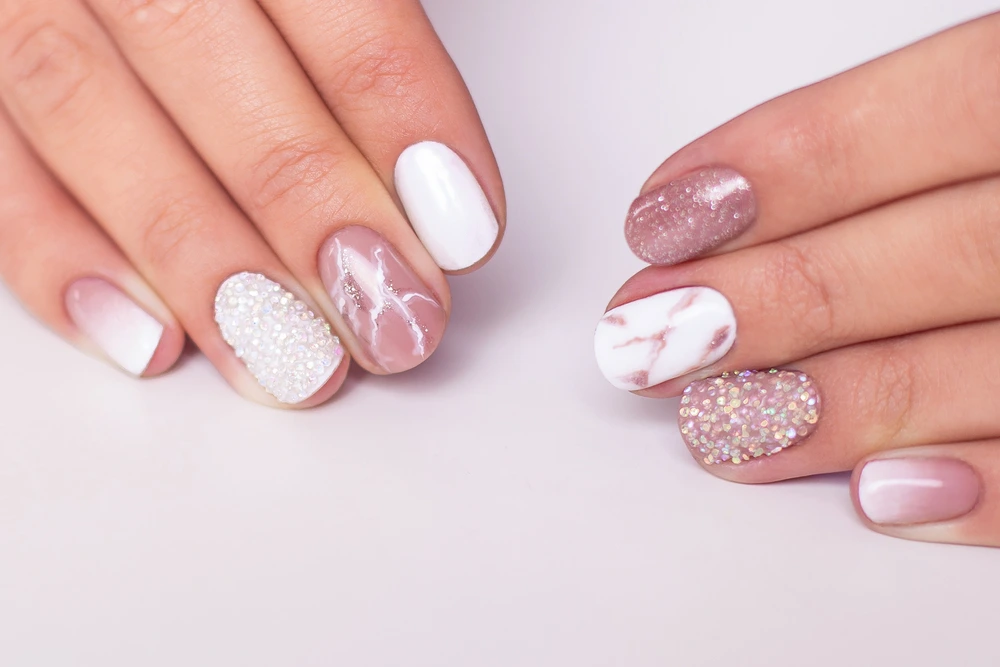
Cherry blossom nails, with their delicate and intricate designs, have gained popularity in the realm of nail art. The good news is that you can wear cherry blossom nails on your natural nails, whether long, short, or medium-length. Here’s a guide to achieving this stunning nail art on your natural nails:
Preparation
- Start by ensuring your natural nails are clean and old polish-free.
- Apply a base coat to protect your natural nails and create a smooth foundation for the cherry blossom design.
Tools and Materials
- Use a thin brush or dotting tool to create small pink petals.
- Use white nail polish to add accents to mimic cherry blossoms.
- Touch of green for realistic stems.
- Top coat to seal in the design and add a glossy finish.
Creating the Cherry Blossom Design
- Use the thin brush or dotting tool to craft small pink petals on your natural nails delicately.
- Introduce white accents to capture the essence of cherry blossoms.
- Add a touch of green for stems to enhance the realism of the design.
Customization
- Cherry blossom nails offer versatility, allowing you to customize the design to suit your style.
- Choose between a more minimalistic approach or going all out with intricate details based on your preferences.
Finishing Touch
- Seal in your cherry blossom design and enhance its longevity with a top coat.
- Allow the top coat to dry thoroughly for a shiny and polished look.
Are Cherry Blossom Nails Suitable for All Occasions?
Cherry blossom nails, characterized by their delicate and feminine design, have gained popularity among nail enthusiasts. Whether they suit all occasions revolves around their versatile color palette and adaptability. The soft pinks, whites, and light greens commonly associated with cherry blossom designs emanate an elegant and graceful vibe, rendering them ideal for formal events like weddings, gala dinners, or romantic date nights.
However, the appeal of cherry blossom nails extends beyond formal occasions. Their adaptability shines through the incorporation of bolder colors, playful elements like glitter, or creative nail art stickers, transforming the design into a more casual and fun style. This versatility makes cherry blossom nails well-suited for outings with friends, parties, or everyday wear. Additionally, their ability to complement various fashion styles, be it bohemian, classic, or trendy, enhances their overall suitability for various occasions, adding a touch of femininity and sophistication to any look. Ultimately, cherry blossom nails are a versatile and stylish choice adaptable to the diverse nature of different events and personal fashion preferences.
Can I Remove Cherry Blossom Nail Art at Home?
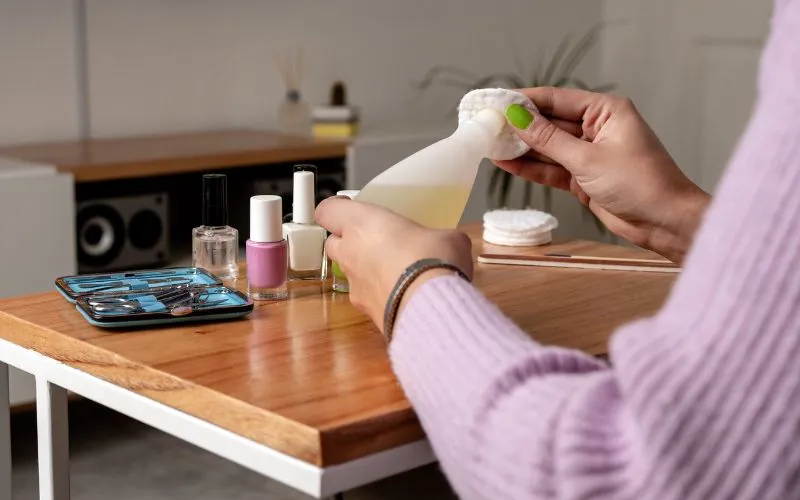
Cherry blossom nail art has become increasingly popular in recent years, with its delicate and feminine design capturing the hearts of many. However, one question often arises is whether removing this intricate nail art at home is possible. This section will explore different methods of removing cherry blossom nail art and provide some tips to help you achieve the best results.
Using Nail Polish Remover
One of the easiest ways to remove cherry blossom nail art at home is using nail polish remover. Make sure to choose an acetone-based remover, which is more effective in breaking down the polish. Soak a cotton ball or pad with the remover and press it onto your nails for a few seconds. Gently wipe away the polish, repeating the process until all the nail art is removed.
Nail File or Buffer
Another method you can try is using a nail file or buffer. Start by gently filing the surface of the nail art to remove the top layer. Be careful not to file too aggressively, as this can damage your natural nails. Once the top layer is removed, you can continue filing until all the nail art is gone.
Soaking Your Nails
If you prefer a more natural approach, try soaking your nails in warm soapy water. This will help soften the polish, making it easier to remove. After soaking for a few minutes, use a cuticle pusher or orangewood stick to lift the nail art off your nails gently.
Removing cherry blossom nail art at home is possible with the right techniques. Whether you use nail polish remover, a nail file, or a natural soaking method, be gentle and take your time. Following these tips, you can safely remove your cherry blossom nail art and prepare for your next beautiful nail design.

