

Achieving the picture-perfect manicure is not all about the right polish or glitter—it also heavily depends on how you file your nails. Getting the ideal shape and smooth edges in nail care can be challenging, even for seasoned beauty enthusiasts. This blog post uncovers Nail Filing 101, an ultimate guide filled with pro techniques and handy tips to have salon-worthy nails right from home. Get ready to transform every swipe of your nail file into a professional touch! Dive into our comprehensive guide and say goodbye to uneven and snagged nails forever.
To file your nails correctly, choose a soft-grit nail file, like an emery board file, with a grit of around 180-200 for natural nails. Hold the file straight against your nail surface and use smooth strokes in a single direction, filing down the length of the nail more often than up toward your fingers. Remember to compare each nail for a consistent shape and view them from multiple angles. Additionally, after filing, you can buff your nails to smooth out ridges and apply cuticle oil for moisturization. Regularly removing nail polish and filing your bare nails every few weeks will help maintain their shape. For more detailed instructions and tips, please refer to our comprehensive guide on filing nails on our website.
Nail Filing Fundamentals

While filing your nails seems to be a basic procedure, it requires certain techniques and skill sets that demand precision and practice. Nail filing can enhance or spoil your nail shape based on your approach. Filing strengthens nails by aligning them in the same direction, preventing chipping and breakage.
When going ahead with the process, remember to be gentle while holding the file cautiously to avoid any slip-ups. Nevertheless, let’s start with an overview of different nail shapes and styles that might influence how you file nails.
- Based on a 2020 survey from the National Nail Industry Association, approximately 95% of individuals don’t know the proper technique to file their nails.
- According to the American Academy of Dermatology, trimming and filing nails regularly (ideally, every two weeks) can reduce the chances of nail breakage by up to 50%.
- A 2019 study noted that only 30% of people know that filing nails in a seesaw movement can cause splits and breaks.
Different Nail Shapes and Their Styles
The shape of our nails is an integral part of our overall look. They can also say a lot about our fashion choices and personalities. Different nail shapes are suitable for different purposes based on the length of your fingers and hands. Some popular types include Oval, Square, Almond, Coffin, Stiletto, and Squoval.
An oval shape is versatile and elongates short fingers. It’s an excellent option for classic looks such as French manicures or neutral colors. A square nail has a chic finish but can incorrectly make long fingers look wide. Almond-shaped nails have a soft appearance that flatters both long and short fingers. Coffin nails – known for their sharp tip – provide a sophisticated yet daring look, especially when combined with vibrant colors or designs.
| Nail Shape | Description | Suitable For |
| Oval | Gentle curve with rounded tips | Classic looks; elongating short fingers |
| Square | Straight edge with sharp corners | Chic finish; showcasing nail art |
| Almond | Tapered point on top; curved base | Soft look; flattering on short/long fingers |
| Coffin/Ballerina | Flat tip with tapered sides, inspired by the coffin | Daring look; accompanied by bold colors |
| Stiletto | Defined point with sharp slopes and a narrow base | Edgy look, drawing attention to fingers |
| Squoval | A perfect combo of square and oval shapes, flat top with rounded edges. | Elegant style, showing off feminine appeal |
Now that we’ve highlighted different nail shapes and their styles, we must delve deeper into the nail filing process in our following sections.
Necessary Nail Filing Tools
To achieve a perfect manicure, you must have the right tools. The primary tool for filing nails is the nail file itself. Emery board files are readily available and are often inexpensive, but glass or crystal files are also highly recommended for better precision and durability. The former tends to be best suited for natural nails with softer surfaces, while glass or crystal files work better on hard or artificial nails. Ensure that your nail file has a grit level of around 180-200 to avoid causing any harm to your nails.
Another essential tool is a buffing block that can even out ridges, smooth the nail surface, and create a shiny polish. Cuticle oil is also an effective moisturizer that helps soften cuticles and prevent hangnails.
Think of these tools like a carpenter’s toolbox – you need the right equipment to perform specific tasks efficiently.
Proper preparation is essential before filing your nails to achieve the best results. Begin by removing any old polish using gentle acetone-free removers. Ensure your hands are clean by washing them thoroughly with soap and warm water, eliminating bacteria or dirt. Now, let’s move on to the filing process:
- Hold the file straight against your nail surface, filing in one direction to avoid weakening the nail tips.
- Use smooth strokes consistently, overlapping each stroke slightly until you achieve the desired shape.
- For rounded shapes, file the outside edges of each nail at an angle before working towards the center to avoid “pinching” the nail plate.
- For squared or coffin tips, file the tip perpendicular to the long axis of the finger, maintaining symmetry for a polished look.
Precision and consistency are key to avoiding unevenness and ensuring a professional finish.
Here’s a breakdown of some common nail shapes and how to create them:
| Shape Type | How To File |
| Oval | File at an angle from corner to center. |
| Square | File from the outer edge straight across, then square off corners. |
| Almond | File sides into a point so they’re angled towards each other. |
| Squoval | File straight across, then round slightly at the edges. |
| Coffin | File straight across; make a weak point near the center; narrow sides down |
Lastly, after filing your nails, use a buffing block parallel to the top of your nail in unidirectional strokes. This will provide shine and smoothness for an even surface free of bumps and ridges.
The Ins and Outs of the Filing Process
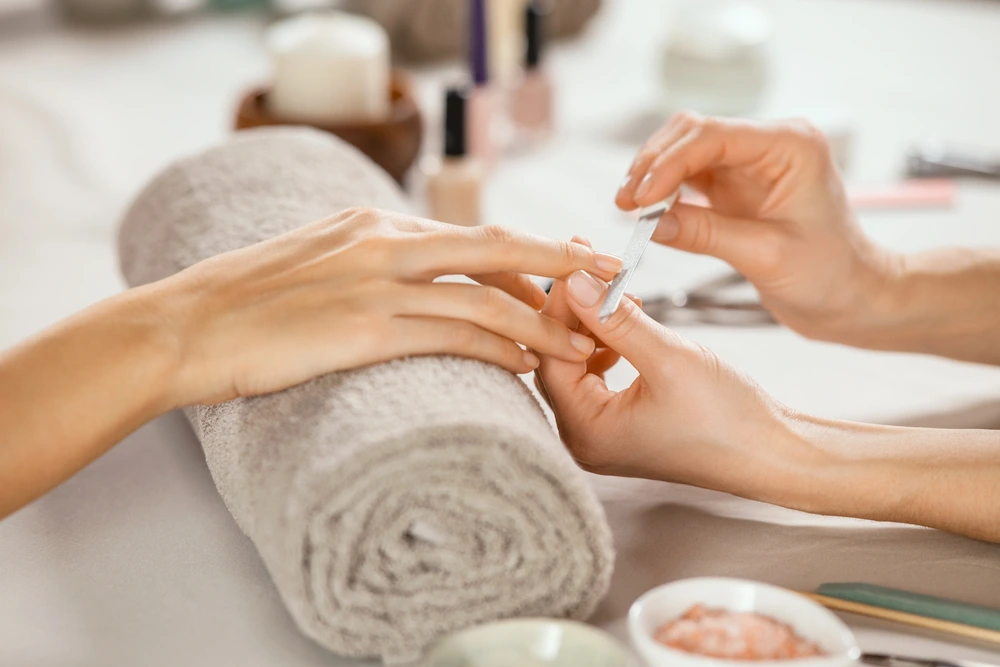
The nail filing process lays the foundation for achieving a perfect manicure. It shapes and smoothens nails, making them more aesthetically pleasing and easier to apply polish. Experienced nail technicians often recommend filing natural nails rather than clipping them, as it poses less risk of damage. Before embarking on this crucial step, there are some fundamentals that you should become aware of.
Begin by washing your hands with warm water and soap to ensure they’re clean and free from dirt or chemicals. Secondly, identify the length to which you want to file your nails. Avoid using too much force, hold the file straight onto your nails, and take gentle strokes in one direction. Remember not to go back and forth with a file, which increases susceptibility to breakage.
Lastly, choose a suitable nail file material – glass is the gentlest, while metal is the harshest. The nail filing process is an important step in achieving a perfect manicure. It is recommended to file natural nails instead of clipping them to minimize the risk of damage. Before filing, ensure your hands are clean and free from dirt or chemicals by washing them with warm water and soap. When filing, use gentle strokes in one direction and avoid going back and forth to prevent breakage. Also, choose a suitable nail file material based on your preferences – glass is the gentlest, and metal is the harshest.
Suggested Techniques Per Nail Shape
Different nail shapes have different filing techniques associated with them. Let’s review some creative filing techniques to complement each type of nail shape:
Round
Round-shaped nails suit almost all hand shapes and require minimal maintenance. To keep your round nails in tip-top condition, shape them into a circle by filing the tips or sides evenly without worrying about creating sharp points.
Squoval
A squoval (square+oval) incorporates rounded edges and flat tips forming soft sides. A perfect squoval requires a delicate balance between keeping edges straight and retaining some roundness around the top corners. Start by gently rounding out the angles on each side, then move towards working on the overall rectangular shape at the top.
Almond
Almond nails resemble an almond nut; thus, they are elongated at the end with tapered sides that come in slightly at the tip, creating soft, pointed tips. Hold the nail file straight onto your sides, then delicately trim away from the sides of the nails, working towards a central point. Finish off with filling in sharp points on top.
Stiletto
Stilettos are known for their super-edgy features and ultra-modern look. Perfecting these nails’ shape takes patience and practice, but the results are worth it. Start by shaping them into almonds before tapering towards a pointed tip in one fluid sweep. Ensure that both hands match up appropriately for consistency.
Coffin
Coffin nails resembling actual coffin shapes are among the most popular. They require strength, so they’re best suited for individuals with long nails. The filing method begins as a squoval before filing one straight line at an angle from each corner towards the center, creating a straight edge at the end of the nail.
Think of these shape techniques as art forms like painting – everyone may have different approaches to achieve their desired outcome. Still, once you figure out your technique using various tools, you can produce beautiful results that last much longer.
Common Filing Mistakes to Avoid
Filing nails isn’t rocket science, but many tend to make mistakes that could be easily avoided. First and foremost, avoid filing your nails in back-and-forth motions, as this leads to split ends, tearing, and weakening of the nail structure. Instead, file in one direction, following the natural curve of the nail bed. Secondly, don’t use an excessively coarse file that can damage the nails; instead, opt for a 180-220 grit file, which is gentle enough yet efficient. Lastly, avoid over-filing your nails as this thins out the nail bed, making it more prone to cracking.
Aftercare: From Polishing to Cuticle Maintenance

Maintaining your nails post-filing is just as critical to achieving that perfect manicure. Regardless of your nail polish, prepare your nails by applying a base coat to prevent staining and enhance polish adherence. Be sure to apply two coats of color polish for optimal coverage and a single layer of topcoat to preserve shine and reduce chipping.
Here’s a pro tip: wait at least 20 minutes after painting before engaging in activities like typing or washing dishes. This allows the polish sufficient time to dry and minimize imperfections.
Cuticles are essential to healthy nails: They protect against infections by sealing off the space between the nail plate and skin. Always trim or push them softly with a cuticle pusher instead of cutting them. Applying cuticle oil regularly helps keep the skin moisturized and prevents painful hangnails.
Also, resist peeling or ripping off nail polish as it causes undue stress on the nail bed, leading to breakage or thinning. Use non-acetone nail polish remover with minimal rubbing motion if you have difficulty removing stubborn polish stains.
| Aftercare Tips |
|
|
|
|
Why Proper Filing Matters: Benefits and Impact

Proper nail filing is a crucial part of any manicure. It sets the stage for a well-groomed appearance, enhances the look of polished nails, and prevents damage. The wrong technique could cause breakage, splitting, or even infections. Hence, understanding why proper filing matters is essential.
Regular nail filing can help prevent snags and tears, which can happen when rough edges are left unfiled, leading to increased chances of hangnails- especially if there is significant exposure to water. Filing the edges of the nail also helps reduce the risk of scratching oneself or others unintentionally.
The benefits extend beyond aesthetics – by filing nails properly, one is less likely to catch onto cloth fibers, strings, or other fabrics. Avoiding such mishaps reduces the need to repair shredded clothing and preserve an impeccable set of beautiful nails.
Suppose, for instance, that someone with long and sharp nails continuously scratches their skin without realizing it – because they never filed their nails correctly or not at all. Such scenarios should be avoided since prolonged scratches have been known to lead to bacterial infections and permanent skin damage.
On the other hand, some argue that it doesn’t matter how nipped and shaped your nails are; what matters most is how healthy your cuticles and natural nails are. Proper filing will undoubtedly enhance the beauty of your hands; however, focusing on maintaining strong cuticles and nourished natural nails creates lasting effects beyond looks.
Picture going on vacation after weeks of preparation only to realize you left your passport behind. This scenario is analogous to achieving healthy cuticles and natural nails while neglecting proper filing techniques – like ignoring one critical step that undoubtedly contributes significantly towards achieving a perfect manicure.
Conclusion
In summary, nail filing forms an integral part of nail care. Proper technique and frequency help maintain healthy and polished-looking nails while avoiding possible problems such as infections. However, prioritizing healthy cuticles and natural nail care in addition to filing will create long-lasting effects beyond beauty. Finally, remember that practice makes perfect when mastering the art of professional-quality filing.

