

When you think about graffiti nails, you might imagine the vibrant energy of street art translated onto your fingertips. This form of nail art combines bold colors, playful shapes, and edgy motifs, offering a dynamic mix of art and fashion. But how do you start creating these eye-catching designs, and what tools will you need? From choosing the right colors to mastering advanced techniques, a world of creativity is waiting for your fingertips. Imagine the endless possibilities to showcase your style and make a statement. Curious about how to get started?
Key Takeaways
- Graffiti nails feature vibrant, edgy designs inspired by street art and colorful alphabet patterns.
- Popular graffiti nail designs include neon hues, animal prints, abstract shapes, and mismatched combinations.
- Gel paint, nail art brushes, and UV/LED curing lights are essential for graffiti nail art.
- Proper maintenance involves gentle cleaning, regular touch-ups every 2-3 weeks, and applying a quality top coat every 2-3 days.
- Acrylic paint allows for creative freedom but ensures adequate drying and practice on nail wheels for best results.
Graffiti Nail Art Inspiration
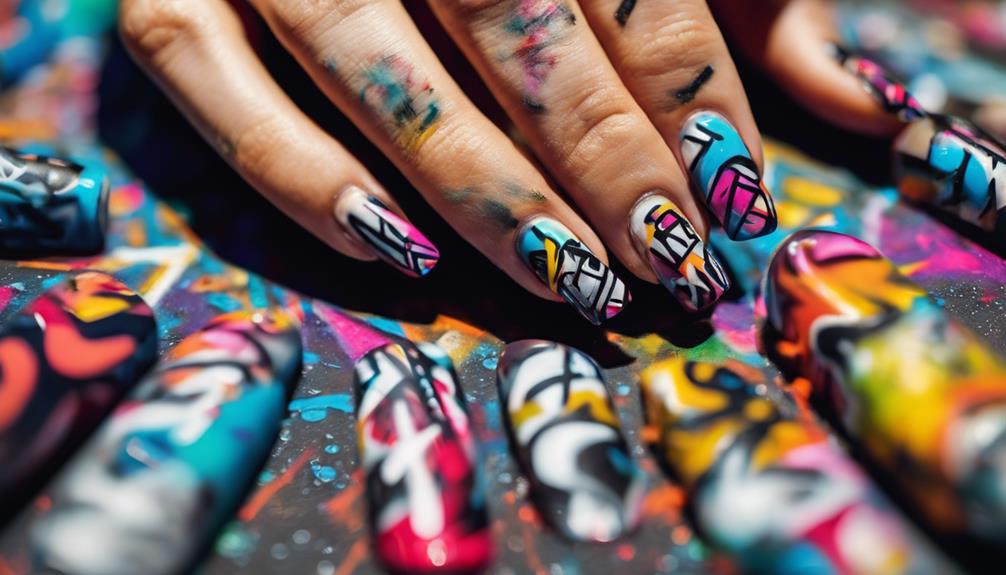
When searching for graffiti nail art inspiration, you’ll encounter vibrant designs inspired by colorful alphabet patterns, cute heart motifs, and edgy street art themes. These elements turn your nails into miniature canvases, displaying your creativity and affection for urban aesthetics. Graffiti™ Nail art isn’t just about random designs; it’s a fusion of art and fashion, turning your nail design into a statement.
To begin, consider exploring patterns that feature bold, lively colors. You can experiment with neon hues or blend contrasting shades to make your nails stand out. Simple themes are often the most impactful, so trying out basic shapes and lines can lead to impressive outcomes.
For example, incorporating alphabet patterns can add a personalized touch to your nail art. Adorable heart designs bring a playful charm, while street art themes inject your nails with a raw, edgy vibe.
Remember the importance of preparation. Ensuring your nails are well-groomed and tidy provides the ideal base for your graffiti-inspired designs. Focusing on crisp edges and vibrant colors will make your graffiti nail design look polished and sophisticated.
Immerse yourself in the world of Graffiti™ Nail art and let your nails mirror your style.
Popular Designs
Popular graffiti nail designs showcase a dynamic mix of creativity and style, featuring everything from neon hues to animal prints. These designs take nail salons by storm in the United States, making a bold statement with each stroke.
Striped nails offer a sleek, modern look, while calligraphy nails add an artistic touch with intricate lettering. Abstract nails play with shapes and colors, creating a unique masterpiece on each nail.
Neon nails are a hit, especially for those looking to stand out. With vibrant nail polish shades like pink, purple, yellow, and green, your nails will be impossible to miss. Animal print nails are another popular choice, adding a wild twist to your look. Mismatched graffiti nails allow you to combine designs on each finger, ensuring no two nails are alike.
With their soft, blended hues, watercolor nails provide a more subdued yet equally stylish option. Matte nails offer a chic finish without the shine. Cartoon nails bring a playful vibe, perfect for showcasing your fun side.
To get started, always apply a base coat to safeguard your nails and guarantee the longevity of your design.
Choosing Colors
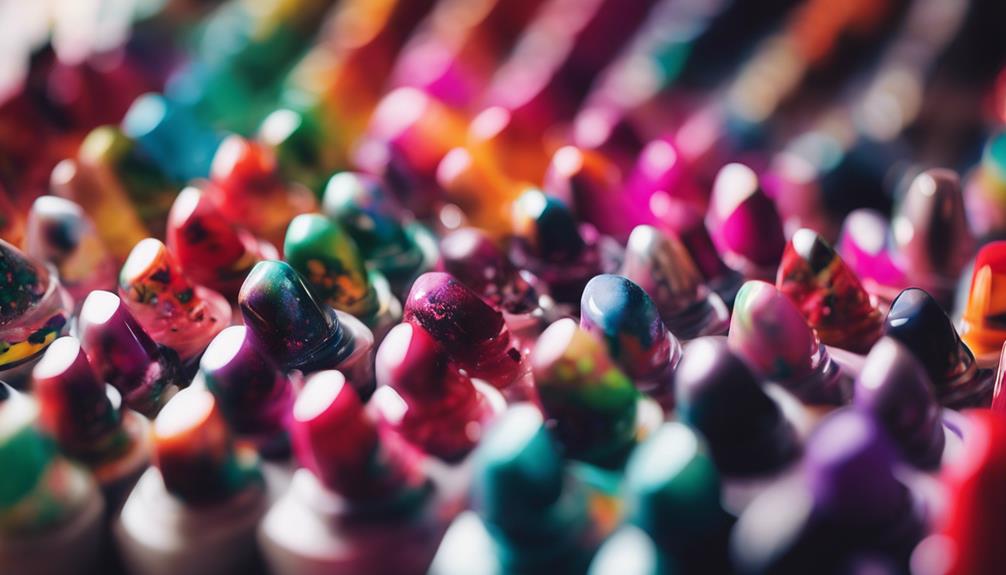
Selecting the right colors for your graffiti nails can instantly elevate your design, making it eye-catching and cohesive.
When diving into the world of Graffiti™ Nail art, vibrant combinations like pink, purple, and yellow can give your nails a bold and dynamic look. These colors not only stand out individually but also create a striking contrast when paired together.
To add depth and interest, consider exploring color contrasts. For instance, a blend of green, brown, and white can offer a unique and sophisticated twist to your graffiti nail design. Maintaining a balance in these combinations is crucial to ensure that your art remains visually appealing without becoming overwhelming.
Don’t shy away from experimenting with solid colors, either. Solid colors can serve as a great base, allowing graffiti elements to pop. Orange, pink, and yellow are excellent choices for creating a fun and lively look. Mix and match these colors to see what works best for you.
Techniques and Tools
In graffiti nail art, you’ll need the right techniques and tools to bring your vibrant color choices to life. Investing in quality nail art tools and innovative techniques guarantees your designs will stand out.
Start with gel paint without a tacky layer, perfect for advanced painting and creating words like ‘trap’ and ‘doll.’ Use an Amazon nail art brush to sketch your letters, referencing the graffiti alphabet for accuracy.
For those creative effects, consider adding drips to mimic real graffiti. A flashlight helps with quick curing and locking in your design. Outlining with black provides a clean finish, making your intricate designs pop.
Specialized materials, such as Kiara Sky hand files and Profiles Backstage products, are essential for shaping and priming nails, ensuring a smooth canvas for your art.
Utilize advanced painting techniques to layer colors and create depth. Finish with a gloss top coat to seal your artwork and give it a professional shine.
These specialized materials and tools will help you achieve the detailed, vibrant graffiti nail art you envision. Mastering these techniques is key to transforming your nails into miniature canvases of urban art.
Step-by-Step Guide
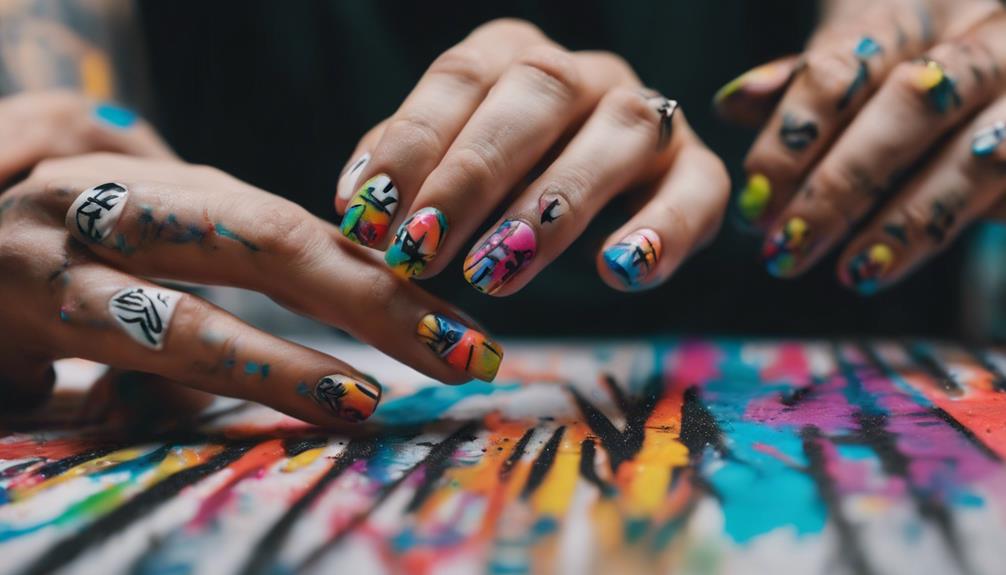
Gather all the necessary tools to start your graffiti nails, including an e-file, hand files, and quality primers.
Next, choose your graffiti nail colors and get creative with unique acrylic mixes and glitter.
Gather Necessary Nail Tools
Before diving into your graffiti nail art, ensure you’ve gathered essential tools like nail polish, nail art brushes, gel paint, and a flashlight for curing. Brush selection is important; fine-tipped brushes help you achieve intricate designs inspired by your graffiti theme. Consider keeping various brush sizes at hand to maximize your design inspiration.
Next, focus on the curing process. A good UV or LED flashlight guarantees your gel polish sets perfectly. After curing, don’t forget to apply a top coat to seal in your design and add a glossy finish. This step is essential for longevity and shine.
Preparing your natural nails is the foundation of any nail art. Use an e-file to smooth the nail surface and hand files to shape and trim. Before painting, give your nails a thorough cuticle massage with oil to keep them healthy and hydrated.
| Tool | Purpose |
|---|---|
| Nail Art Brushes | Brush selection for intricate designs |
| Flashlight | The curing process for gel paint |
| E-file and Hand Files | Natural nail prep and shaping |
Now that you’ve gathered all the necessary tools, you can create stunning graffiti nail art!
Choose Graffiti Nail Colors
Immerse yourself in the vibrant world of graffiti nail art by thoughtfully selecting your color palette to set the stage for your masterpiece. Start by considering the desired look—bold, eye-catching, subtle, and sophisticated.
Color coordination is key in graffiti style, so consider how different hues work together to create a balanced yet dynamic design.
Opt for vibrant color combinations like pink, purple, and yellow for a bold and striking appearance. These colors pop and add a playful touch to your nails.
On the other hand, if you prefer a more understated look, consider subtle color choices like pastels or muted shades. The contrast and depth in your color choices will greatly impact the overall effect of your graffiti nail art.
Don’t be afraid to experiment with mixing textures in your nail art. Matte and glossy finishes can be combined to add an extra dimension to your design.
For unique graffiti nail designs, pair unconventional colors like orange, pink, and yellow or the classic black, white, and pink trio. Remember, the right color choices will make your graffiti nails stand out.
Apply and Seal Design
Starting your graffiti nail art, apply a base coat to clean and dry nails to guarantee a smooth and protected canvas. This step not only strengthens your nails but also boosts the longevity and durability of your designs.
Once the base coat is fully dry, grab a fine nail art brush and your choice of acrylic paint to start your artistic expression.
Begin creating your graffiti designs, letting your creativity flow. To avoid smudging, ensure each layer of paint has adequate drying time before adding more detail. This meticulous approach enhances your nail art’s look and durability. If you’re new to this, practicing on a nail wheel or practice tips can help you perfect your technique before working on your actual nails.
After you’re satisfied with your designs, it’s important to seal them. Apply a glossy top coat over each nail to protect your artwork and add a shiny finish. This final layer preserves your designs and contributes to their longevity.
Maintenance Tips
To keep your graffiti nails looking fresh, start with a proper cleaning routine to maintain their vibrancy and prevent chipping.
Schedule regular touch-ups to make certain your design stays sharp and intact.
Protect your nails by avoiding harsh chemicals and activities that might damage the art.
Proper Cleaning Routine
Keeping your graffiti nails looking fresh and vibrant involves a regular cleaning routine with gentle methods. Start by using effective cleaning techniques to remove dirt and debris. A gentle nail brush and warm, soapy water are your best friends here. Brush selection matters; opt for a soft-bristled brush to avoid damaging the intricate designs on your nails.
Using essential yet effective nail care products is vital. A non-acetone nail polish remover and cotton pads can help clean the nail surface without harming the graffiti art. This method guarantees that your nails stay clean while preserving the design’s integrity.
Incorporate cuticle care into your routine as well. Daily application of cuticle oil keeps the skin around your nails moisturized and healthy, which is important for maintaining the overall look of your graffiti nails.
Lastly, protect your nails from harsh chemicals and excessive water exposure. Wearing gloves while doing household chores can significantly improve the vibrancy and longevity of your nail art.
Regular Touch-Up Schedule
Maintaining your graffiti nails involves scheduling regular touch-ups every 2-3 weeks to keep the design fresh and vibrant. Adhering to this touch-up frequency can address issues like chipped polish, fading colors, and nail growth at the bed. Regular color touch-ups guarantee that the intricate designs and vibrant hues stay sharp and eye-catching. These sessions typically include reapplying base coats, colors, and top coats to refresh your nail art.
Consistent touch-ups preserve the visual appeal of your graffiti nails and manage their natural growth. As your nails grow, the base of the design can become uneven, requiring attention to maintain a seamless look. Scheduling these maintenance sessions helps prolong the lifespan of your graffiti nails and keeps them looking their best between full manicure appointments.
Here’s a quick guide to help you manage your graffiti nails:
| Task | Frequency | Purpose |
|---|---|---|
| Touch up frequency | Every 2-3 weeks | Maintain design freshness |
| Color touch-ups | Every 2-3 weeks | Keep colors vibrant |
| Growth management | Every 2-3 weeks | Ensure even and seamless design |
Protecting Against Chipping
Applying a quality top coat every 2-3 days helps protect your graffiti nails from chipping and keeps the design intact. This simple step guarantees chip prevention and maintenance, allowing your vibrant colors to remain long-lasting. Additionally, a protective topcoat is a barrier against daily wear and tear.
Here are some care tips to keep your graffiti nails in top shape:
- Avoid Harsh Chemicals: Exposing your nails to harsh chemicals or excessive water can weaken the design. Wear gloves while doing chores to prevent chipping.
- File Rough Edges: If you notice any rough edges or small chips, gently file them down to smooth out the surface and avoid further damage.
- Moisturize Regularly: Keeping your cuticles and nails moisturized helps maintain their health and prevent chipping. Use a good-quality nail oil or moisturizer.
Conclusion
You’ve now got all the inspiration and techniques to rock graffiti nails confidently. Immerse yourself in popular designs, experiment with bold colors, and master the tools to create stunning nail art.
Follow the step-by-step guide and keep your nails looking fresh with proper maintenance. Now, it’s your turn to showcase your unique style and creativity. Ready to make a statement? Grab your brushes, and let’s get painting!

