
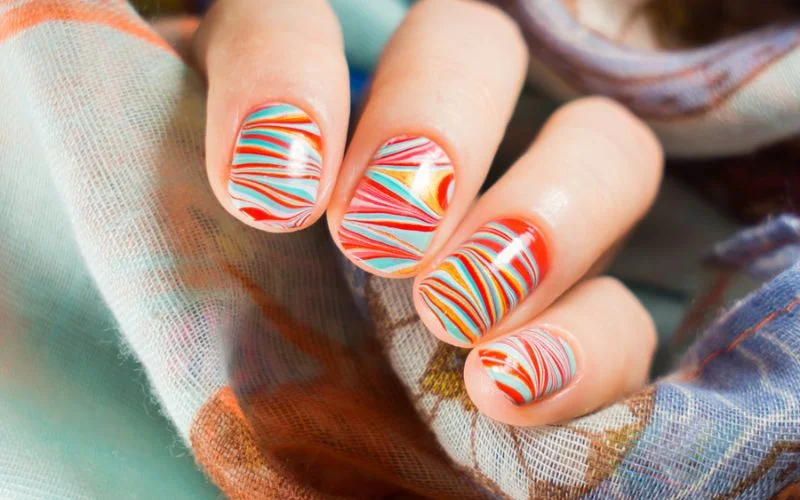
Water marble nails first gained popularity in nail art, captivating beauty enthusiasts with their mesmerizing patterns and vibrant colors.
This unique technique involves creating intricate designs on the nail’s surface by swirling different shades of nail polish in water. The result is a stunning marble-like effect that is both eye-catching and elegant.
The art of water marble nails has taken the beauty industry by storm, with countless tutorials and inspiration flooding social media platforms.
It has become a favorite among nail artists and DIY enthusiasts, offering endless possibilities for creativity and self-expression. From simple swirls to intricate floral patterns, the options are limitless.
What makes water nails truly fascinating is the element of surprise. No two designs are ever the same, making each set of pins a one-of-a-kind masterpiece.
The process is a delicate dance of timing and technique, requiring precision and patience. But the result is well worth the effort.
Not only are water marble nails visually stunning, but they also offer a long-lasting and durable manicure. The layers of nail polish create a protective barrier, ensuring that your nails stay chip-free for days.
This makes water marble nails a popular choice for special occasions or those who want their manicure to last.
In addition to their aesthetic appeal, water marble nails provide an opportunity for self-expression and creativity.
The color combinations and design possibilities are endless, allowing individuals to showcase their unique style and personality through their nails.
Water marble nails can be customized to suit any taste, whether you prefer bold and vibrant colors or soft and subtle hues.
In conclusion, water marble nails are an art form that combines beauty, creativity, and durability. With their mesmerizing patterns and vibrant colors, they have captured the hearts of beauty enthusiasts worldwide.
Whether you’re a nail artist or a DIY enthusiast, this technique offers endless possibilities for self-expression and experimentation. So dive into the world of water marble nails and let your creativity flow!
What Are Water Marble Nails?

Water marble nails are a popular nail art technique that creates a unique and mesmerizing design on your nails. This technique involves using water, nail polish, and a few simple tools to create a marbled effect that resembles swirling patterns on the water’s surface.
You will need a shallow container filled with room-temperature water to create water marble nails. You will also need several different nail polish colors, a toothpick or a thin nail art brush, and some tape or liquid latex to protect your skin from the nail polish.
To begin, apply a base coat of clear polish to your nails. This will help the nail polish adhere better and make the design last longer. Once the base coat is dry, you can start creating the marble effect.
First, you will need to drop a few drops of nail polish into the water. The polish will spread on the water’s surface, creating a colorful film.
You can then use a toothpick or a thin nail art brush to create patterns by dragging the polish in different directions.
Once you are happy with the design, you can dip your nails into the water, submerging them completely.
The nail polish will adhere to your nails, creating a beautiful marbled effect. You can remove any excess polish from the water with a toothpick or a cotton swab.
After the design has dried, you can apply a top coat to seal the design and make it last longer. This will also give your nails a glossy finish.
Water marble nails are a fun and creative way to express yourself through nail art. With a little practice and patience, you can create stunning designs that will impress everyone around you. So why not try water marble nails and see the amazing results for yourself?
How to Create Water Marble Nails
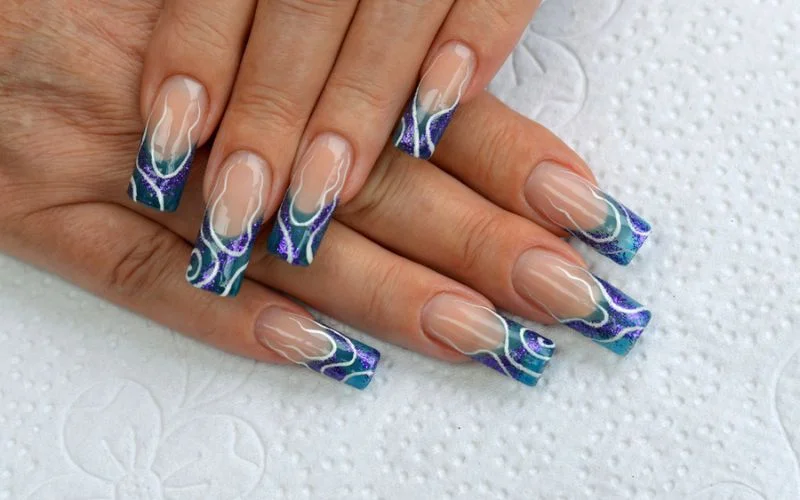
Water marble nails are a popular nail art technique that creates a mesmerizing and unique design on your nails.
This technique uses water to make a marble-like pattern on your nails, resulting in a stunning and eye-catching manicure.
To create water-marble nails, follow these simple steps to achieve beautiful results.
First, gather all the necessary materials. You will need a bowl of room temperature water, nail polish in various colors, a toothpick or a thin brush, tape or liquid latex, and a base coat and top coat for your nails. Make sure to choose nail polish colors that complement each other well.
Start by applying a base coat to your nails. This will protect your nails and help the nail polish adhere better. Once the base coat is dry, apply a layer of white nail polish as a base color. This will make the marble pattern stand out more.
Next, prepare the water. Fill a bowl with room-temperature water and let it sit for a few minutes to allow any bubbles to dissipate.
Once the water is ready, start adding drops of nail polish into the water. Use different colors and create a pattern by adding one color on top of another.
Once you have created your desired pattern, take a toothpick or a thin brush and gently swirl the colors together to create a marble effect. Be careful not to over-mix the colors, resulting in a muddy design.
Protect the skin around your nails by applying tape or liquid latex. This will make the cleanup process easier.
Dip your nails into the water, submerging them completely. Use a toothpick to remove any excess nail polish from the water.
Carefully remove the tape or liquid latex from your skin and let your nails dry completely. Finish off with a top coat to seal the design and add shine.
Creating water marble nails may take some practice, but you can achieve stunning results with patience and the right technique.
Experiment with different color combinations and patterns to create unique and personalized designs. So try water marble nails, and get ready to show off your beautiful and artistic manicure.
What Tools Do I Need for Water Marble Nails?
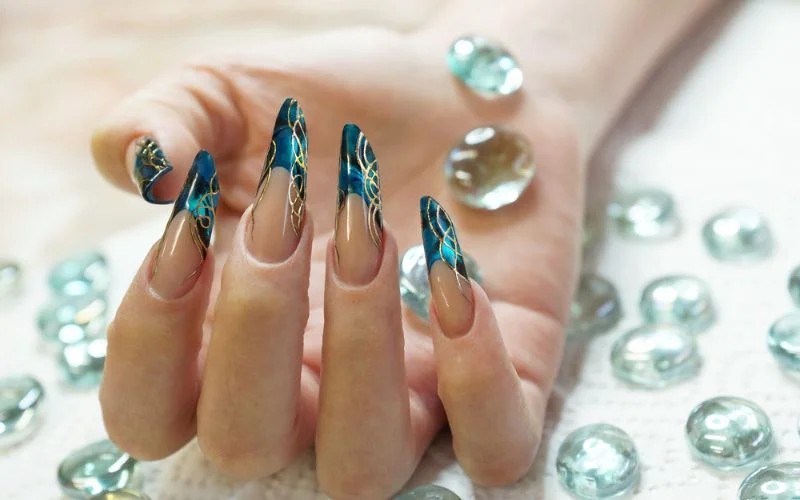
Water marble nails are a popular nail art technique that creates a stunning and unique design on your nails. To achieve this look, you will need a few essential tools. This article will discuss the tools you need to create beautiful water-marble nails.
First and foremost, you will need a bowl or cup filled with room-temperature water. This will serve as the base for your water marble design.
Using room-temperature water ensures the nail polish spreads properly and doesn’t dry too quickly.
Next, you will need a variety of nail polishes in different colors. Choose colors that complement each other well and create a cohesive design. It’s best to use nail polishes that have a good consistency and are not too thick or thin.
You will also need a toothpick or a fine-pointed tool to create the marble effect. This will be used to swirl the colors in the water and create a unique pattern. Ensure the toothpick is clean and free from any nail polish residue before using it.
Additionally, you will need some tape or liquid latex to protect the skin around your nails from getting messy. Apply the tape or liquid latex around your nails to create a barrier and simplify the cleanup process.
Lastly, you will need a top coat to seal and protect your water marble design. Apply a generous top coat to ensure your procedure lasts longer and stays intact.
In conclusion, you will need a bowl of room temperature water, various nail polishes, a toothpick or fine-pointed tool, tape or liquid latex, and a top coat to create beautiful water marble nails.
With these tools, you can create stunning and unique designs on your nails that will impress you. So, gather your tools and get ready to dive into the world of water marble nails!
Can I Use Regular Nail Polish for Water Marble Nails?
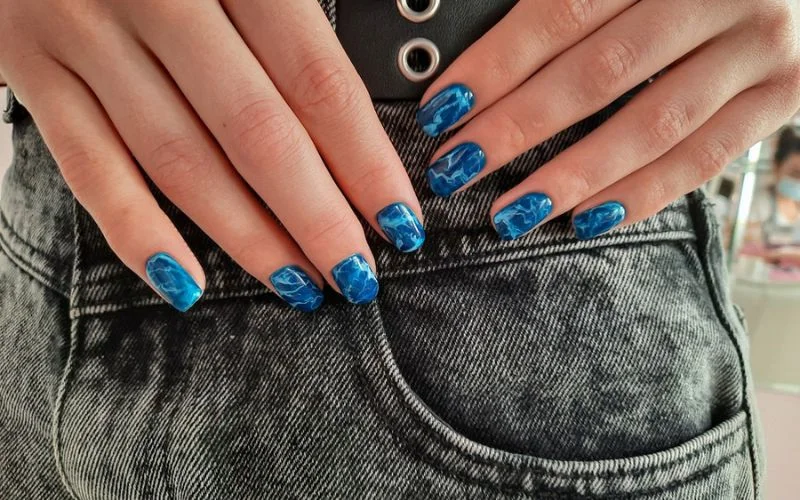
Water marble nails have become a popular trend in nail art. The mesmerizing patterns created by swirling different nail polish colors in water can give your nails a unique and eye-catching look.
However, when it comes to water marble nails, many wonder if they can use regular nail polish instead of specialized products. Let’s find out!
Regular nail polish can be used for water marble nails, but there are a few things you need to keep in mind. Firstly, the consistency of the nail polish is crucial.
It should be neither too thick nor too thin. If the polish is too thick, it won’t spread properly in the water; if it’s too thin, it will dissolve and blend too quickly.
Another important factor to consider is the drying time of the nail polish. Some regular polishes dry too quickly, making the desired marble effect challenging.
Ideally, choosing a polish with moderate drying time would be best, allowing you enough time to create your design.
It’s also worth mentioning that not all regular nail polishes work well for water marbling. Some classes may not spread or blend properly in the water, resulting in a messy and unsatisfactory design.
Experimenting with different brands and formulas is recommended to find the best ones for you.
In conclusion, while regular nail polish can be used for water nails, it’s essential to consider the consistency and drying time of the polish.
Experimentation is key to finding the right products to achieve the desired results. So unleash your creativity with water marble nails using regular nail polish!
How Long Do Water Marble Nails Last?
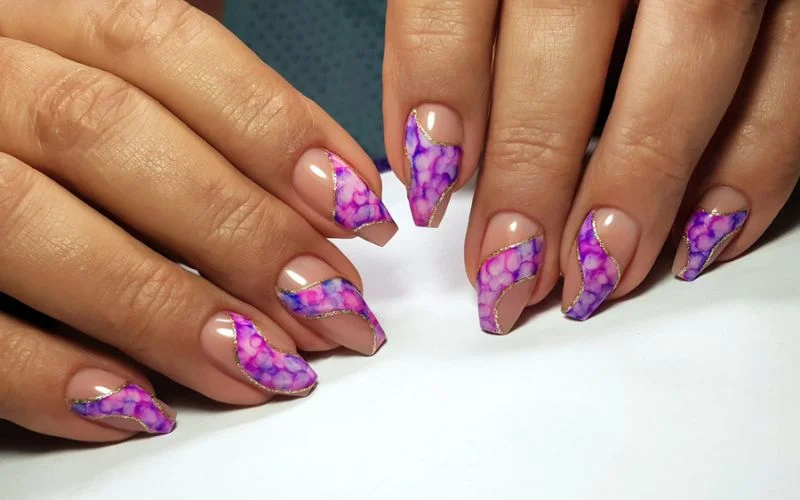
Water marble nails have become increasingly popular in recent years thanks to their unique and eye-catching designs.
But how long can you expect these beautiful nail art creations to last? In this article, we will explore the longevity of water marble nails and provide some tips to help extend their lifespan.
One of the factors that can affect the durability of water marble nails is the quality of the products used. Opting for high-quality nail polishes and top coats can significantly increase the longevity of your manicure. Look for brands that offer long-lasting formulas and chip-resistant finishes.
Additionally, proper nail preparation and application techniques play a crucial role in the lifespan of water nails.
Thoroughly cleaning and buffing your nails before applying the design will ensure better adhesion and reduce the risk of chipping or peeling.
Applying a base coat can also help to protect your natural nails and prolong the life of your water marble design.
Water marble nails can last anywhere from 7 to 14 days on average. However, this can vary depending on several factors, such as your daily activities, nail care routine, and the overall condition of your nails.
If you frequently engage in activities that expose your nails to water, chemicals, or excessive friction, the lifespan of your water marble nails may be shorter.
To maximize the lifespan of your water nails, taking proper care of them is essential. Avoid using your nails as tools and wear gloves when performing household chores or activities that may damage your manicure.
Additionally, applying a fresh top coat every few days can help seal and protect the design, ensuring it lasts longer.
In conclusion, water marble nails can last between 7 to 14 days with proper care and maintenance. By using high-quality products, following proper application techniques, and taking precautions to protect your nails, you can enjoy your stunning water marble manicure for an extended period.
So experiment with this captivating nail art trend, knowing your beautiful designs will last!
Can I Use Water Marble Nails with Gel Polish?
Water marble nails have become a popular trend in nail art. This technique involves creating intricate and colorful designs by swirling nail polish in water and transferring it onto the nails.
Many nail enthusiasts wonder if they can achieve the same stunning results with gel polish. In this article, we will explore whether or not water marble nails can be done with gel polish.
The short answer is yes, you can use gel polish for water marble nails. However, there are a few things to keep in mind. Gel polish tends to have a thicker consistency than regular nail polish, making it more challenging to create the desired marble effect.
Additionally, gel polish cures under a UV or LED lamp, which can affect the drying time and the way the colors spread in the water.
Choosing the right gel polish formula is essential to achieve successful water marble nails with gel polish. Opt for a gel polish with a slightly thinner consistency to make it easier to create the marble effect. You may also need to work quickly, as gel polish tends to cure faster than regular polish.
Another important factor to consider is the type of top coat you use. Gel polish requires a specific ultimate jacket compatible with the gel formula.
Using a regular top coat may not provide the same long-lasting and glossy finish that gel polish is known for.
In conclusion, while creating water marble nails with gel polish is possible, it may require some practice and experimentation to achieve the desired results.
Remember to choose the right gel polish formula and top coat, and be prepared for the differences in consistency and drying time. You can create beautiful water marble designs with patience and creativity using gel polish.
Can I Remove Water Marble Nails with Regular Nail Polish Remover?
Water marble nails have become a popular trend in nail art. The unique and mesmerizing designs created through this technique have captivated the attention of many.
However, one common question is whether regular nail polish remover can effectively remove water nails. In this article, we will explore this query and provide you with the answers you seek.
To understand whether regular nail polish remover can remove water marble nails, it is essential to comprehend the technique itself.
Water marbling involves creating intricate patterns on the surface, which are then transferred onto the nails. The designs are typically sealed with a layer of clear top coat to ensure longevity.
When it comes to removing water marble nails, regular nail polish remover can indeed be used. However, it is important to note that the process may require more effort than removing regular nail polish. The intricate designs and multiple layers of polish can make it slightly more challenging.
To effectively remove water marble nails, you can follow these steps:
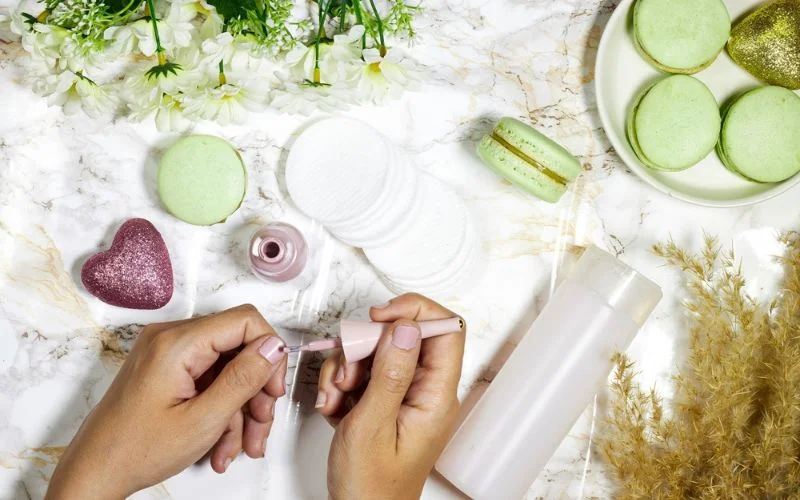
Soak a cotton ball or pad with regular nail polish remover.
Place the soaked cotton ball or pad on the nail and hold it in place for a few seconds to allow the remover to penetrate the layers of polish.
Gently rub the cotton ball or pad in a circular motion to remove the polish.
Repeat this process on all nails until the water marble design is completely removed.
It is important to be patient and gentle during the removal process to avoid damaging your nails. If you encounter any stubborn areas, you can use a nail file or buffer to help remove the remaining polish.
In conclusion, while regular nail polish remover can remove water nails, it may require more effort and patience.
Following the abovementioned steps, you can effectively remove the mesmerizing water marble designs from your nails.
What Are Some Popular Water Marble Nail Designs?

Water marble nail designs have become increasingly popular in recent years, with countless variations and styles.
Whether you’re a nail art enthusiast or looking to try something new, water nails are a great way to express your creativity and add a unique touch to your manicure.
One popular water marble design is the classic swirl pattern. This design involves dropping different nail polish colors into a cup of water and using a toothpick or a thin brush to create swirls and patterns.
The colors blend beautifully, creating a mesmerizing effect on your nails. You can choose contrasting colors for a bold look or more subtle shades for an elegant and sophisticated finish.
Another popular design is the flower pattern. This design uses different nail polish colors to create small flower shapes on your nails.
You can achieve a stunning floral design that will turn heads by carefully dropping the polish into the water and using a toothpick to create the petals.
The marble pattern is a great option for those who prefer a more abstract look. This design involves dropping multiple nail polish colors into the water and using a toothpick to create a marbled effect.
The colors blend beautifully and unpredictably, creating a unique and eye-catching design.
You can experiment with different shapes and patterns if you’re feeling adventurous. From geometric designs to animal prints, the possibilities are endless regarding water-marble nail art. Don’t be afraid to mix and match colors and get creative with your plans.
Conclusion
Water marble nail designs offer a fun and creative way to express yourself through your manicure. Whether you prefer classic swirls, floral patterns, or abstract marbles, there is a design out there that is perfect for you.
So grab your favorite nail polishes and start creating stunning water-marble nail designs today!
In conclusion, water nails are a trendy and artistic way to express yourself through your manicure.
Throughout this post, we have explored various aspects of water nails, including what they are and how to create them.
Water marble nails involve swirling different nail polish colors in water and transferring the design onto your nails. This technique allows for endless possibilities and unique designs that catch everyone’s attention.
To create water marble nails, you will need a few essential tools, such as nail polish, a cup of water, toothpicks, and tape. These tools will help you achieve the perfect marble effect on your nails.
While it is recommended to use nail polish specifically designed for water nails, regular nail polish can also be used. However, it may not yield the same vibrant and long-lasting results.
Speaking of longevity, water nails can last up to a week with proper care. It is essential to protect your nails by wearing gloves when doing household chores and applying a top coat regularly to maintain the design’s integrity.
Water nails can also be achieved with gel polish for those who prefer gel polish. However, the removal process may require soaking your nails in acetone, so caution is important.
When removing water marble nails, regular nail polish remover can be used. However, it may take more effort and time than regular nail polish.
If you’re looking for inspiration, countless popular water-marble nail designs exist. From vibrant swirls to delicate patterns, the possibilities are endless.
As water marble nails continue gaining popularity, we expect new trends and developments. Perhaps new techniques or innovative tools will emerge, allowing for even more stunning designs.
Thank you for taking the time to read this post on water nails. We hope you found it informative and inspiring. If you have any questions or feedback, please comment below. Happy nail marbling!

