

When you want to elevate your nail game, sunset ombre nails blend sophistication and artistry. Choosing the right colors is important, setting the tone for the entire look. You’ll need a range of highly pigmented polishes to capture the essence of a sunset, from soft pinks to deep purples. Proper nail tools and supplies are essential for a seamless blend. But how do you guarantee each step is executed flawlessly to achieve that perfect gradient? Let’s explore the techniques and tips to help you master this stunning nail art.
Key Takeaways
- For sunset ombre nails, use warm tones like oranges, reds, and yellows or cool tones like purples, pinks, and blues.
- Gather essential tools, such as a nail file, base coat, ombre powder colors, and top coat, for a professional finish.
- Apply gradient colors from light to dark, ensuring smooth transitions between shades for a flawless ombre effect.
- Seal the design with a high-quality top coat to enhance longevity and protect the ombre finish.
- Experiment with popular design variations, such as Sunset Beach, Tropical Vibes, and Cloud Patterns, to create unique sunset ombre nails.
Choosing the Right Colors
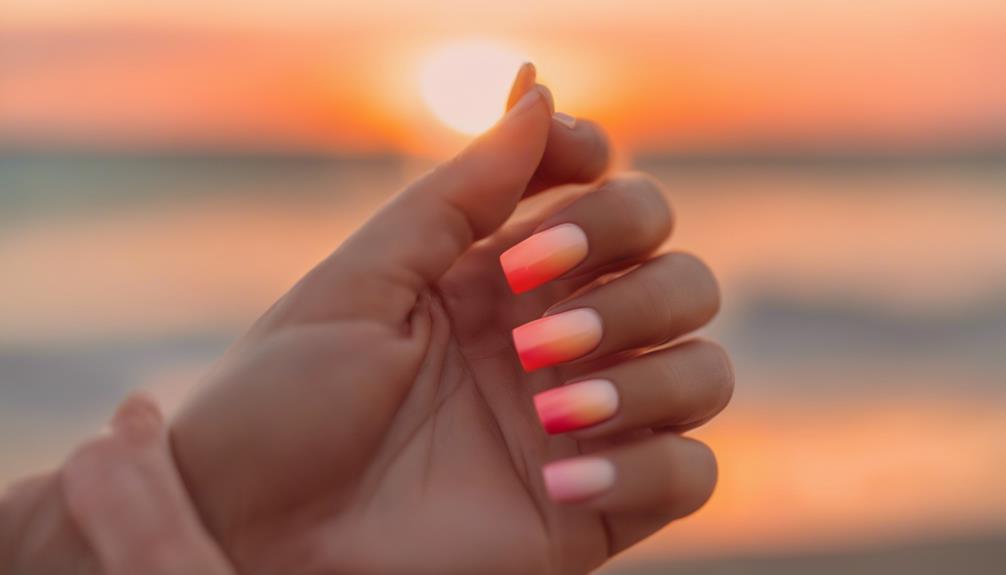
When choosing colors for your sunset ombre nails, consider warm tones like oranges, reds, and yellows. These hues form the foundation of traditional sunset color combinations and serve as excellent nail art inspiration. They capture the vibrant, fiery sky that sets the perfect mood for any occasion.
Experiment with cool tones such as purples, pinks, and blues for a creative twist. Incorporating these shades into your sunset color palettes can provide a unique and eye-catching effect. Mixing and matching complementary colors will help you create a gradient that seamlessly mimics the natural shifts of a sunset.
Don’t hesitate to choose highly pigmented colors. These will ensure your sunset ombre nail design is vibrant and striking, making each nail a mini-masterpiece.
Blending colors smoothly is key to achieving that flawless ombre effect. Experiment with combinations to find the perfect balance and shift from one shade to the next.
Required Tools and Supplies
You’ll need specific nail polish colors and essential tools to create sunset ombre nails.
Ombre powder colors and a gel & lacquer duo are key for a seamless gradient.
With the right supplies, you can achieve vibrant, long-lasting results.
Nail Polish Colors
The Sunset Ombre Nail Polish set equips you with 24 vibrant powders and 24 gel & lacquer duos, guaranteeing you have all the colors needed for stunning ombre nail designs. Nail art trends are always evolving, and this set allows you to create an array of creative designs that keep you ahead of the curve.
With its extensive range, you can mix and match color combinations to suit any occasion, drawing seasonal inspirations from warm summer sunsets to the cool tones of winter evenings.
The long-lasting colors in the nail polish set are perfect for professional and personal use. To achieve the best results, follow the step-by-step application process and ensure even coverage of the colors.
The Sunset Ombre, Nail Polish colors, offer great value for the price and empower you to experiment with endless ombre patterns.
Don’t forget to finish your sunset ombre nails with a top gel for a shiny, professional-looking result. By mastering these hues, you can turn your nails into a canvas of beautiful gradients, showcasing your artistry and style.
Essential Nail Tools
You’ll need a few essential tools to create stunning sunset ombre nails that look professional and last long. Start with a quality nail file to shape and smooth your nails, which is important for good nail care.
Next, apply a base coat to protect your nails and guarantee the ombre colors adhere well. You’ll need ombre powder colors or a gel & lacquer duo that allows for seamless blending techniques for the ombre effect.
Sample tips can be incredibly helpful for achieving the perfect gradient effect synonymous with sunset ombre nails. They let you practice your nail artistry before committing to the final design.
Once you’re happy with the blend, apply the colors to your nails. Consider product recommendations for the best ombre powders and gel lacquers for vibrant, long-lasting results.
Seal your beautiful creation with a top coat to add shine and durability. It locks in the colors, ensuring your sunset ombre nails endure daily wear and tear.
Using these essential tools and following these steps will not only make the process smoother but also enhance the longevity and aesthetic of your nail design.
Step-by-Step Application

To begin the sunset ombre nail art, gather all your necessary supplies, including the Sunset Ombre Powder or Gel & Lacquer Duo.
After prepping your nails and applying a base coat, you can move on to the fun part – creating the gradient effect.
Using a sponge or brush, blend the colors from light to dark for that perfect sunset ombre look.
Gather Necessary Supplies
Start by gathering the Nitro Nails Sunset Ombre Powder and the Gel & Lacquer Duo Colors to ensure you have everything you need for your ombre nail design. Begin your color selection by choosing shades that blend seamlessly from one to the next, creating a beautiful gradient effect. Various complementary colors will make the gradient blending process much smoother.
Next, prepare two sample tips to practice your ombre technique. This step is essential to perfecting the gradient blending before applying the design to your nails. Practicing sample tips helps you get comfortable with the blending process and ensures you achieve the desired look.
Before starting, sanitize your hands thoroughly to maintain a clean and safe working environment. Clean hands prevent any unwanted particles from getting into your manicure, which can affect the final result.
Make sure you have a top gel ready to finish off your design. The top gel adds shine and protects your manicure from chipping or peeling, giving you a long-lasting and polished look.
Apply Gradient Colors
Are you wondering how to achieve that perfect sunset ombre effect on your nails? Follow this step-by-step guide to master the blending techniques and sunset color combinations needed for a flawless look.
First, start with a base coat to protect your nails. After it dries, apply the lightest color from the Sunset Ombre Powder Colors collection as your first layer. This will serve as the foundation for your gradient.
Next, use a sponge applicator to blend the second color from the collection onto the middle of your nail. This is where the magic of blending techniques comes into play. Gently dab the sponge to create a gradient effect.
Here’s a quick breakdown to keep you on track:
- Layer and blend: Continue layering and blending the remaining colors from light to dark.
- Seamless transition: Ensure a smooth and flawless shift between each shade.
- Smooth finish: Gently tap the sponge over the nail to blend the colors.
Pro Tips for a Perfect Gradient
Achieving a perfect gradient for your sunset ombre nails requires patience, practice, and the right techniques. Start with nail care; a smooth, healthy base is essential. Begin with a light base color, creating a canvas for your gradient.
Employ effective blending techniques using a sponge or an ombre brush for a seamless blend. Dab the sponge lightly, moving from the lightest to the darkest shade, ensuring each color flows smoothly into the next.
When considering color selection, draw inspiration from sunsets. Think about the soft yellows, oranges, pinks, and purples that characterize a stunning sunset. Experiment with different combinations until you find the perfect blend that speaks to you.
Apply thin layers of each color to avoid clumping and maintain an even gradient. Gradually building up the colors gives you more control over the final look.
Once your gradient is in place, seal it with a top coat. This step is vital for protecting your design and adding a glossy finish, giving your nails a professional touch.
With these tips, you’ll master the art of sunset ombre nails in no time.
Maintenance and Longevity
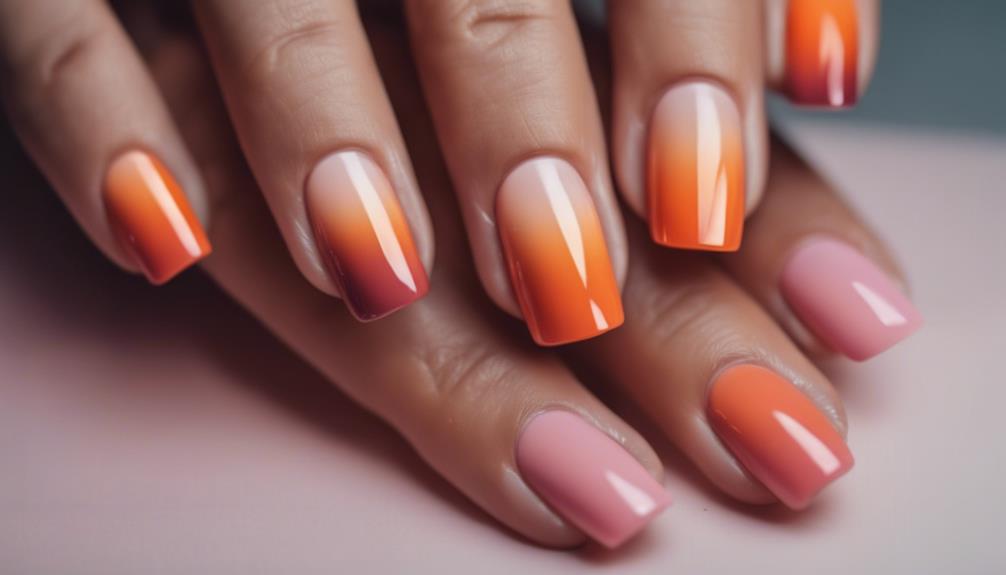
To guarantee that your sunset ombre nails stay vibrant and intact, follow proper maintenance and longevity practices. Use a high-quality top gel to seal and protect your nails, ensuring long-lasting wear.
Regularly moisturizing your cuticles will keep your nails looking fresh and healthy and prevent dryness that can lead to chipping.
Avoid harsh chemicals and excessive exposure to water, as these can cause the ombre design to fade and chip. Simple day habits can make a big difference in maintaining your manicure. For example, wearing gloves when doing chores can protect your nails from potential damage.
Here are three essential tips for nail care and extending the life of your sunset ombre nails:
- Touch-ups every 2-3 weeks: These will help maintain the vibrancy and integrity of your design.
- Moisturize your cuticles: Keeping them hydrated prevents cracks and keeps your nails healthy.
- Avoid harsh chemicals: Limit exposure to prevent fading and chipping.
Popular Design Variations
From vibrant gradients to intricate details, sunset ombre nails offer a wide range of popular design variations that suit any style. You can use different color combinations to create the perfect sunset beach look. Imagine shades of orange fading into pinks and purples, mimicking a dreamy evening sky. To add a bit of sparkle, you might opt for glitter or shimmer accents, which can elevate the overall design and make your nails truly pop.
For those looking to embrace tropical vibes, consider adding palm tree silhouettes or beach scenery to your ombre nails. These elements can transport you to a serene beach setting every time you glance at your hands. Cloud patterns are another popular variation, adding a whimsical touch that complements the gradient background beautifully.
Here’s a quick guide to some popular design variations:
| Design Element | Description |
|---|---|
| Sunset Beach | Oranges and pinks with palm tree silhouettes |
| Tropical Vibes | Bright gradients with beach scenery details |
| Cloud Patterns | Soft blues and purples with fluffy cloud accents |
These variations allow you to customize your sunset ombre nails to match your style and evoke that perfect summer or vacation vibe.
Inspiring Sunset Ombre Ideas
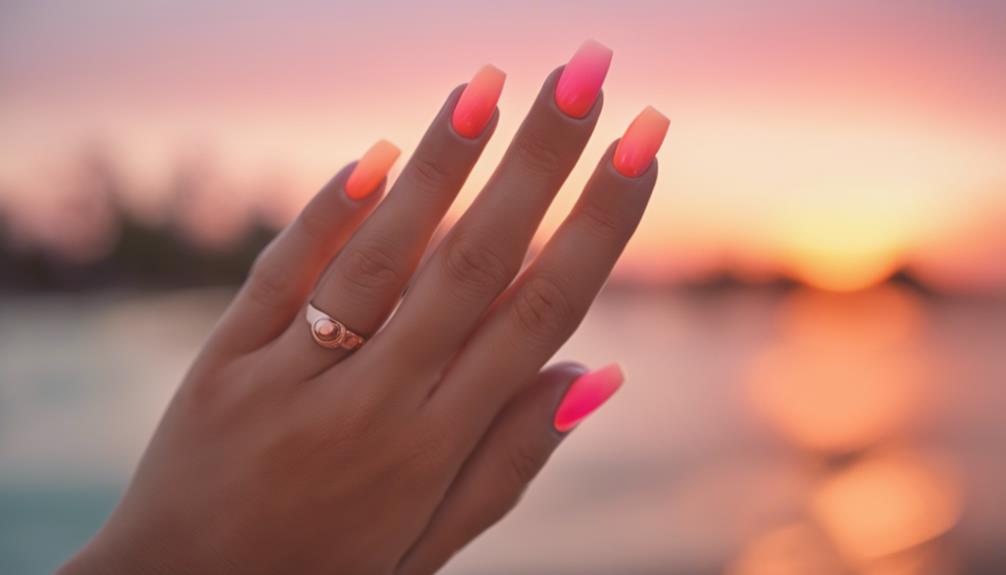
Immerse yourself in these inspiring sunset ombre ideas that will elevate your nail game and bring the beauty of dusk right to your fingertips.
Whether you’re a fan of shimmering sparkles or a more subdued look, there’s a sunset ombre style for everyone. Here are three enchanting ideas to try:
- Sunset Ombre with Glitter: Add a touch of glamour with glitter accents. Start with a deep orange at the base, moving smoothly to a soft pink at the tips, and sprinkle some gold or silver glitter across the gradient. This look captures the twinkling stars that appear as the sun sets, adding an extra layer of magic.
- Sunset Ombre with Matte Finish: For a sophisticated twist, try a matte finish. Use rich reds and purples for your gradient, and apply a matte top coat to mute the shine. This creates a velvety, elegant, modern appearance, perfect for any occasion.
- Classic Sunset Ombre: Stick to the classic blend of warm sunset hues—deep oranges, vibrant reds, and soft purples. For a seamless shift, experiment with ombre powder, gel, or lacquer duo colors. This timeless look never goes out of style and brings warmth to your nails.
Experiment with these ideas, and you’ll find a sunset ombre design that suits your style!
Conclusion
You’ve now mastered the art of sunset ombre nails! You can create a stunning gradient effect by choosing the right colors, gathering the necessary tools, and following the step-by-step application process.
Pro tips help perfect the look, while proper maintenance guarantees longevity.
With popular design variations and plenty of inspiring ideas, your nails will always stand out.
So, show off your gorgeous sunset ombre nails and turn heads everywhere you go!

