

Shortening acrylic nails at home might seem intimidating, but you’ll find it manageable with the right tools and careful steps. Gather essentials like a straight nail clipper, a 100/180 grit file, and acetone-based nail polish remover. It would be best to soften the nails first; otherwise, you risk damaging them. After that, trimming and shaping come next, but there’s an important technique to avoid harming your natural nails. Are you ready to discover the best way to achieve a salon-quality finish in your home? Let’s break down the process step by step.
Key Takeaways
- Use a straight nail clipper to cut halfway through the acrylic nail for controlled shortening.
- Soften acrylic nails with acetone-based nail polish remover before clipping to prevent cracking.
- File nails gently in one direction using a 100/180 grit file to shape and smooth the edges.
- Check for symmetry and even length while filing to ensure a neat finish.
- Buff the nail surface with a medium to fine-grit buffer for a smooth and polished look.
Gather Your Tools
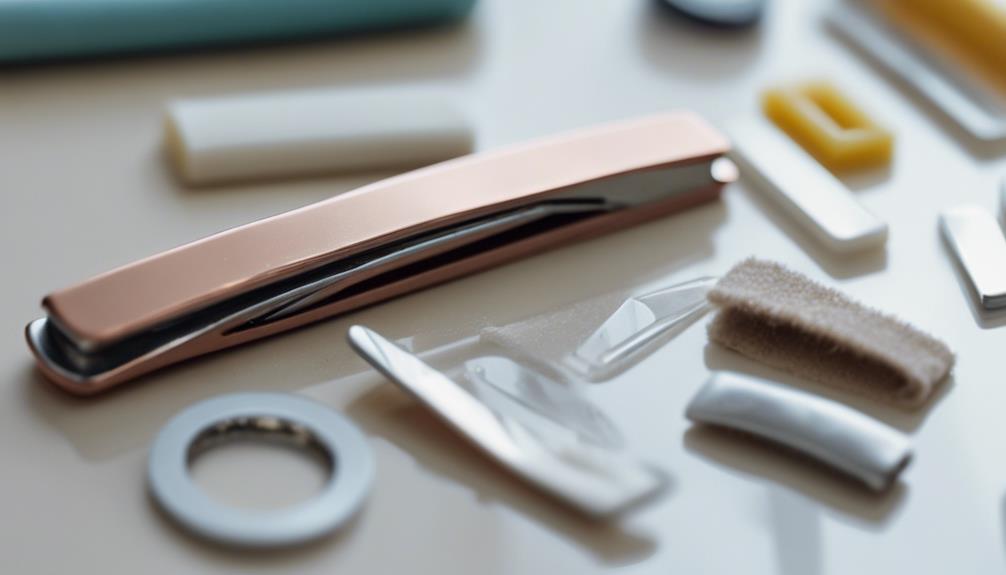
To shorten your acrylic nails at home, gather cotton balls, nail polish remover, a straight nail clipper, a 100/180 file, and a buffer. These tools are essential for a neat and precise nail-shortening process.
Start by ensuring you have plenty of cotton balls and a nail polish remover, preferably with acetone, as it effectively breaks down nail polish. This step is optional but recommended to maintain cleanliness and a structured appearance of your nails.
Next, a straight nail clipper is critical for trimming acrylic nails. It’s designed to handle the thickness of acrylics better than a regular curved clipper, allowing you to cut through them smoothly without damaging your natural nails underneath.
The 100/180 file is a dual-grit nail file, perfect for shaping and smoothing the edges after clipping. The 100-grit side helps shape the acrylic nails, while the 180-grit side is gentler and ideal for refining the edges.
Choose Your Method
Choosing the appropriate method for shortening your acrylic nails guarantees a safe and effective process customized to your needs. If this is your first time doing this, you might feel overwhelmed by the options. Don’t worry—we’ve got you covered.
First, decide whether you want to soften the acrylic nails using nail polish remover or shorten them without removing the polish. Softening the nails can make the trimming process easier and reduce the risk of cracking.
Consider the type of polish you have on your nails. Select a method that preserves the gel layer if you’re wearing gel polish. You don’t want to ruin your manicure while shortening the nails. For instance, a fine-grit file can help you maintain the gel polish without causing damage.
Different methods may be more suitable depending on your nail type and the tools you have at hand. Electric nail files can offer precision but require a steady hand, especially for beginners. Manual files and clippers are more straightforward but might take longer.
Choose the best method that aligns with your comfort level and the tools available.
Trim to Desired Length
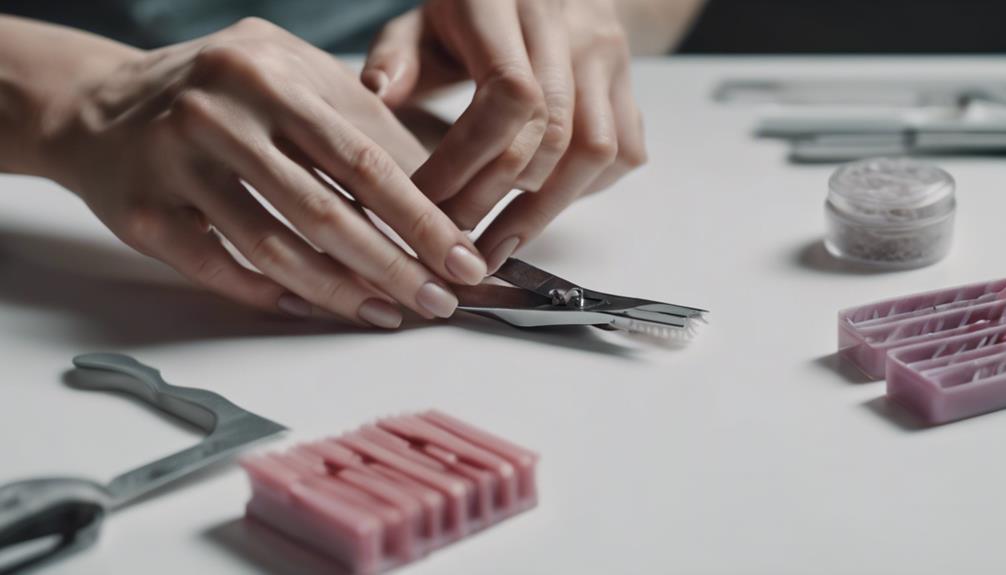
Start by cutting halfway through the nail to minimize the risk of breakage and guarantee a clean trim. This technique helps maintain the strength of both your acrylic and natural nails.
Use a straight nail clipper, specifically designed for artificial nails, to trim them to your desired length. Avoid cutting too close to the natural nail to ensure proper nail care and prevent discomfort.
Here are some key points to keep in mind:
- Precision: Always cut halfway first to avoid splintering the acrylic.
- Tools: Use a straight clipper for a cleaner cut.
- Gentleness: Be gentle to maintain nail health.
- Safety: Ensure you don’t trim too close to the natural nail.
Taking your time is essential for effective acrylic maintenance. Rushing through can lead to uneven edges and potential damage.
After achieving the desired nail length, you can smooth the edges. Remember, patience and precision are your best tools in this process.
Proper trimming enhances the appearance of acrylic nails and contributes to overall nail care and health.
Shape and File
To create the desired shape, begin shaping your acrylic nails using a 180/100 grit file. Start with gentle strokes, moving in one direction to avoid splitting the acrylic. Proper filing technique is essential for maintaining the integrity of your nails. Short, controlled motions help prevent unnecessary damage and ensure a smooth finish.
While shaping, periodically perform a symmetry check. Hold your hands before you and adjust the shape until both nails look balanced. This step ensures a professional-looking result and enhances the overall appearance of your manicure. Don’t rush this process; precision is key.
Focus on filing the edges smoothly for a snag-free finish. Rough edges can catch on clothing or hair, leading to potential breakage.
After achieving the desired shape, run your fingers along the edges to check for rough spots and file them down as needed. This attention to detail is vital for proper acrylic maintenance.
Buff the Surface
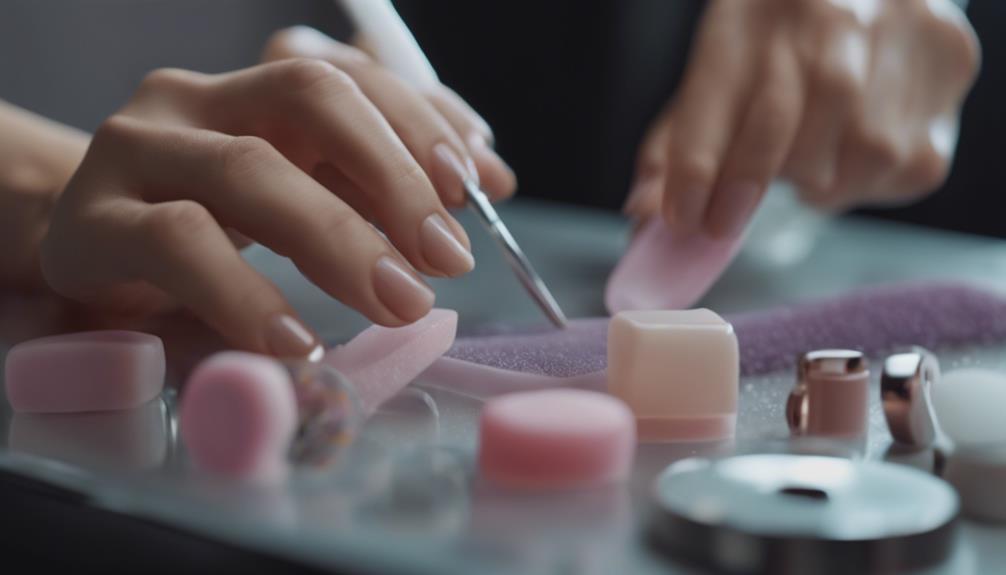
To achieve a smooth and polished finish, choose the proper buffing tool and use gentle pressure as you work.
Buffing helps eliminate any rough edges or imperfections left from trimming.
Remember to smooth and shine the nails evenly for the best results.
Choose the Proper Buffing Tool
Selecting the right buffing tool is essential for achieving a smooth and even surface on your acrylic nails. Not only does it enhance the overall look, but it also plays an important role in nail health. Proper buffing techniques can prevent snagging and potential damage, promoting better nail maintenance. The right tool can make all the difference.
Here are some key points to keep in mind when choosing your buffing tool:
- Grit Level: Choose a buffer with medium to fine grit. Coarser grits can be too aggressive and damage the acrylic surface.
- Material: Opt for a high-quality, durable material to ensure consistent performance and longevity.
- Ergonomics: A comfortable grip will make the buffing process easier and more effective.
- Multi-Sided Buffers: These tools often come with different grit levels on each side, providing versatility for various buffing needs.
Utilizing the correct buffing techniques enhances nail health and guarantees a longer-lasting manicure. The benefits of buffing go beyond aesthetics, contributing to overall nail maintenance. Don’t forget to wash your hands after buffing to remove any excess dust and prepare your nails for the next steps. With these buffing tips in mind, you’re well on your way to beautifully maintained acrylic nails.
Use Gentle Pressure
After selecting the appropriate buffing tool, apply gentle pressure to the surface of your acrylic nails to avoid damage while achieving a smooth finish. This step is vital in nail care, ensuring that your efforts in acrylic maintenance yield the best results. Using gentle pressure helps you avoid creating grooves or uneven patches on your nails, which can compromise their appearance and health.
Buffing the surface smooths out any rough edges left from shortening and prepares your nails for the next steps, such as applying nail polish. One of the top DIY tips for acrylic nails is always using a light hand when buffing. Pressing too hard can cause cracks or weaken the acrylic, leading to potential breakage.
Moreover, buffing promotes better adherence to nail polish, ensuring a longer-lasting, professional-looking manicure.
After you’ve finished buffing, it’s crucial to wash your hands thoroughly. This removes acrylic dust and maintains cleanliness, a fundamental aspect of good nail care.
Smooth and Shine
Polishing the surface of your acrylic nails guarantees they stay smooth and polished. After trimming your nails, buffing the surface to achieve a flawless finish is important. This step is vital in nail care and ensures your DIY manicure looks professional and well-maintained.
To buff your nails effectively, follow these steps:
- Choose the right tools: Use a buffing block or buffer designed specifically for nails.
- Buff gently: Apply gentle pressure to smooth rough edges or uneven surfaces without damaging the nails.
- Clean up: After buffing, wash your hands to remove acrylic dust.
- Inspect: Make sure the nails are smooth and polished before moving on to the next step.
Buffing not only gives your nails a shiny finish but also helps the polish adhere better, prolonging the life of your manicure. It’s a critical part of nail maintenance, keeping your nails snag-free and well-groomed.
Apply Nail Polish
Now that you’ve buffed the surface, it’s time to choose your desired nail polish color.
Start by applying a base coat to prevent staining.
Then, apply your chosen color for a fresh, vibrant look.
Choose Desired Color
Selecting your desired nail polish color is an exciting step that lets you showcase your style. Whether aiming for color coordination or making a bold style statement, this choice is all about expressing yourself. Think about the occasion and your outfit. Are you looking for fun shades or trending picks? The right color can elevate your entire look.
To help you decide, consider these factors:
- Color coordination: Match your nails with your outfit for a cohesive appearance.
- Style statement: Choose a color that reflects your personality or the mood you want to convey.
- Fun shades: Bright colors and pastels can be playful and eye-catching.
- Trendy picks: Stay in vogue by opting for colors currently in fashion.
This is the perfect time to draw design inspiration if you’re into nail art. Whether it’s intricate patterns or simple accents, your chosen color will be the canvas for your creativity.
Apply Base Coat
Applying a base coat is essential to protecting your natural nails and guaranteeing your polish lasts longer. One of the main benefits of a base coat is that it creates a protective barrier, preventing your nails from getting stained by colored polish. Additionally, base coats often contain vitamins and proteins that nourish and strengthen your nails, promoting overall health.
Regarding application tips, start by ensuring your nails are clean and dry. Apply a thin, even layer of base coat to each nail, covering the entire surface. Don’t rush—allow the base coat to dry completely before moving on to your chosen nail color. This step is vital for achieving a smooth, flawless manicure.
The importance of using a high-quality base coat can’t be overstated. Investing in a good product will enhance the look and longevity of your manicure, ensuring your polish adheres better and lasts longer.
Conclusion
Now you know how to shorten your acrylic nails at home easily. Gathering your tools, choosing the right method, trimming, shaping, filing, and buffing will ensure salon-quality results in no time.
Don’t forget to finish with a coat of your favorite nail polish for that perfect touch. With some practice, you’ll master the art of DIY acrylic nails and save time and money.
Happy nail crafting!

