

You’ve probably noticed that sometimes your nails lift acrylic, creating those annoying gaps. It’s not just a cosmetic issue; it can lead to damage if not handled properly. The causes range from improper application to everyday wear and tear. But how can you tell when it’s happening, and, more importantly, what can you do to stop it? Understanding the signs and adopting preventive techniques can make all the difference. So, let’s explore the essential steps to maintain your nails and avoid those pesky gaps.
Key Takeaways
- Ensure proper nail prep by cleaning and dehydrating the natural nail before application.
- Apply a high-quality primer evenly to enhance acrylic adhesion and prevent lifting.
- Use fresh products and avoid expired materials to maintain effective bonding.
- Apply acrylic in thin, even layers to avoid thick application that causes lifting.
- Regularly inspect for air pockets or gaps and address them promptly to prevent further issues.
Causes of Nail Lifting
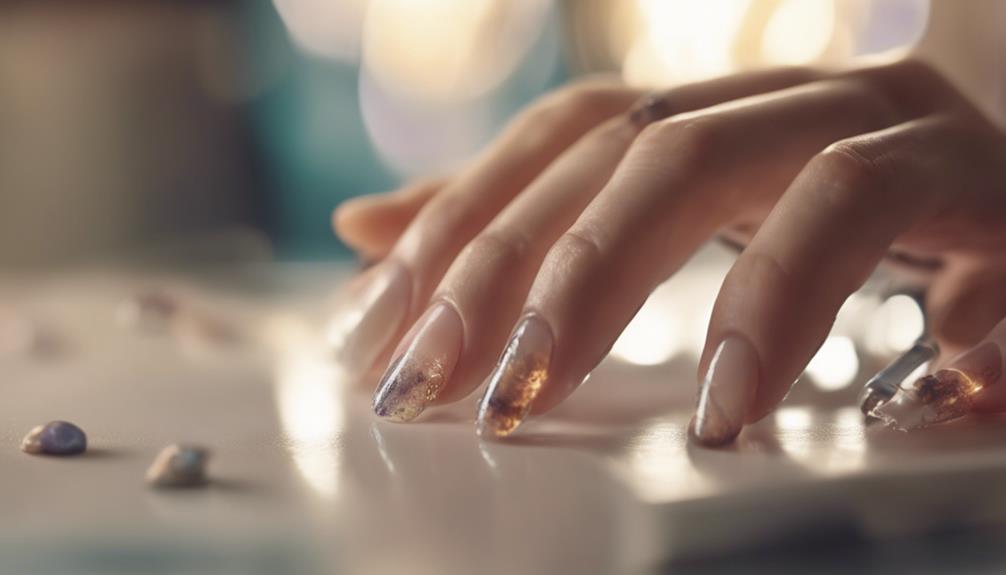
Nail lifting often occurs due to incorrect nail prep, oil residue, thick acrylic application, and using old products. It is best to ensure that your natural nails are properly prepped before any acrylic application. Start by thoroughly cleaning and dehydrating your nails to remove any oil residue. This is important because any leftover oils can prevent the acrylic from adhering correctly, leading to lifting.
Primer application is another essential step that you shouldn’t overlook. A good primer helps the acrylic bond better with your natural nail, reducing the chances of lifting. Make sure you’re using a high-quality primer and apply it evenly.
Thick acrylic application can also cause lifting. Aim for a thin, even layer to avoid unnecessary bulk that could lead to lifting.
Additionally, using old or expired products can weaken the bond between the acrylic and your natural nail, making lifting more likely. Always check the expiration date on your products and replace them as needed.
Signs and Symptoms
It’s a clear sign of nail lifting when you notice visible gaps or air pockets under your acrylic nails.
You might also experience discomfort or sensitivity in the affected area.
Look out for color changes or peeling, as these symptoms indicate that the nail enhancement separates from the natural nail bed.
Visible Nail Separation
Visible nail separation, often a telltale sign of acrylic lifting, appears as noticeable gaps between your natural nail and the acrylic enhancement. You might observe air pockets, gaps, or even complete detachment of the acrylic from the nail bed. These signs indicate that the bond between your nail and the acrylic has weakened, leading to lifting.
Identifying visible nail separation early is crucial to address the issue promptly and avoid further damage. Look out for these signs:
| Sign | Description | Action Needed |
|---|---|---|
| Air Pockets | Small bubbles under acrylic | Light buffing, professional help |
| Gaps | Visible space between layers | Reapplication or removal |
| Complete Detachment | Acrylic lifts off entirely | Full removal and reapplication |
When you see these signs, it’s essential to take action. You could seek professional help or adjust your nail care routine to resolve the separation. Addressing nail lifting early can prevent more severe issues and maintain the health of your natural nails. Don’t ignore these symptoms; prompt action is your best defense against further complications.
Discomfort and Sensitivity
Experiencing discomfort and sensitivity around the lifted acrylic nail often signals that the issue has progressed beyond mere visible separation. When nail lifting occurs, you might notice throbbing or a sensation of heat in the affected area. This discomfort isn’t just a minor inconvenience; it’s your body’s way of indicating something’s wrong.
Even after you remove the acrylic nail, the discomfort can persist, indicating that your natural nail might need more care.
Keeping your real nails short can help mitigate the pain. Longer nails are more likely to catch on things like clothing, which can exacerbate the discomfort and potentially cause more damage.
While it might be tempting to try and handle this on your own, seeking professional advice is highly recommended. A nail technician or dermatologist can properly assess the extent of the nail lifting and offer appropriate treatment options.
Ignoring the discomfort and sensitivity can lead to more serious issues, like infections. Addressing these symptoms promptly ensures you take the right steps to prevent further complications. Don’t wait for the discomfort to become unbearable—take action as soon as you notice these signs.
Color Changes Observed
Noticing color changes in your acrylic nails can be an early warning sign of underlying issues needing attention. When you observe yellowing or darkening, it might indicate a fungal infection or a reaction to certain chemicals. These color changes can often accompany nail lifting, making it vital to take prompt action.
White spots or patches are another sign to watch for. These often result from moisture entrapment or air bubbles during the acrylic application. If you see these white areas, it might mean that your nails weren’t applied correctly, and you should consider getting them checked.
The green discoloration is particularly concerning. It’s usually a sign of bacterial or fungal growth under the acrylic. This kind of color change often goes hand-in-hand with nail lifting, signaling a need for immediate treatment to prevent further complications.
Lastly, sudden color changes like pink or red streaks could indicate an underlying infection or trauma to the nail bed. These streaks suggest that something’s wrong and shouldn’t be ignored. Monitoring these color changes is essential for detecting potential issues early and seeking appropriate treatment.
Prevention Techniques
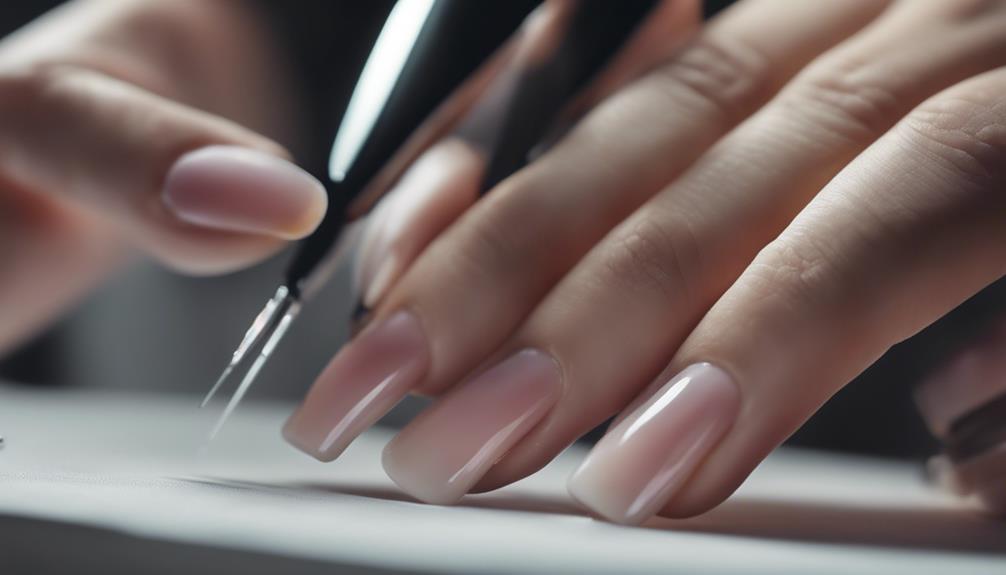
To prevent nail lifting and reduce the risk of bacterial infections, thoroughly sanitize your nails. Clean nails are less likely to harbor bacteria that can compromise the adhesion of your acrylic nails.
After sanitizing, dehydrate the nails to remove any natural oils. This step is essential for improving adhesion and reducing the chances of lifting.
Next, apply a high-quality primer. This guarantees that the acrylic nail adheres properly to your natural nail bed. When working with acrylic, always use high-quality products. Substandard materials can lead to poor adhesion and, eventually, lifting.
Also, pay close attention to the liquid-to-powder ratio when applying acrylic. Too much liquid can make the acrylic too runny, while too much powder can make it brittle. Both conditions can cause lifting. Aim for a creamy consistency to maintain strong adhesion.
Lastly, cap the free edge of your nail with each layer of acrylic. This creates a seal that helps secure the nail enhancement and prevents lifting.
Proper Removal Methods
Soak your nails in acetone to soften the material and safely remove acrylic nails. Then, use gentle filing techniques to aid in the removal without damaging your natural nails.
Afterward, apply cuticle oil or moisturizer to nourish your nails and skin.
Soaking Techniques
Immersing your nails in acetone is essential for safely removing acrylics without harming your natural nails. Nail lifting often occurs due to improper removal techniques, so using the right method is vital for maintaining product control and healthy nails. Start by soaking cotton pads in acetone and placing them directly on your nails. Wrap each finger in foil to keep the acetone in contact with the acrylic.
The soaking process typically takes 20-30 minutes. The acetone softens the acrylic during this time, making it easier to remove. Don’t rush; patience is key to preventing damage to your natural nails. Regularly check the cotton pads to ensure they remain saturated with acetone and replenish them if necessary. This will uphold the effectiveness of the removal process.
Once the acrylic has softened, gently remove it with a cuticle pusher or a wooden stick. Avoid forcing it off, as this can harm your natural nails.
Gentle Filing Tips
When removing acrylic nails, gently filing with a fine-grit nail file is vital to protect your natural nails. Start by selecting a 180-grit file, perfect for this delicate task.
Carefully begin filing the surface of the acrylic, working slowly and with minimal pressure. This helps prevent any trauma to your natural nail bed.
Avoid aggressive filing or pressing too hard, which can lift nails and cause potential damage. Instead, focus on gradually thinning out the acrylic layers.
Take your time to ensure you don’t file too deeply, as this can thin and weaken your natural nails. The goal is to slowly reveal the natural nail without causing any harm.
If you notice any lifting of the acrylic, stop and assess the situation. It’s better to proceed cautiously than to risk damaging your nail. Remember, patience is key.
Moisturizing Aftercare
After removing your acrylic nails, it is vital to prioritize moisturizing your nail bed to restore moisture and prevent dryness. Start with a high-quality cuticle oil or a nourishing nail cream. Applying these regularly will promote healthy nail growth and repair any damage caused by the acrylics. Focus on the area around your cuticles and the nail bed itself, as moisturizing these areas can prevent brittleness and breakage.
Don’t skip this step; regular moisturizing can help prevent hangnails and promote a smoother nail surface. You might notice that your nails are thinner or weaker after removal; that’s normal. Consistent moisturizing will strengthen your nails over time.
Incorporate this step into your daily routine for the best results. Massage the cuticle oil or cream into your nails before bed to allow the product to work overnight. This will give your nail bed the hydration it needs to repair and rejuvenate.
When to Seek Medical Attention
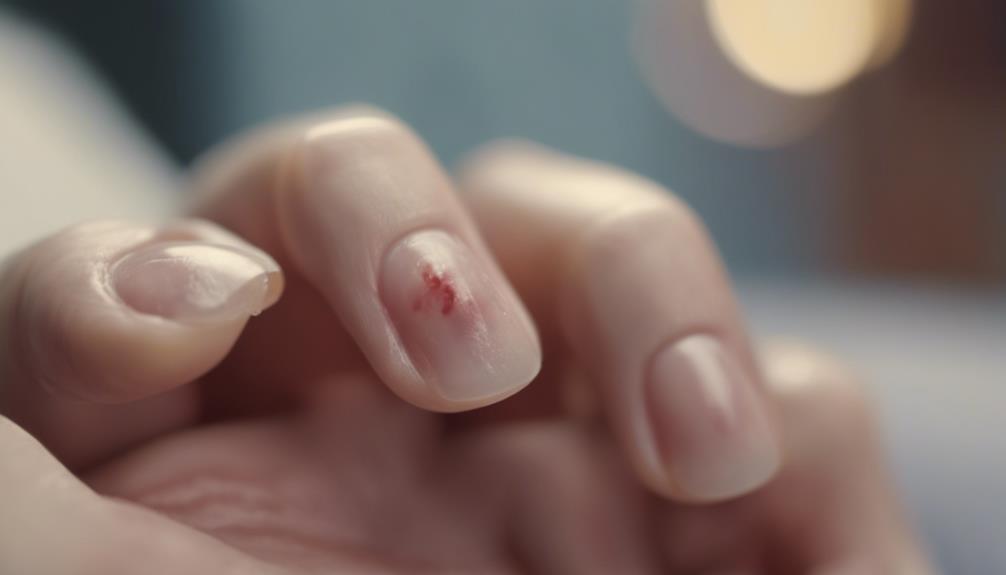
If you’re experiencing severe pain or signs of infection around your lifted acrylic nail, it’s important to seek medical attention promptly. When a nail plate begins lifting due to an acrylic application, it can be more than just an aesthetic issue. Immediate medical care is vital if the lifted nail causes excessive bleeding or exposes the nail bed.
Persistent throbbing, redness, or swelling are clear indicators to consult a healthcare professional. These symptoms may signify an underlying infection that requires timely intervention. Don’t delay seeking medical advice if you notice pus discharge, a foul odor, or any other signs of illness.
| Symptom | Action Needed |
|---|---|
| Severe pain | Seek medical attention |
| Signs of infection | Consult a healthcare professional |
| Excessive bleeding | Immediate medical care |
| Exposed nail bed | Visit a doctor |
| Persistent redness, swelling, or throbbing | Medical evaluation |
Any damage to the nail bed or significant trauma should not be taken lightly. These conditions can impact your overall nail health. It’s always better to err on the side of caution and get a professional opinion if you’re concerned about the state of your lifted acrylic nail.
Expert Tips and Advice
Follow these expert tips and advice to ensure your acrylic nails stay intact and healthy. Start by preparing your nails properly. Remove the cuticles thoroughly and dehydrate the nail plate to create a perfect base for the acrylic. These steps are essential for preventing lifting.
When applying the acrylic, use high-quality products and ensure the correct liquid-to-powder ratio. This balance will help maintain strong adhesion. Don’t forget to cap the free edge with each layer of acrylic. This seals the product, preventing moisture from seeping in and causing lifting.
Rushing through the application process is a common mistake. Take your time to ensure each layer is applied correctly. Also, remember to perform regular maintenance and avoid using expired products, as these can compromise the integrity of your acrylic nails.
For the best results, seek advice from a licensed nail technician. They can provide personalized tips and ensure you follow recommended aftercare instructions. Invest in quality nail products to prevent lifting and maintain your health.
Conclusion
Remember, preventing nail lifting acrylic is all about patience and gentle care. Don’t rush the removal process—take your time to thin out the acrylic layers gradually. Always avoid aggressive filing and be mindful of the pressure you apply.
If you notice any lifting, stop immediately to avoid further damage. Following these steps will protect your natural nails and maintain their health. Take these expert tips to heart, and your nails will thank you!

