

Bidding goodbye to a broken nail doesn’t have to mean sacrificing style and grace. We’ve all been there – one wrong move, and there goes your manicured glory! But cheer up! Correction is just as simple as the mishap. This blog will guide you on fixing a broken nail at home using items readily available in your household. Here, we turn crisis into craftiness. Hold tight and remove those salon savior thoughts because you’re about to become your nail champion!
To fix a broken nail, trim the length and file in any rough edges. Then, apply a small piece of clean tea bag over the crack using a clear base coat. Once dry, buff out any rough patches and paint the repaired nail with your favorite polish color, followed by a top coat. Alternatively, nail stickers can camouflage any irregularities on your nails if you don’t have polish or are pressed for time. Remember to dry your nails, moisturize them daily, and avoid harsh nail products to prevent future breaks.
Quick Temporary Fix and Repair for Broken Nail

Broken nails can be quite bothersome, especially if you’re someone who relies on their hands frequently. Fortunately, you can do quick temporary fixes at home that should keep your nail intact until you have time to make a more permanent fix. One such method is to apply a small piece of transparent tape over the break, which helps keep the nail together.
Another way to temporarily fix a broken nail is by using a tea bag. Yes! The same tea bags used for brewing tea can come in handy in fixing your nails. Cut a clean teabag into an appropriate size that can cover the broken area of your nail. Apply a coat of clear nail polish on the broken part and place the tea bag piece over it while it’s still wet. Before applying another layer of clear polish, remove any creases with a toothpick or manicure tool. This will offer enough reinforcement to continue your daily routine without worrying about your broken nails.
Applying Nail Adhesive and Using Acrylic
If you want to fix your broken nail using something sturdier than tape or tea bags, try using nail adhesive and acrylic powder. While this method requires more work than previous temporary fixes, it also provides better protection for future use.
- Please wash your hands with soap and water, scrubbing gently, and ensure they are thoroughly dried.
- Remove any existing nail polish and file down sharp edges around the broken part of the nail.
- Apply a small dot of nail adhesive to the affected area, avoiding damage to surrounding areas.
- Allow the glue to dry completely before applying another adhesive dot using the same technique.
- Once the adhesive is dry, evenly apply acrylic powder to the glued area using a small brush.
- Ensure the powder is spread thoroughly across the glued area for later sanding.
- Allow the mixture to dry, then buff your nails to smoothness, preparing them for nail polish application.
- Enjoy your fixed, reinforced nail that should remain secure for an extended period.
Proper Nail Preparation and Application
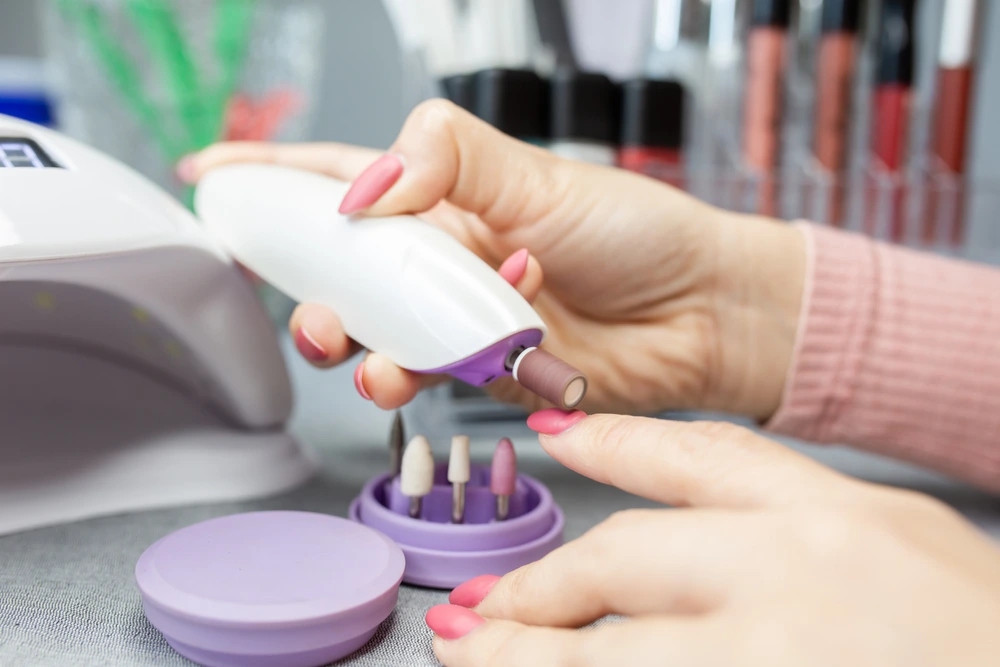
A key to fixing a broken nail is proper preparation. Start by trimming your nails to the desired length, cleaning the surrounding area, and applying cuticle oil. Next, choose an adhesive that will hold the nail together. Superglue is not recommended due to harsh chemicals that damage the nails further. Instead, nail glue offers a safer option.
Apply the nail glue sparingly, as too much can cause stiffness. Use a toothpick or cuticle stick to apply just enough glue onto the broken edges of your nail before gently squeezing both parts together.
Cleaning the Surrounding Nail Bed and Gel Powders Use
Filing your nails immediately after breakage can exacerbate damage and weaken them further. Instead, use an alcohol-based solution or rubbing alcohol to clean debris around the affected area. Treat your nails with the same delicacy you would give a broken bone; rushing may lead to irreparable damage in the long run.
Now, ready for repair, apply gel powder to provide extra strength and aid growth. Gel powders enhance polish application in several colors and last longer than traditional polish.
| Advantages | Disadvantages |
| Sturdiness | Time-consuming application process |
| Long-lasting wear | Removal may require filing |
| Various color options | Potential damage if applied incorrectly |
When using gel powder, ensure all broken edges are covered thoroughly with adhesive before dusting the powder evenly over your damaged nail. Tap off excess powder before curing under UV light for best results.
Once cured, remove excess gel powder carefully using a buffer. Moreover, you must avoid water or harsh soaps when washing your hands for at least an hour after application since they’ll weaken the adhesive strength of the gel.
Finishing Touches to Repair a Broken Nail
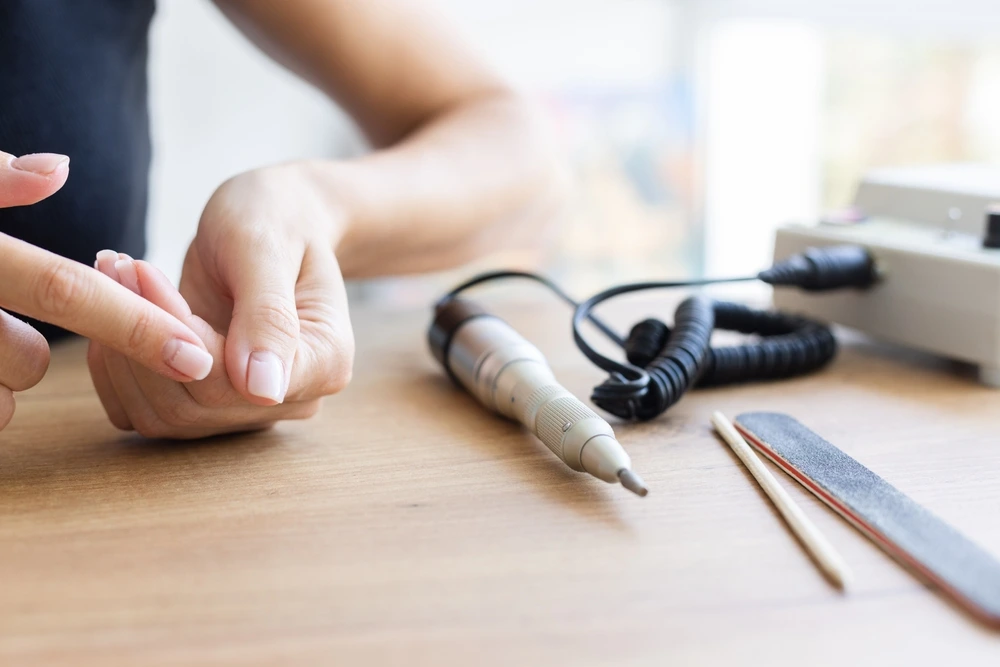
Congratulations on repairing your broken nail! Now it’s time for some finishing touches to help the repaired nail look as natural as possible. These little details can make all the difference in attaining a polished and professional look.
An irregular surface is one of the most obvious tell-tale signs of repaired nails. Your goal should be to create as smooth a surface as possible. To achieve this, consider using a few basic tools:
- A fine-grit file to shape and smooth the surface.
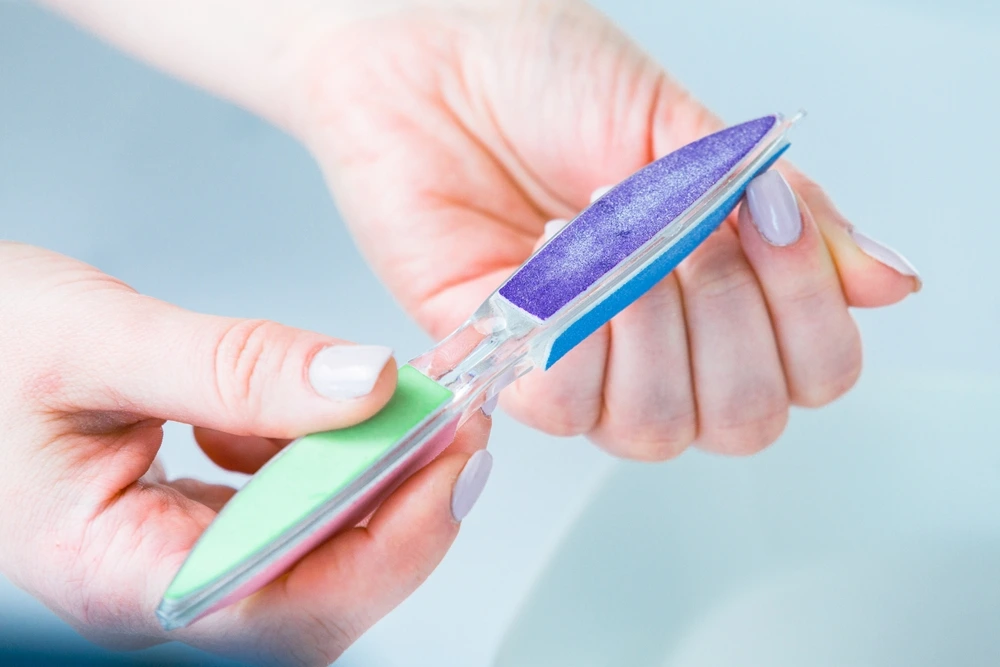
- A high-quality buffer capable of smoothing out small bumps and scratches.
| PRODUCT RECOMMENDATIONS |
| Fine-grit file: Essie Nail File |
| Buffer Block: Tweezerman Smooth Finish Facial Hair Remover |
Gently work across the nail’s surface with the file, shaping it to match the other nails.
Next, use the buffer block in back-and-forth and side-to-side motions. Repeat until all visible bumps have evened out and you’re happy with the result.
Remember that you want to avoid over-buffing, or you run the risk of uprooting any progress you’ve made in strengthening your nails (which we’ll talk about shortly). So take it slow, be gentle, and enjoy the process!
Gentle Filing and Buffing
Nail files, buffers, and polish are valuable resources in every beauty arsenal. They’re essential when dealing with a broken nail, helping ensure its strength as it grows while maintaining its aesthetics.
Start by gently filing down any uneven edges left from repairs, taking extra care not to hit living tissue that may still exist near the cuticle or at the root. You don’t want to disturb the nail bed – this could lead to inflammation and pain, so file with short strokes in one direction, never back-and-forth.
After shaping, buff your nails to reduce ridges and bumps. This gives your repaired nail a smooth finish. Use a four-sided buffer block of 240-250 grit or higher and work across the nail from left to right or back and forth until smooth. This will establish a better surface, making it easier for polish repair kits to adhere to.
Now that your nail looks fresh and polished, how do you maintain its strength to avoid further damage?
- According to the American Academy of Dermatology, nails grow at an average rate of 3.47 millimeters per month, making them susceptible to breaks and tears.
- A British Association of Dermatologists survey found that almost 50% of people experience nail breakage regularly.
- A 2014 study revealed that about 35% of visits to dermatology clinics are because of problems with nails, one of the common issues being broken nails.
Improving Nail Strength to Prevent Future Damage
One way to prevent future nail damage is by improving their overall strength. There are several simple steps that you can integrate into your daily routine, which can make a significant difference in the long run. First and foremost, ensure adequate hydration by drinking plenty of water and using cuticle oils to keep moisture locked in while avoiding harsh chemicals that could further dry out nails. You may also consider biotin supplements to enhance nail thickness and strength.
Regular nail trims go a long way towards building stronger and healthier nails, preventing breakage and splitting, and filing the nails in one direction to avoid friction or snagging on clothes. Nail polishes also act as a protective layer; however, be sure not to forget basecoat application before polishing to prevent staining. These measures will make breaking rare, allowing your natural nails to grow strong with time.
For instance, Leigh is an avid gardener who works frequently with soil that dries out her hands and weakens her nails. Leigh improved her nail health with regular handwashing using natural soap without harsh chemicals and applying hand cream with shea butter and cuticle oil to keep it hydrated. She noticed stronger nails within a week of incorporating these habits.
Improving Nail Strength
Here are some tips for improving nail strength:
| Tips For Improving Nail Strength |
|
|
|
|
|
Take preventive nail care measures, like brushing your teeth twice daily, to avoid dental issues. The minor changes we make today can have immense beneficial effects.
Nail care isn’t rocket science; it’s more about building healthy habits in everyday life. Improving your nail strength will prevent future damage and ensure your nails always look their best. Implementing these changes may be challenging initially, but with consistent effort and dedication, you’ll achieve optimal results that will leave you amazed!
Preventive measures to improve nail strength can prevent damage and ensure healthier nails. Some key steps include staying hydrated, using cuticle oils, avoiding harsh chemicals, using regular nail trims and filing in one direction, applying a base coat before polishing, and considering biotin supplements. These changes may take effort and dedication but will lead to stronger and more beautiful nails in the long run.

