

You’ve decided to try your hand at a gradient nail design inspired by the 80s, but where to begin? Start by picking out those vibrant neon shades that scream retro. You’ll need a makeup sponge for precision and a steady hand to blend the colors smoothly. But here’s the trick—it’s all in the technique. Do you know how to achieve that perfect shift from electric blue to hot pink? Each step plays an essential role in capturing that iconic 80s flair, from preparing your nails to the final top coat. Curious yet? Let’s explore how you can master this look.
Key Takeaways
- Select vibrant neon shades like hot pink and electric blue for an iconic 80s look.
- Use a makeup sponge to apply colors, creating a smooth gradient effect.
- Apply a base coat to protect nails and provide a smooth surface for color application.
- Dab colors in a stippling motion with a sponge for seamless blending.
- Seal the gradient design with a top coat for a glossy finish.
Gather Your Supplies
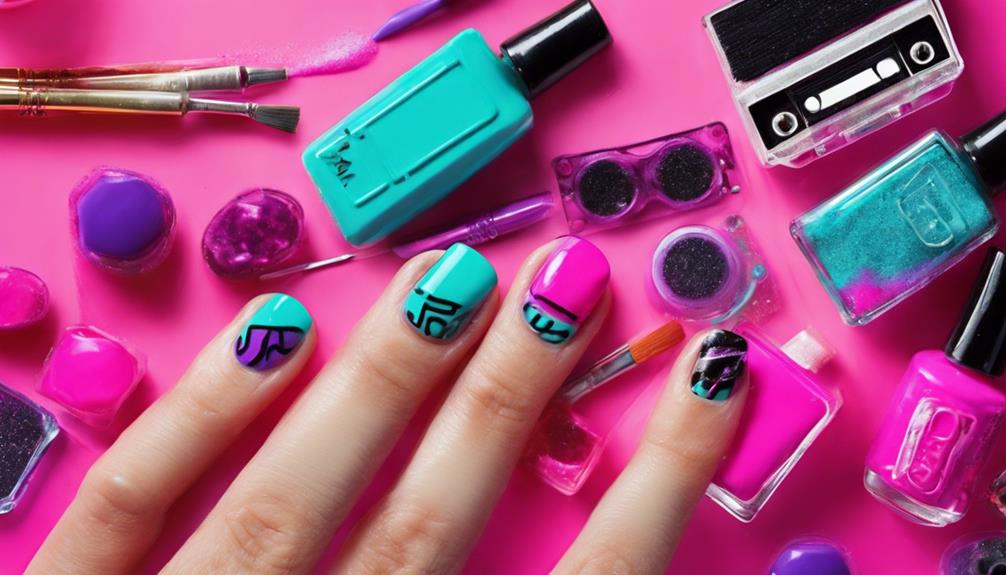
Gather your supplies to create a stunning 80s-inspired gradient nail design. First, select a range of complementary neon colors that will blend well to achieve that iconic blend effect. Neon hues are essential for capturing the vibrant and bold spirit of the 80s. You’ll need at least two to three shades to create a flawless nail shift.
Next, make sure you have a makeup sponge on hand. This tool is vital for dabbing the colors onto your nails, allowing you to achieve a smooth and professional-looking gradient. Cut the sponge into smaller pieces if necessary, giving you better control over the application process.
Before you begin the enjoyable part, remember to safeguard your nails with a base coat. This creates a smooth surface and helps prevent staining from the neon polishes.
Once your gradient is complete, finish with a top coat to seal in the colors and add a glossy shine.
Choose Vibrant Colors
Plunge into the world of vibrant colors to create an eye-catching 80s gradient nail design. Start by selecting vibrant neon shades like hot pink, electric blue, or bright orange. These colors scream retro and instantly channel the bold aesthetic of that era.
To truly make your nails pop, choose contrasting colors. For example, pair electric blue with bright orange or hot pink with a vivid green. This contrast will create a striking gradient effect that captivates the eye and pays homage to the daring 80s style.
Don’t hesitate to experiment with pastel shades if you seek a softer yet still retro-inspired look. Pastels blended in gradient patterns offer a subtle nod to the 80s while maintaining the design’s vintage appeal.
If you’re feeling adventurous, incorporate metallic nail colors. Mixing and matching these can add a modern twist to your classic gradient design, infusing a glam reminiscent of 80s fashion.
Prepare Your Nails
Before you create your vibrant 80s gradient look, focus on nail care essentials.
Start by removing any old polish and shaping your nails to your desired length and style, ensuring they’re ready for the design.
Apply a protective base coat to prevent staining and extend the life of your manicure.
Nail Care Essentials
Getting your nails ready is the first step to achieving that perfect gradient design reminiscent of the 80s. Start by removing old polish and shaping your nails to your desired length. This sets the stage for more precise designs, whether you’re incorporating neon nail stickers or planning a geometric nail design.
Next, focus on applying a lighter base. This will help the gradient colors pop and provide a canvas for any additional designs you might add later.
Once your nails are shaped and prepped, apply a protective base coat. This step is essential because it prevents staining and strengthens your nails, making them ready to withstand the layers of polish needed for a gradient look.
Choose complementary colors for your gradient design, and have a makeup sponge on your hands. The sponge is vital for dabbing the colors onto your nails to create that seamless gradient effect.
Remember to finish with a top coat. This seals your design and adds the shine quintessential to any 80s-inspired look. With these nail care essentials, you can bring those vibrant 80s gradients back to life!
Proper Shape Techniques
Now that you’ve prepped your nails carefully, it’s time to focus on shaping them to complement your 80s-inspired gradient design. The shape of your nails sets the stage for those bold and vibrant nail colors you’ll be rocking. Begin by choosing a shape that suits your style and the neon colors you plan to use in your gradient nail design.
In the 80s, square, almond, stiletto, and coffin shapes were all the rage. Square nails were perfect for showcasing bold patterns and bright colors, ideal if you’re going for a striking retro look. Almond nails, with their softer, feminine curves, can add a chic touch to neon gradients. If you’re feeling adventurous, stiletto nails offer an edgy flair, making your gradient stand out even more. For a modern twist on an 80s classic, coffin nails provide a sleek canvas for your design.
Once you’ve chosen your shape, carefully file your nails, ensuring smooth, even edges. This precision enhances the gradient effect and guarantees your neon colors pop. Remember, the right shape can elevate your gradient nail design from basic to awesome.
Apply Base Coat
Start your 80s-inspired gradient nail design by applying a clear base coat to protect your nails and enhance the durability and shine of your manicure.
This essential step guarantees vibrant colors don’t stain your nails and provides a smooth canvas for the gradient effect.
Ensure the base coat dries completely to prevent smudging or bubbling as you layer on those bold, complementary colors.
Importance of Base Coat
A solid base coat is fundamental when diving into an 80s-inspired gradient nail design. Applying a base coat is your first step before you even think about those vibrant colors. It acts as a protective shield, ensuring your nails remain in top condition. The base coat is pivotal to protect nails from the potential staining and damage that can occur with bold nail polish. It creates a barrier between your natural nails and the pigments, keeping them healthy and preventing unwanted yellowing, especially when using those bright retro colors popular in the 80s.
Moreover, a base coat offers a smooth surface that allows your gradient nail design to adhere more evenly. This is significant because an even application is key to achieving that seamless blend of colors synonymous with gradient designs. The polish mightn’t bond effectively to your nails without a base coat, leading to a patchy look.
Additionally, this layer helps extend the life of your manicure by providing a strong foundation for the colors to stick to. So, don’t skip this step—your nails will thank you, and your 80s-inspired gradient design will look flawless and last longer.
Enhancing Durability and Shine
To enhance the durability and shine of your 80s-inspired gradient nail design, apply a clear foundation coat to clean, dry nails. This step is essential as it acts as a protective barrier, preventing staining from the vibrant colors typical of the 80s. A quality foundation coat not only safeguards your nails but also extends the life of your design, ensuring it remains chip-free longer.
The foundation coat provides a solid base, allowing your polish layers to adhere more effectively. This is vital for achieving a seamless gradient nail design. Without a foundation coat, your colors might not blend as smoothly, which can detract from the professional finish you’re aiming for.
Let the foundation coat dry completely before applying any color. This prevents smudging and guarantees an even application.
Moreover, a good foundation coat offers additional shine, giving your nails a polished, glossy appearance once the design is complete. This glossy finish highlights the vibrant gradient effect, making your nails look salon-fresh. By applying a foundation coat, you’re setting the stage for a stunning, long-lasting manicure.
Start With Base Color
The foundation of any stunning gradient nail design begins with a solid base color. Start by applying a protective base layer to shield your nails from staining and guarantee your vibrant and bold neon hues last longer. This step is essential, setting the stage for the subsequent colorful layers. Once the base layer is dry, choose your base color, ideally, a light shade that complements the neon tones you’ll blend.
Imagine your nail design process like this:
| Step | Action | Result |
|---|---|---|
| 1 | Apply base layer | Protects nails, enhances design |
| 2 | Pick base color | Sets the tone for a vibrant gradient |
| 3 | Use a makeup sponge to apply | Smooth progression of colors |
Once you’ve settled on your base color, paint it onto the nails, ensuring an even coat. Allow it to dry completely before moving on. Next, you’ll incorporate the vibrant neon shades. Using a makeup sponge to apply the colors is crucial. Dab the sponge onto the nail, starting from the base and working toward the tip. This technique helps create the smooth progression necessary for a flawless gradient effect. By the end of this step, you’ll have the perfect canvas for the 80s-inspired nail art.
Create Gradient Effect
Immerse yourself in creating a mesmerizing gradient effect with your chosen colors. Start by applying a protective base coat to your nails. This essential step prevents staining and ensures a seamless canvas for your gradient masterpiece.
To create a gradient nail, select two or more complementary colors. Choose shades that blend well together for the most harmonious look.
Next, grab a makeup sponge to apply the colors. Begin with the lightest hue at the base of your nail. Dab the sponge gently in a stippling motion to transfer the polish. Gradually work your way to the deepest shade at the tip. This technique helps achieve a smooth gradient effect that flows beautifully from one color to the next.
Blend Seamlessly
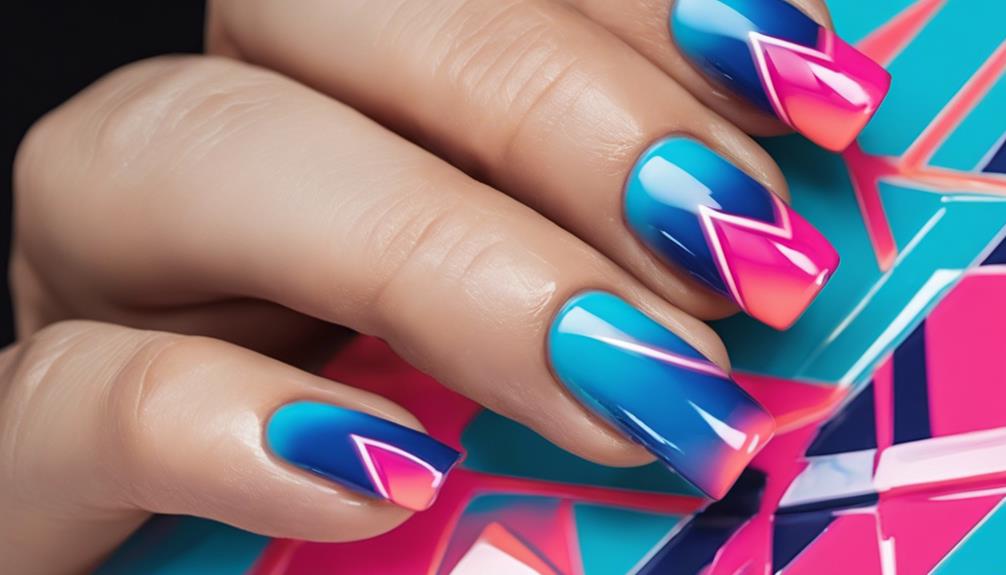
Apply a protective base coat to your nails to blend seamlessly for a perfect 80s-inspired gradient.
Choose complementary nail polish colors, and use a makeup sponge to dab the colors gently onto your nails.
Dab in vertical or horizontal motions, repeating until the colors shift smoothly, then seal your look with a top coat.
Choose Complementary Colors
Choosing complementary colors is essential for achieving a seamless gradient nail design reminiscent of the vibrant 80s. This era was about making bold statements, so consider selecting pop neon shades. For a truly eye-catching 80s-inspired look, try pairing pink and orange, blue and purple, or green and yellow. These color combinations capture the essence of the decade and blend beautifully to create a cohesive gradient effect.
Start by choosing two complementary nail polish colors that will blend harmoniously. The key is to begin with a lighter shade at the base of your nail, smoothly progressing to a darker color towards the tip. This gradient technique creates a smooth, visually appealing, retro, and stylish flow.
Once you’ve chosen your colors, apply them to a makeup sponge. Dab the sponge onto your nails horizontally, ensuring the colors overlap and blend seamlessly. Repeat this process for each nail until the colors meld together smoothly, creating that iconic gradient effect. By carefully selecting and combining these vibrant, neon hues, you’ll achieve a nail design that captures the bold spirit of the 80s.
Apply Base Coat
A base coat is your first step before delving into your 80s-inspired ombre nail design. Applying a protective base layer establishes a foundation that prevents staining from the vibrant hues you’ll use and guarantees a smooth application. This is vital for achieving that seamless, retro ombre appearance reminiscent of the 80s.
Start by choosing a high-quality protective base layer. This coat acts as a shield for your nails, protecting them from potential harm and discoloration caused by the bold polishes you’ll be layering on.
Once you’ve selected your base layer, apply it evenly across each nail. Cover the entire surface, including the edges, to guarantee thorough protection.
A smooth application of the base layer sets the stage for your ombre masterpiece. It provides a sleek surface that helps the colors blend seamlessly—an important factor for achieving the gradual shift between your chosen shades.
Allow the base layer to dry completely before moving on to the next steps of your design. By laying this solid groundwork, you’re preparing your nails to perfectly display the dynamic, colorful ombre reminiscent of the 1980s aesthetic.
Dab With Sponge
The magic of creating an 80s-inspired gradient nail design lies in the artful use of a makeup sponge. Once you’ve applied your protective base coat, it’s time to deploy the power of the gradient effect. Grab your makeup sponge and prepare to dab complementary colors onto your nails. This technique will help you achieve a smooth and seamless shift between colors reminiscent of those vibrant 80s vibes.
Follow these steps to master the technique:
- Start with the Lightest Shade: Apply the lightest hue to the base of your nails. Dab it on using the makeup sponge, ensuring the color is evenly distributed.
- Build Up to the Deepest Shade: Gradually layer the deeper colors toward the tips. Use a gentle dabbing motion, working your way up the nail to create that iconic gradient effect.
- Blend Harmoniously: To achieve a flawless finish, continue dabbing with the sponge, blending the colors until they seamlessly merge.
Apply Top Coat
Once you’ve achieved the perfect gradient effect on your nails, sealing in those vibrant colors with a top coat becomes necessary. Using a top coat to add a protective layer guarantees that your gradient design lasts longer and remains chip-free. This step is vital for adding shine and safeguarding your manicure from everyday wear. Before you reach for your top coat, double-check that the gradient layers are thoroughly dry. This will prevent any smudging or smearing, preserving the design’s integrity.
Choose a glossy top coat to add that extra touch of brilliance, enhancing the vibrancy of your gradient colors. A glossy finish makes the colors pop and provides a polished, professional look. When applying, take your time and make sure each coat dries completely before moving on. This patience will pay off with a long-lasting, flawless manicure.
Moreover, the top coat helps smooth out uneven surfaces, giving your nails a perfectly finished appearance. It’s the final step in transforming your gradient design into a masterpiece reminiscent of the bold and colorful looks of the 1980s. So, don’t rush this process—let the top coat do its magic.
Add Finishing Touches
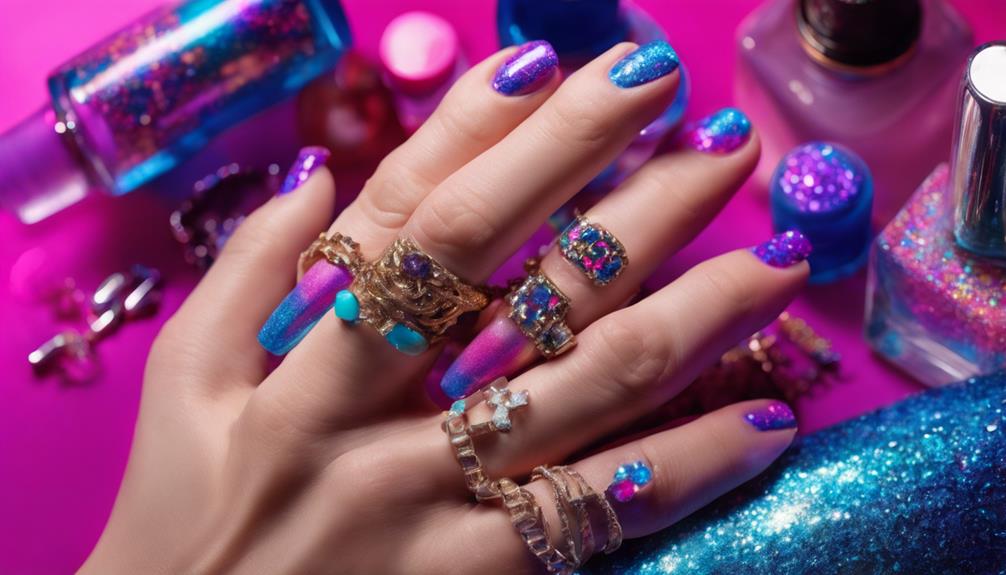
Elevate your gradient nail design by adding those all-important finishing touches. To truly capture that 80s vibe, you’ll want to secure your nails to look vibrant and be polished and complete. Here’s how you can do just that:
- Glossy Top Coat: Start by applying a glossy top coat. This will seal in your gradient masterpiece and add a stunning shine reminiscent of a classic French manicure. Remember to let your nails dry completely before this step to secure a long-lasting finish.
- Rhinestones and Glitter: For an extra pop of 80s glam, consider embellishing your nails with rhinestones or a sprinkle of glitter. These additions can enhance the retro look and make your nails stand out. Use a dotting tool or tweezers for precise placement, and don’t be afraid to get creative with the design.
- Clean Up: Use a nail art brush dipped in nail polish remover to tidy up any excess polish around your nails. This will give your gradient design a professional and polished appearance.
Show Off Your Nails
With your 80s-inspired gradient nails complete, it’s time to flaunt your retro style. You’ve mastered blending neon colors with a makeup sponge to achieve that perfect gradient effect. Now, let’s showcase your vibrant nails in the best way possible. Whether you’re heading to a party or running errands, your nails will surely be the center of attention.
Here are some ideas to help you show off your 80s nails:
| Occasion | Outfit Suggestions | Nail Display Tips |
|---|---|---|
| Party Night | Neon accessories, bold prints | Hold your drink stylishly |
| Casual Outing | Denim jacket, graphic tee | Run fingers through hair |
| Office Day | Blazer, simple jewelry | Subtle hand gestures |
| Weekend Brunch | Flowy dress, sunglasses | Place hands on the table |
| Social Media Post | Trendy background, good lighting | Close-up nail shots |
Experiment with different settings and styles to highlight your nails. Remember, the key is in the details. Show off your creativity by pairing your nails with outfits that complement the neon colors and gradient effect. Your nails are a conversation starter, so embrace the attention and enjoy every compliment you receive.
Conclusion
You’ve now mastered creating a vibrant 80s-inspired gradient nail design. With your neon shades perfectly blended, your nails are ready to steal the spotlight. Don’t forget to show off your retro masterpiece to friends, capturing the essence of that iconic era. Remember, practice makes perfect, so keep experimenting with different color combinations. With each attempt, you’ll get better at achieving that seamless gradient effect. Now, go out and flaunt your fabulous nails with confidence!
FAQs
1. How to Make a Gradient on Nails?
To create a gradient on nails, start by applying nail polish and blending it with a sponge. Dab the sponge for a smooth color shift. Press and roll gently, then seal it with a top coat for shine.
2. What Was the Nail Trend in the 80s?
You loved 80s nail trends with neon colors, glitter overload, and bold geometric shapes. Embrace the retro vibe by mixing vibrant hues and sparkling accents, creating fun and expressive nail art that screams nostalgia and individuality.
3. What Is the Difference Between Ombre and Gradient Nails?
You’ll notice ombre vs. gradient techniques differ in color transformations. Ombre has a midpoint shift, while gradient blends evenly. Explore DIY nail art tutorials for the best color combinations and master these creative styles yourself.
4. How to Do French Gradient Nails?
To do French gradient nails, start with a light base. Using a sponge, apply neon colors for a reverse gradient effect. Add glitter accents for sparkle. Seal with a top coat to protect your vibrant design.

