

When you’re aiming for a flawless dip powder manicure, the process starts well before you dip your nails into that colorful powder. Properly prepare your nails and select high-quality tools to guarantee long-lasting results. Applying a base coat is vital for a smooth finish, but how you dip and seal your nails can make or break the look. There are common mistakes you can easily avoid and maintenance tips that can prolong the life of your manicure. Are you curious about the best techniques and what to steer clear of? Let’s explore these essential steps further.
Key Takeaways
- Apply a dehydrator before the base coat for better adhesion.
- Dip nails at a 45-degree angle to ensure even powder coverage.
- Use thin, even layers to avoid bulkiness and ensure smooth application.
- Regularly apply cuticle oil to maintain healthy nails and prolong the manicure.
- Seal the dip powder manicure with a quality top coat to prevent chipping and enhance durability.
Nail Preparation
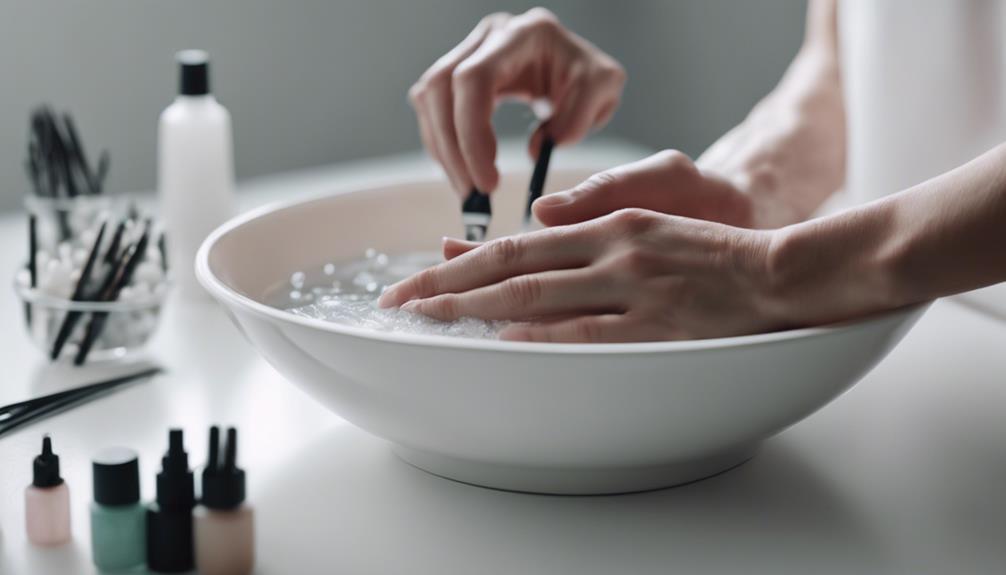
Proper nail preparation is the foundation of a flawless dip powder manicure. Trim and shape your nails to achieve your desired length and form.
When you prep nails, it is essential to use a cuticle pusher to push back and remove any excess cuticles gently. This step guarantees that the dip powder adheres well to your natural nails without interference from overgrown cuticles.
Next, you should lightly buff the surface of your nails. Buffing helps create a smooth, even surface that allows the dip powder to adhere better, resulting in a longer-lasting manicure. Ensure you don’t skip this step, as it significantly prevents lifting and chipping.
After buffing, apply a dehydrator to remove oils from your nails, followed by a bond application. This combination ensures that the base coat sticks well, enhancing the durability of your dip powder nails.
When applying the base coat, use a thin, even layer and avoid getting it on your cuticles. Finally, cap the free edge of your nails with the base coat to seal the manicure and prevent chipping.
Choosing the Right Tools
When choosing tools for dip powder nails, focus on essential items like a nail file, buffer, cuticle pusher, and brush.
Investing in a high-quality dip powder kit guarantees easy application and better results.
Essential Application Tools
Selecting the right tools is essential for achieving a flawless dip powder manicure. Whether you’re a seasoned nail tech or trying a DIY dip, a complete dip powder kit is indispensable. This kit should include a nail file, cuticle pusher, bond, base, activator, top coat, and dip powder in your desired colors. These tools help you apply a thin coat, ensuring smooth and even coverage, much like a professional manicure.
A high-quality brush is vital for the precise application of dip powder. It ensures even coverage and professional results, eliminating common issues like lifting and uneven application. Look for brushes with comfortable grips and durable materials to facilitate a smooth and efficient process.
Investing in the right tools can greatly enhance your overall experience, whether doing dip powder nails at home or in a salon. Proper tools help prevent product wastage and apply each layer seamlessly.
Quality Over Quantity
Choosing the right tools for your dip powder manicure means prioritizing quality over quantity to guarantee a flawless finish. Start by investing in high-quality dip powder brands. These powders offer better results and longevity, ensuring your nails look stunning for weeks.
Don’t skimp on the tools, either. Choose reputable brushes and applicators designed specifically for dip powder. Quality tools make a significant difference in the overall outcome of your manicure.
Select durable and precise tools to achieve professional-looking nails at home. Using the right tools guarantees a smooth application process and a flawless finish every time.
Here’s a quick checklist to help you prioritize quality:
- High-Quality Dip Powder Brands: These provide better adhesion and a longer-lasting manicure.
- Reputable Brushes: Specially designed for dip powder application, they ensure even smooth layers.
- Durable Nail Files and Buffers: Essential for shaping and smoothing your nails without damaging them.
- Precision Cuticle Pushers: Helps in preparing your nails for a neat application.
Applying the Base Coat
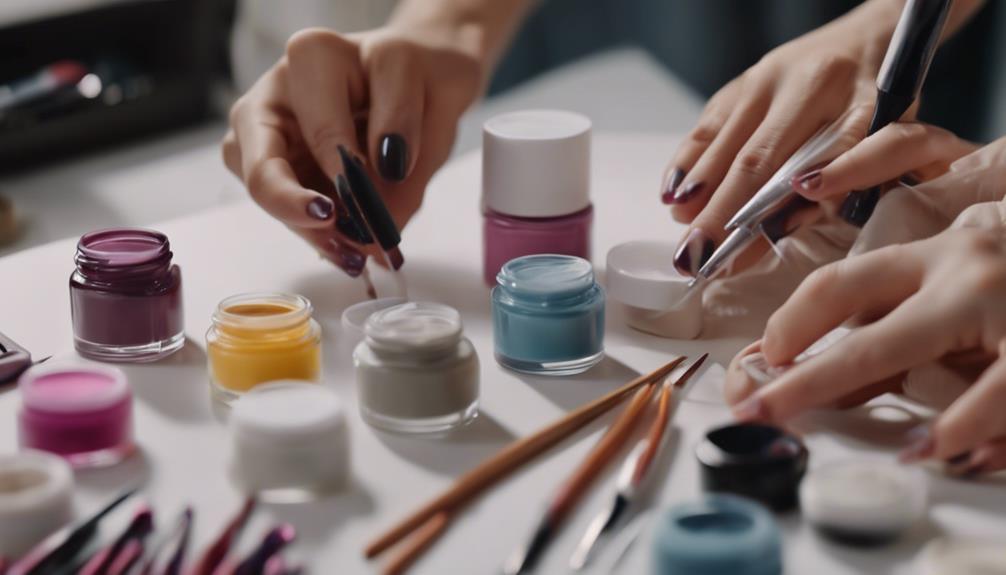
Start by ensuring your nails are clean and prepped for the Base Coat. Apply a thin, even layer, being careful to avoid your cuticles to prevent lifting.
Don’t forget to cap the free edge to seal and protect your manicure for a long-lasting finish.
Nail Surface Preparation
To guarantee the best adhesion, ensure your nails are clean, dry, and free of oils or residue before applying the base coat. Start by buffing your nails gently to create a smooth surface, which helps the base coat adhere better. Focus on the natural nail, avoiding any old polish or leftover product. This step is important for achieving a flawless dip powder manicure.
Next, use a nail dehydrator or primer to remove excess moisture and oils. This will further prepare the nail surface and prevent any potential lifting. When applying the base coat, use a thin, even layer to create a smooth and stable foundation. This thin coat is essential for achieving a professional look and ensuring the dip powder adheres properly.
Remember to follow these key steps:
- Buff your nails: Smooth out the surface and remove any old polish.
- Use a dehydrator or primer: Eliminate oils and moisture.
- Apply a thin coat: Ensure even coverage for better adhesion.
- Avoid the cuticles: Prevent lifting and maintain a clean finish.
Base Coat Application
Applying the base coat with precision guarantees a smooth and long-lasting dip powder manicure. Start using a thin, even layer of base coat on the entire nail surface. This ensures proper adhesion of the dip powder while creating a smooth canvas for the subsequent layers.
To avoid lifting or uneven application issues, ensure the base coat doesn’t touch your cuticles or the skin surrounding your nails. Covering the entire nail without overloading it with the product is important. A thin layer is key to achieving a flawless finish.
Here’s a quick reference to guide you:
| Step | Action | Key Points |
|---|---|---|
| 1 | Apply a thin layer | Evenly cover the entire nail, avoiding cuticles |
| 2 | Achieve proper adhesion | Thin layers work best |
| 3 | Avoid cuticles and skin | Prevents lifting |
| 4 | Let it dry completely | Important for a smooth finish |
| 5 | Proceed with the dip powder application | Only after the base coat dries |
Allow the base coat to dry completely before applying the dip powder. This step is important for achieving optimal results and extending the longevity of your manicure. Proper base coat application is crucial for a flawless and durable dip powder manicure.
Dipping Techniques
For flawless dip powder nails, angle them at 45 degrees while dipping them into the powder for even coverage and better adhesion. This guarantees that your DIP NAILS have a smooth and uniform finish.
Start by applying a thin layer of base coat, then dip your nail at the angle mentioned. This method helps avoid clumping and ensures every part of your nail is covered evenly.
To achieve professional results, remember these key points:
- Tap off excess powder: Gently tap your finger to remove any excess powder. This step is essential for preventing clumps and maintaining a smooth surface.
- Dip one nail at a time: Focusing on one nail allows you to control the application better and achieve precise results.
- Repeat as needed: If the color or coverage isn’t as vibrant as you want it to be, repeat the dipping process. Each additional layer will build up the intensity.
- Avoid cuticles: Avoid getting product on your cuticles. This can cause lifting and ruin the clean look of your manicure.
Sealing the Manicure
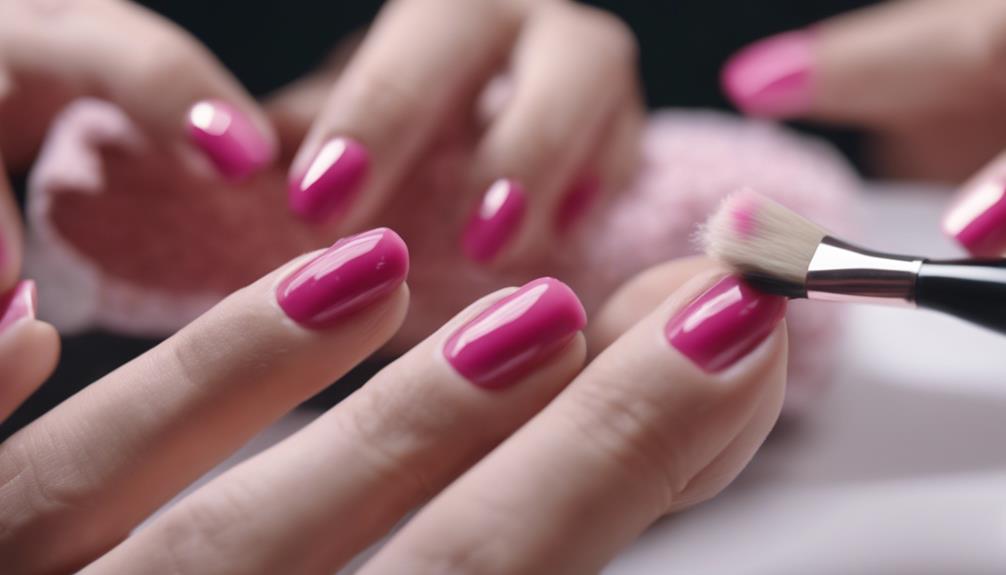
Once your nails are evenly coated with dip powder, it’s time to seal the manicure for a glossy and durable finish. Sealing is vital to prevent chipping and enhance the longevity of your manicure. Start by applying a quality top coat like Sealer. Use thin strokes to cover each nail evenly, ensuring that every part of the nail is protected.
Allow your nails to dry for at least 3 minutes after applying the Sealer. This step is essential for achieving a flawless finish. Rushing this process can result in a less durable manicure and potential smudges. Following the correct sealing process will maintain the beauty and integrity of your dip powder manicure.
Here’s a quick guide to ensure you’re sealing your dip powder manicure correctly:
| Step | Action |
|---|---|
| 1. Apply Sealer | Use thin strokes for even coverage |
| 2. Seal All Nails | Ensure each nail is completely covered |
| 3. Dry Time | Allow at least 3 minutes for the Sealer to dry |
| 4. Avoid Rush | Don’t rush the drying process to prevent smudges |
| 5. Check Finish | Ensure nails are glossy and fully dry |
Common Mistakes
Although mastering dip powder manicures can be rewarding, there are common mistakes you should avoid to achieve a flawless finish. One of the most frequent errors is overapplying the dip powder. This can lead to a thick, uneven finish that looks unprofessional. Instead, apply thin, even layers for a smooth, natural appearance.
Skipping the activator step is another significant mistake. The activator is vital for bonding and setting the powder, ensuring your powder manicure lasts longer. Without it, your manicure may chip or peel prematurely.
Also, be mindful of keeping the products away from your cuticles. Contact with the cuticles can cause lifting and even potential infections, ruining your dip manicures. Always make sure the product stays on the nail plate only.
Properly sealing your nails with a gel top coat is essential for a long-lasting finish. Neglecting this step can result in a manicure that doesn’t hold up well over time.
Here are some key points to remember:
- Avoid overapplying dip powder to prevent thickness and uneven results.
- Please don’t skip the activator step, as it’s essential for bonding and setting the powder.
- Prevent cuticle contact with the products to avoid lifting and potential infections.
- Ensure proper nail sealing with a gel top coat for a long-lasting finish.
Maintaining Your Manicure
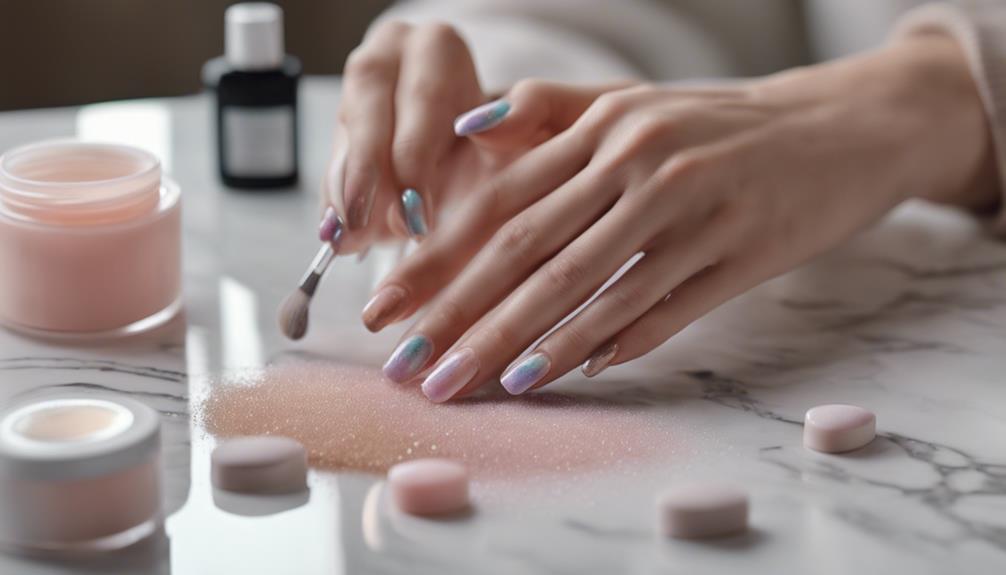
After avoiding common mistakes, it’s important to maintain your dip powder manicure to keep it looking its best. First and foremost, nail maintenance is vital. Apply cuticle oil regularly to keep your nails hydrated and healthy. This nourishes your cuticles and helps prevent the dip powder from lifting.
For effective chip prevention, avoid using your nails as tools. Opening a can or scraping off a sticker with your nails might be tempting, but this can lead to chipping or lifting the dip powder. Instead, use appropriate tools for such tasks.
When it comes to nail care during household chores, opt for gloves. Activities like washing dishes or gardening can be harsh on your manicure. Wearing gloves provides a protective barrier, protecting your nails from potential damage.
Another key aspect of nail maintenance is scheduling regular touch-ups every 2-3 weeks. This helps keep your dip powder manicure looking fresh and intact. Additionally, use a non-acetone nail polish remover when removing any polish or dirt. It’s gentle on the dip powder and ensures your nails stay in top condition.
Removing Dip Powder
Removing dip powder nails effectively requires using acetone-soaked cotton balls wrapped in foil. First, gather all your materials. Then, buff the surface of your nails lightly to break the top layer of the dip powder. This step will help the acetone penetrate better.
Next, soak a cotton ball with acetone and place it on your nail. Wrap each nail with a small piece of foil to keep the cotton ball in place and allow the acetone to work its magic. Let your nails soak for about 10-15 minutes.
Once the soaking time is up, remove the foil and cotton balls. You should notice the dip powder lifting off. Use a cuticle stick to push off any remaining powder gently. If there’s still some residue, don’t worry. Buff your nails lightly to remove the last bits.
Here are the steps in a nutshell:
- Buff nails lightly to break the top layer.
- Use acetone-soaked cotton balls wrapped in foil.
- Soak nails for 10-15 minutes.
- Gently push off the remaining powder and buff nails.
Conclusion
Remember to properly prepare your nails, choose high-quality tools, and apply a smooth base coat to keep your dip powder manicure looking flawless.
Perfect your dipping technique by angling your nails and tapping off excess powder.
Seal your manicure with a top coat for added protection.
Avoid common mistakes, maintain your nails with cuticle oil, and schedule regular touch-ups.
When it’s time for removal, gently soak your nails in acetone and buff for a clean finish.
FAQs
1. How to Do Perfect Powder Dip Nails?
To achieve perfect powder dip nails, start with thorough nail prep. Apply a thin base coat, then dip nails at a 45-degree angle. Seal with a top coat. For flawless results, ensure each layer dries properly and avoid cuticle contact.
2. How Do You Make Dip Powder Look Smooth?
To make dip powder look smooth, focus on proper cuticle care, use gentle application pressure, and employ effective buffering techniques. Allow adequate drying time between layers to prevent bumps and achieve a flawless finish.
3. Should I Do 2 or 3 Coats of Dip Powder?
Consider your color choices and nail preparation when deciding between two or three coats of dip powder. For lighter shades, go for three coats. Ensure your base application is smooth, and use sealant layers to lock it in.
4. How to Get Better at Dip Nails?
To improve at dipping nails, focus on proper preparation, experiment with different nail shapes, and try various color combinations—master removal techniques to maintain nail health. Keep practicing and stay updated on trends and innovations.

