

Are you ready to take your nail game to the next level? Look no further than the world of DIY nail art techniques. With a little creativity and some basic tools, you can transform your nails into miniature works of art that will turn heads.
One of the great things about DIY nail art is that you don’t need a fancy salon or expensive tools to get started. You can create stunning designs at home with just a few basic supplies like nail polish, dotting tools, and striping brushes.
But nail art is about more than just painting your nails. It’s about expressing your personality and showcasing your creativity.
It’s a way to make a statement and stand out from the crowd. Whether you prefer bold, vibrant colors or subtle, sophisticated designs, a nail art technique is perfect.
In this introductory article, we’ll explore some of the most popular DIY nail art techniques and provide tips and tricks to help you master them. We’ll delve into the world of stamping, water marbling, and ombre nails, among others.
You’ll learn how to create stunning designs that will make your friends envious and have strangers asking where you got your nails done.
So, if you’re ready to unleash your creativity and have some fun with your nails, join us on this journey into the world of DIY nail art techniques.
Get ready to discover new techniques, experiment with different styles, and, most importantly, have a blast. The possibilities are endless, and the only limit is your imagination. So grab your nail polish, and let’s get started!
What Are Some Easy Nail Art Techniques?
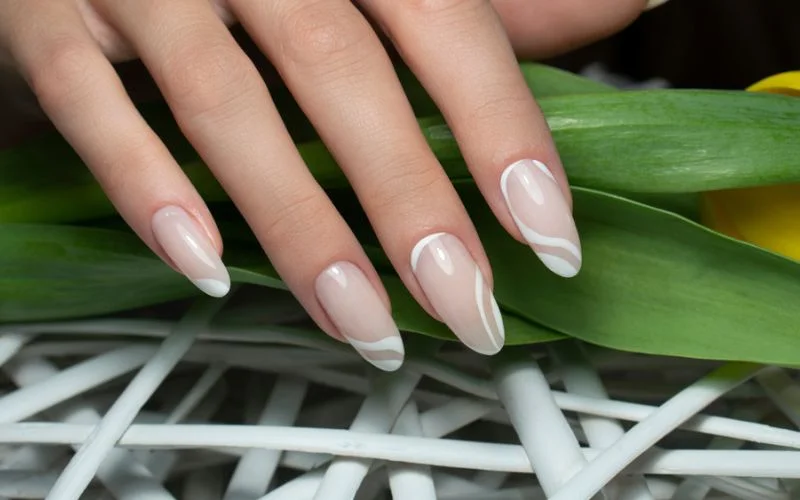
Are you looking to add some flair to your nails? DIY nail art techniques are a fun and creative way to express yourself. Plenty of easy techniques exist whether you’re a beginner or a seasoned nail artist. This article explores popular and beginner-friendly options you can experiment with at home.
One of the simplest nail art techniques is the classic French manicure. This timeless style involves painting the tips of your nails white and the rest of the nail bed a natural color.
It’s a clean and elegant look that never goes out of style.
If you’re feeling more adventurous, you can try ombre nails. This technique involves blending two or more colors to create a gradient effect.
Start with a light shade at the base of your nail and gradually transition to a darker shade towards the tip. This creates a beautiful and eye-catching look.
Another easy technique is nail stamping. This involves using a special stamping plate and polish to transfer intricate designs onto your nails.
It’s a quick and easy way to achieve professional-looking nail art without the need for artistic skills.
For those who enjoy a bit of sparkle, glitter nails are a great option. You can apply glitter polish all over your nails for a bold and glamorous look or use it as an accent by applying it only to the tips or as a gradient.
Water marble nails are another technique that may seem complex but is quite simple. By dropping different nail polish colors into a cup of water and swirling them together, you can create a unique and abstract design for your nails.
These are just a few easy nail art techniques to get you started. You can create stunning nail designs that will turn heads with a little practice and creativity.
How Can I Create a Gradient Nail Design?
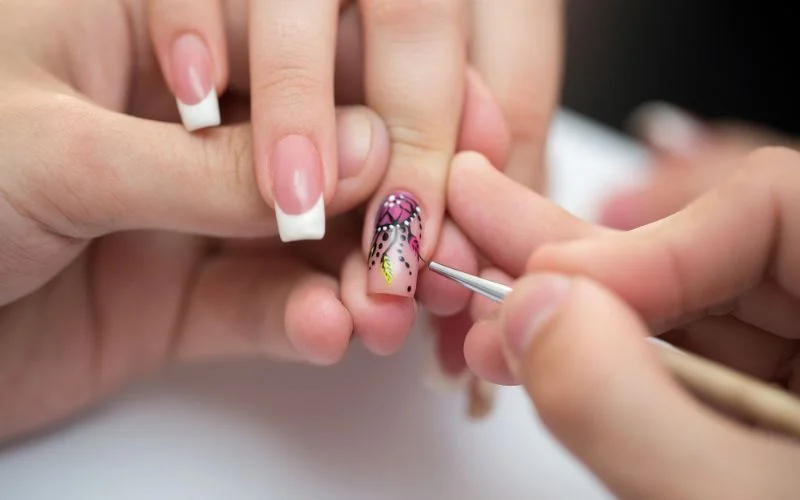
Creating a gradient nail design is a fun and creative way to add flair to your nails. You can achieve a beautiful and eye-catching gradient look with simple steps and basic supplies.
To start, gather the materials you’ll need. You’ll need at least two nail polish colors that blend well together, a makeup sponge, a top coat, and a base coat. Having some nail polish remover and cotton swabs on hand is also helpful for any cleanup.
Begin by applying a base coat to your nails. This will help protect your nails and create a smooth surface for the gradient. Once the base coat is dry, apply your lighter nail polish color to the makeup sponge.
Dab the sponge onto your nails, starting at the base and working toward the tip. Repeat this step until you achieve the desired level of opacity.
Next, clean the sponge and apply your darker nail polish color. Dab the sponge onto your nails, starting at the tip and working toward the base. This will create a gradient effect, blending the two colors.
Once you’re happy with the gradient, clean up any excess polish around your nails using a cotton swab dipped in nail polish remover. Finish off with a top coat to seal your design and add shine.
Creating a gradient nail design is a simple and effective way to elevate your nail art game. You can create stunning gradient looks that will turn heads with a little practice and experimentation. So grab your favorite nail polish colors and get creative!
What Tools Do I Need for Nail Stamping?
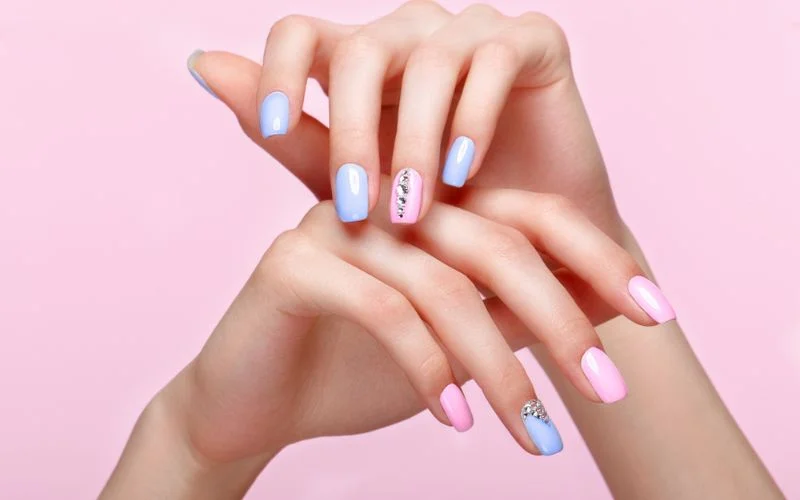
Nail stamping is a popular technique in the world of DIY nail art. It allows you to create intricate designs on your nails with ease.
But what tools do you need to get started with nail stamping? This article will explore the essential tools required for this technique.
First and foremost, you will need a nail stamper. This is a specialized tool designed specifically for nail stamping. It consists of a rubberized head and a handle.
The rubberized head picks up the design from the stamping plate and transfers it onto your nails. Make sure to choose a stamper with a large enough lead to accommodate the size of your nails.
Next, you will need a stamping plate. This is where the designs are etched. Stamping plates come in various designs and patterns, allowing you to create endless possibilities. Look for dishes that are made from high-quality materials to ensure crisp and clear designs.
You will also need a scraper to transfer the design from the stamping plate to your nails. The scraper removes excess polish from the stamping plate, leaving only the structure behind. A plastic scraper is recommended to avoid scratching the surface of the stamping plate.
Lastly, you may want to invest in a stamping mat or a lint roller. These tools are useful for cleaning the stamping plate between designs, ensuring that each design is crisp and clear.
In conclusion, nail stamping requires a few essential tools to get started. You can create beautiful and intricate designs on your nails with a nail stamper, stamping plates, a scraper, nail polish, and optional means like a stamping mat or lint roller. So gather your tools and let your creativity shine through nail stamping!
How Do I Create a Marble Nail Design?
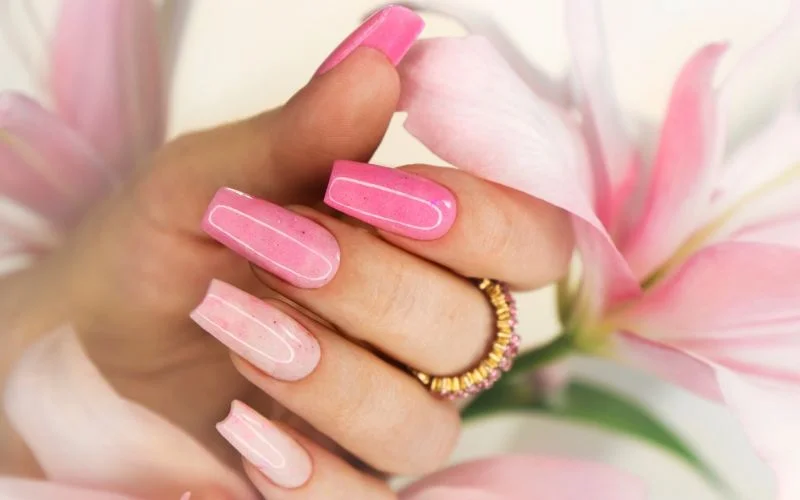
Marble nail designs have become increasingly popular in DIY nail art. This technique creates a stunning and unique look that can be achieved with just a few simple steps. This article will guide you through creating your marble nail design.
To start, gather all the necessary materials. You will need a base coat, two or more nail polish colors, a small cup of room-temperature water, a toothpick or a thin brush, and a top coat. Make sure your nails are clean and free of any old polish.
Apply a base coat to protect your nails and help the polish adhere better. Once the base coat is dry, apply a thin layer of your chosen nail polish color as the base color. Let it dry completely.
Next, take your second nail polish color and drop a few small drops into the cup of water. The slides should spread out and create a film on the water’s surface. Use the toothpick or thin brush to make swirls and patterns on the water’s surface.
Now, carefully dip your nail into the water, submerging it completely. Use the toothpick or brush to remove any excess polish from the water. Slowly pull your finger from the water, and you will see the marbled design transferred onto your nail.
Repeat this process for each nail, changing the colors and patterns as desired. Once all your nails are done, let them dry completely before applying a top coat to seal the design and add shine.
Creating a marble nail design may take practice, but you can achieve beautiful and unique nails with time and patience. Experiment with different colors and patterns to create personalized marble nail art. Enjoy the process and have fun expressing your creativity through DIY nail art techniques!
What Is the Water Marble Nail Art Technique?
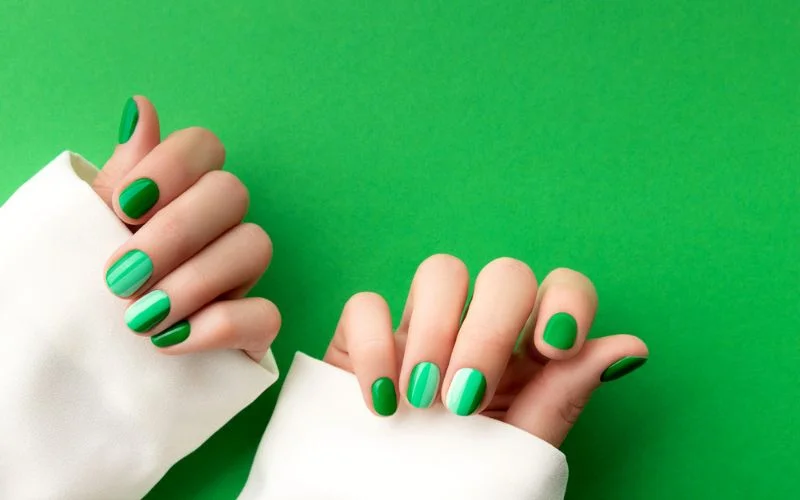
The water marble nail art technique is a popular DIY nail art technique that allows you to create beautiful and unique nail designs.
This technique involves creating a marbled effect by dropping different nail polish colors onto the water and then swirling the colors together to create a marble pattern. Once the way is made, you can dip your nails into the water to transfer the design onto your nails.
One of the great things about the water marble nail art technique is that it allows for endless creativity. You can use any nail polish color and experiment with different patterns and designs. The possibilities are endless, and you can create designs as simple or intricate as you like.
You will need a few essential supplies to create water-marble nail art. First, you will need a shallow container filled with room-temperature water.
You will also need different nail polish colors, a toothpick or a thin brush to create the marble effect, and tape or liquid latex to protect the skin around your nails from getting messy.
Creating water marble nail art can be messy and time-consuming, but you can achieve stunning results with a little practice. It’s important to be patient and take time when dropping the nail polish onto the water and swirling the colors together.
The more control you have over the process, the better your final design will turn out.
In conclusion, the water marble nail art technique is a fun and creative way to decorate your nails. With a little practice and the right supplies, you can create unique, eye-catching designs that impress you. So why not try it and see what beautiful designs you can make on your nails?
How Can I Create an Ombre Nail Design?
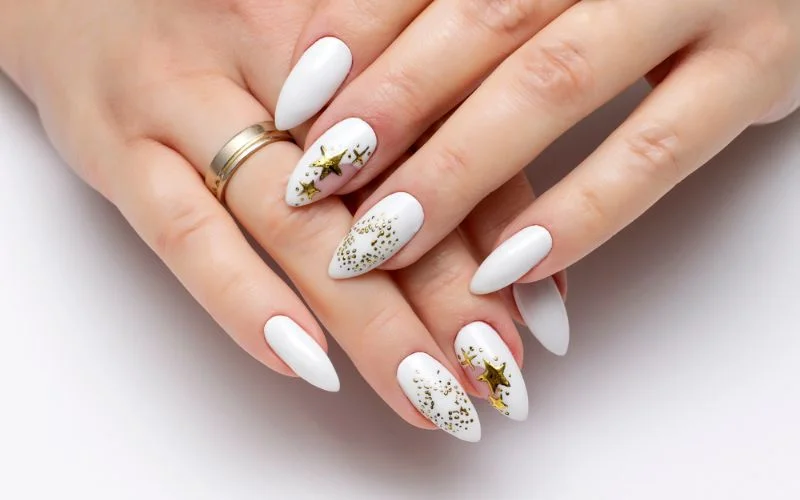
Creating an ombre nail design is a trendy and fun way to add flair to your nails. With a few simple steps, you can achieve a beautiful gradient effect that will make your nails stand out. Here’s how you can create an ombre nail design:
First, gather all the materials you’ll need. This includes two or more nail polish colors that blend well together, a makeup sponge, a small brush, a nail polish remover, and a top coat.
Start by preparing your nails. Remove any old nail polish and shape your nails to your desired length and shape. Apply a base coat to protect your nails and allow them to dry completely.
Next, choose the colors you want to use for your ombre design. It’s best to select colors in the same family or complement each other. For example, you could choose shades of blue or pink.
Take your makeup sponge and apply a strip of each color next to each other. Make sure the colors slightly overlap to create a seamless transition.
Dab the sponge onto your nails, starting from the cuticle area and moving toward the tip. Press the sponge gently onto the nail, repeating this step until you achieve the desired opacity and gradient effect. You may need to reapply the colors onto the sponge for each pin.
Once the polish has dried, use a small brush dipped in nail polish remover to clean up any excess polish around your nails.
Finish off your ombre nail design with a top coat to seal in the colors and add shine. Allow the top coat to dry completely.
What Are Some Nail Art Techniques for Beginners?
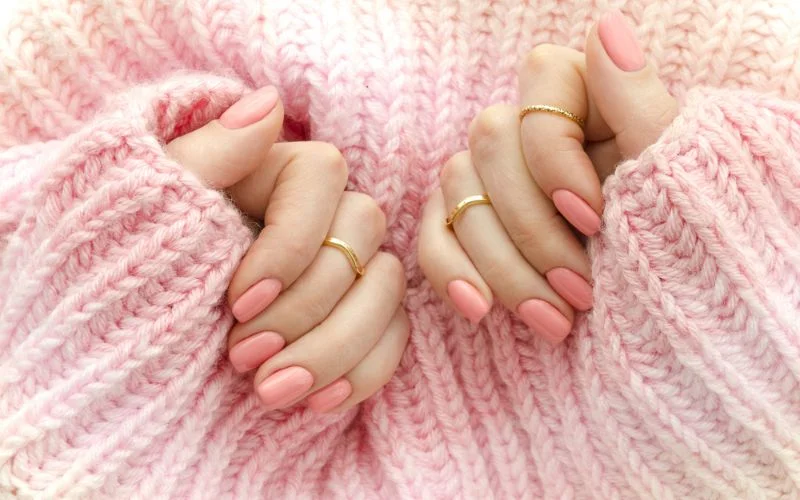
Nail art has become increasingly popular in recent years, allowing people to express their creativity and style through their fingertips.
If you’re new to DIY nail art, it can feel overwhelming to know where to start. Luckily, there are several beginner-friendly techniques that you can try out to achieve stunning nail designs.
They come in various designs, from floral patterns to geometric shapes, allowing you to experiment with different styles without much effort.
Another simple technique is the use of nail stamping. This involves using a special stamping plate, a scraper, and a stamping tool to transfer intricate designs onto your nails.
The process is relatively easy to master and allows you to create professional-looking designs with minimal effort.
If you’re feeling more adventurous, try freehand nail art. This technique involves using nail polish or nail art brushes to create intricate designs directly on your nails. From simple polka dots to complex floral patterns, the possibilities are endless.
While it may take some practice to achieve perfect results, freehand nail art allows for complete creative freedom.
Water marbling is another popular technique that beginners can try. This involves dropping nail polish into a water bowl and creating unique patterns by combining colors. Dipping your nails into the water can transfer the design onto your nails, resulting in a stunning marble effect.
In conclusion, there are several nail art techniques that beginners can try out to achieve beautiful designs. Whether you opt for nail stickers, stamping, freehand art, or water marbling, the key is to have fun and experiment with different styles. With practice, you can create stunning nail art that reflects your style.
How Do I Create a Striped Nail Design?
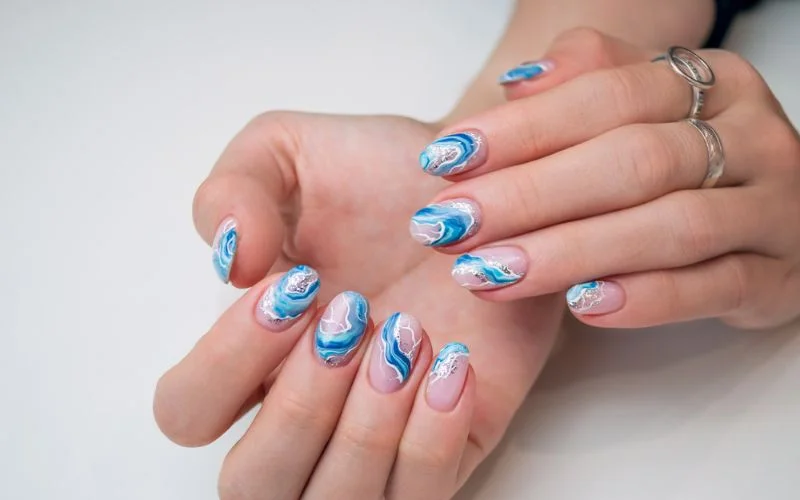
Creating a striped nail design is a fun and creative way to add flair to your manicure. Whether you’re a beginner or an experienced nail artist, this technique is easy to master and can be customized to suit your style. This article will guide you through the steps to achieve a stunning striped nail design.
To start, gather all the necessary supplies. You will need a base coat, two or more nail polish colors, striping tape or a thin brush, and a top coat. Begin by applying a base coat to protect your nails and create a smooth surface.
Once the base coat is dry, it’s time to create the stripes. Using striping tape, carefully place it in the desired pattern on your nails.
After applying the first color, allow it to dry completely before moving on to the next. This will prevent smudging and ensure clean lines. Repeat the process with the second color, or add more colors for a more intricate design. Experiment with different patterns and color combinations to create unique looks.
Striped nail designs are versatile and can be adapted to any occasion or style. This technique will indicate whether you prefer bold contrasting colors or subtle pastel shades. So grab your nail polish and get creative with stripes!
Conclusion
This post has covered a variety of DIY nail art techniques that are perfect for beginners and experienced nail enthusiasts alike.
One important takeaway from this post is that anyone can create stunning nail art designs with simple techniques and tools. Nail art is a creative and fun way to express yourself and add a touch of personal style to your look.
You can use a sponge to blend two or more colors to create a gradient nail design. Nail stamping requires a stamping plate, a stamper, and nail polish. Marble nail designs can be achieved by dropping nail polish into the water and creating unique patterns.
Water marble art is a technique that involves swirling nail polish in water and then dipping your nails into the design. Ombre nail designs can be created by blending two or more colors on your nails. Striped nail designs can be achieved using striping tape or a thin brush.
As for future developments and trends, we expect to see more innovative tools and techniques introduced in nail art.
Nail art enthusiasts are constantly developing new and creative ways to express themselves through their nails. Watch for recent trends and experiment with techniques to stay updated with the latest nail art.
Thank you for taking the time to read this post. We hope you found it informative and inspiring. Please comment below if you have questions or want to share your nail art creations. We would love to hear from you!

