

Seasonal nail art is a fun and creative way to express your style and embrace the spirit of each season. Whether it’s the vibrant colors of spring, the playful patterns of summer, the warm hues of autumn, or the sparkling designs of winter, there’s a nail art inspiration for every time of the year.
With endless possibilities and a wide range of techniques, seasonal nail art allows you to showcase your personality and add a touch of glamour to your overall look. From intricate floral designs to bold geometric patterns, there’s something for everyone, regardless of skill level.
The beauty of seasonal nail art lies in its versatility. You can go all out with elaborate designs or keep it simple and chic with understated accents. The key is to find inspiration from the world around you and let your creativity run wild.
The internet is a treasure trove of ideas if you’re looking for inspiration. From social media platforms like Instagram and Pinterest to dedicated nail art blogs, there’s no shortage of stunning designs to explore. Whether you prefer classic and timeless looks or trendy and avant-garde styles, you will surely find something that catches your eye.
In addition to online resources, don’t forget to draw inspiration from nature, fashion, and even your favorite seasonal activities. The changing colors of leaves, blooming flowers, festive decorations, and even holiday traditions can all be starting points for your nail art journey.
So, seasonal inspiration guides you, whether you’re a seasoned nail art enthusiast or a beginner looking to dip your toes into the world of nail art. With each passing season, you’ll have the opportunity to experiment, create, and showcase your unique style through your nails.
Get ready to elevate your nail game and let your fingertips become a canvas for creativity. In the upcoming sections, we’ll delve deeper into the various seasonal nail art trends, techniques, and tips to help you master the art of seasonal nail art. So, sit back, relax, and prepare to be inspired!
What Are Some Popular Nail Colors for Fall?
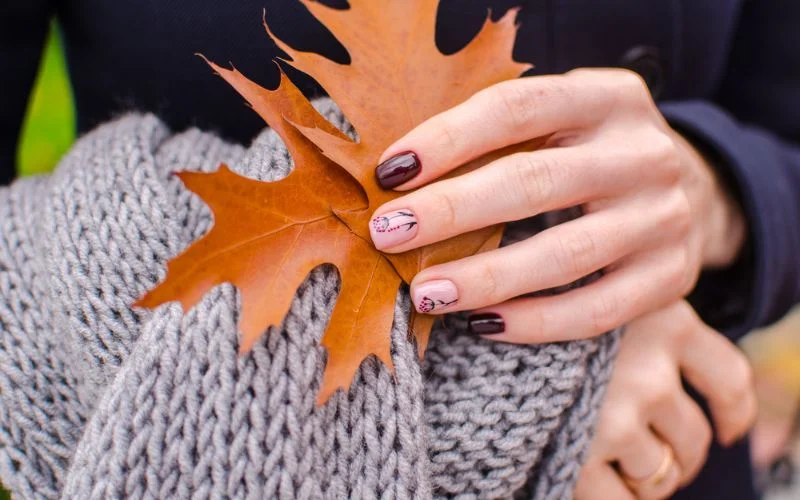
When it comes to nail colors for fall, a few trends never go out of style. From deep, rich hues to earthy tones, there are endless options. Whether you prefer classic shades or want to experiment with something new, here are some popular nail colors for fall that you can try.
One of the timeless favorites for fall is burgundy. This rich, wine-colored shade adds a touch of sophistication to any outfit. It pairs well with casual and formal looks, making it a versatile choice for the season. Another popular color is deep plum. This deep purple shade is bold and striking, perfect for making a statement. It adds a touch of drama to your nails and complements the cozy vibes of fall.
If you prefer more neutral tones, taupe is a great option. This warm, earthy shade is subtle yet elegant, making it perfect for everyday wear. It goes well with any outfit and is suitable for work and play. Another neutral option is olive green. This muted shade is reminiscent of the changing leaves and adds a touch of nature to your nails.
For those who like to experiment with nail art, metallic shades are a popular choice for fall. Copper and bronze tones add a touch of glamour to your nails and are perfect for special occasions. You can also try mixing metallic shades for a unique and eye-catching look.
In conclusion, these are just a few of the popular nail colors for fall. Whether you prefer bold and dramatic shades or subtle and neutral tones, there is something for everyone. So experiment with different colors to find the perfect nail look for the season.
How to Create a Gradient Nail Design?
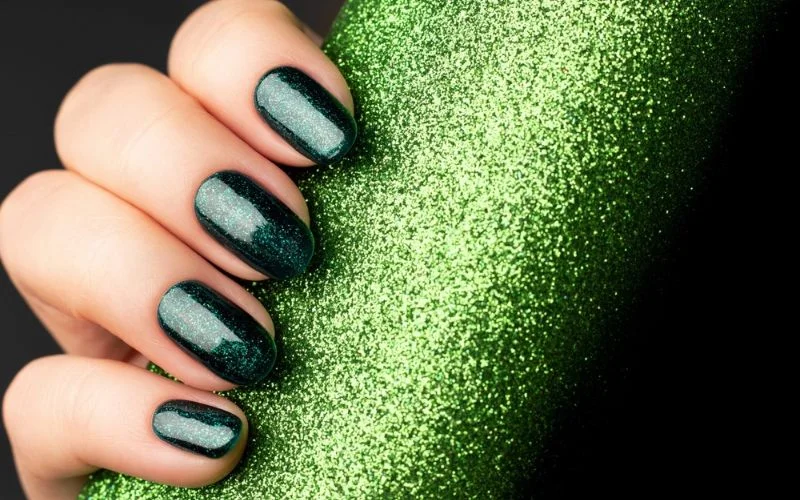
Creating a gradient nail design is a fun and creative way to add color to your nails. Whether you’re looking for a subtle ombre effect or a bold and vibrant gradient, this technique allows you to experiment with different shades and create a unique look. This article will guide you through the steps to achieve a stunning gradient nail design.
To start, gather all the necessary materials. You will need at least two nail polish colors that blend well together, a makeup sponge, a base coat, and a top coat. Make sure your nails are clean and free from any old polish.
Begin by applying a thin layer of base coat to protect your nails and extend the life of your manicure. Once the base coat is dry, apply a light coat of your chosen base color. This will serve as the background for your gradient.
Next, take your makeup sponge and apply a few drops of each polish color directly onto the sponge. Press the sponge onto your nail, starting from the tip and working toward the cuticle. Repeat this step until you achieve the desired gradient effect. After a few pins, you may need to reapply the polish to the sponge.
Once satisfied with the gradient, clean up any excess polish around your nails using a brush dipped in nail polish remover. Finish off with a layer of top coat to seal the design and add shine.
Experiment with different color combinations and techniques to create unique gradient nail designs. You can try using multiple colors for a more vibrant look or stick to shades within the same color family for a subtle gradient. The possibilities are endless!
In conclusion, creating a gradient nail design is an easy and fun way to elevate your nail art game. You can achieve stunning and eye-catching gradient nails with simple steps and creativity. So grab your favorite nail polish colors and experiment with this trendy nail art technique.
What Are Some Winter Nail Art Ideas?
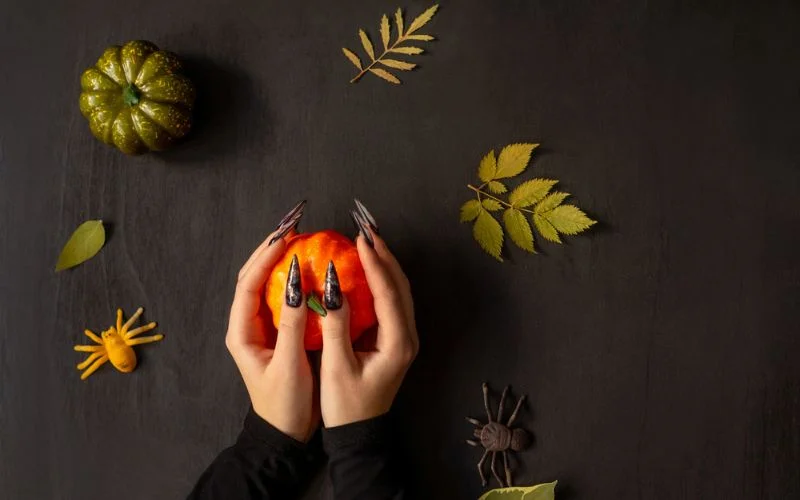
Winter is the perfect time to experiment with different nail art designs that reflect the beauty and charm of the season. Whether you’re looking for something subtle and elegant or bold and festive, there are plenty of options. This article will explore some winter nail art ideas that inspire you to get creative with your manicures.
One popular winter nail art design is the classic snowflake. This delicate and intricate design can be achieved using a thin brush and white nail polish. You can add some glitter or rhinestones to make it sparkle and stand out. Another winter-inspired design is the cozy sweater pattern. This design mimics the texture and practice of a warm winter sweater and can be done using a nail stamping kit or freehand.
If you’re in the mood for something more festive, you can try a candy cane design. This design features red and white stripes, just like the popular holiday treat. You can add some holly leaves or snowflakes to make it more unique. For a glamorous look, consider a metallic nail art design. Silver or gold nail polish can create a chic and sophisticated look perfect for winter parties and events.
Remember classic winter colors like deep red, emerald green, and navy blue. These colors can be used as a base for various nail art designs, such as plaid patterns or glitter gradients. You can also add some winter-themed decals or stickers for an extra touch of charm.
In conclusion, winter is a great time to experiment with different nail art designs. Whether you prefer subtle and elegant or bold and festive, plenty of options exist. So go ahead and get creative with your manicures this winter season!
How to Do a Festive Holiday Nail Design?
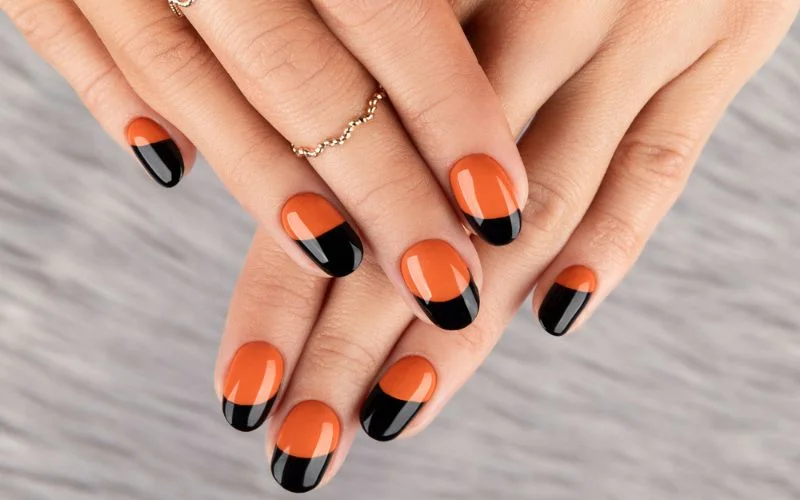
The holiday season is the perfect time to experiment with festive nail designs. Whether you’re attending a holiday party or want to show off your holiday spirit, a lively nail design can add a touch of glamour to your overall look. This article will guide you through the steps to create a stunning holiday nail design.
Start by prepping your nails. Remove any old polish and shape your nails to your desired length. Apply a base coat to protect your nails and ensure the polish adheres well. Once the base coat is dry, it’s time to get creative!
Choose a festive color palette for your holiday nail design. Traditional colors like red, green, gold, and silver are always a good choice. You can also opt for more unique color combinations like blue and silver or purple and gold. Consider using glitter or metallic polishes for an extra festive touch.
Next, decide on the design you want to create. Popular options include candy canes, snowflakes, Christmas trees, and ornaments. You can use nail art brushes or stencils to create intricate designs or a dotting tool to create polka dots or stars.
Once you have your design in mind, start applying the polish. Take your time and be patient, as precision is key. Allow each layer of polish to dry before moving on to the next to avoid smudging or smearing.
To finish off your festive holiday nail design, apply a top coat to seal in the design and add shine. This will also help your structure last longer and prevent chipping.
With these simple steps, you can create a stunning festive holiday nail design that impresses you. So go ahead, get creative, and show off your holiday spirit with a fabulous nail design!
What Are Some Spring Nail Trends?
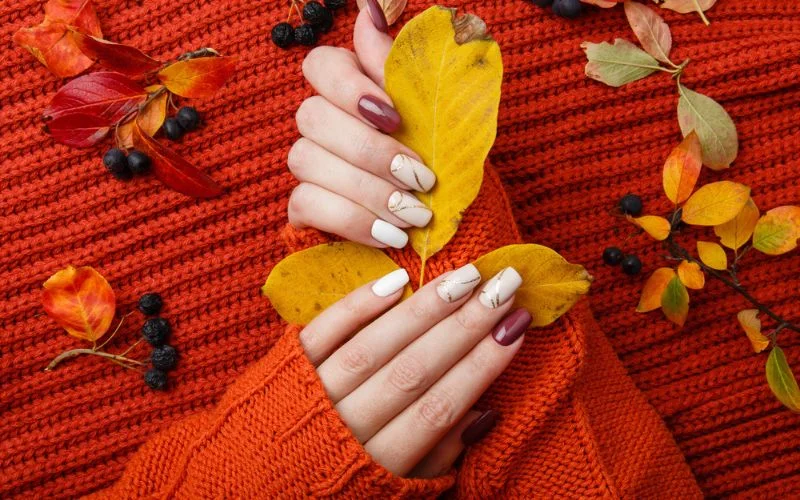
Spring is the perfect time to experiment with fresh and vibrant nail trends that reflect the season’s beauty. From soft pastels to bold patterns, there are endless possibilities to express your creativity and embrace the spirit of spring.
One of the most popular spring nail trends is pastel colors. Shades like baby pink, mint green, and lavender are all the rage this season. These soft and delicate hues instantly add a touch of femininity and elegance to any manicure. Whether you opt for a solid pastel shade or incorporate them into a floral design, you can’t go wrong with these springtime favorites.
Another trend that is making waves this spring is negative space. This minimalist approach allows for a modern, edgy look that is perfect for those who prefer a more subtle nail design. By leaving parts of the nail bare or incorporating negative space into a geometric pattern, you can achieve a chic, sophisticated look that will turn heads.
If you’re bold and adventurous, why not try out some nail art designs inspired by nature? Floral patterns, leaf motifs, and even butterfly accents are popular spring choices. These designs capture the essence of the season and add a whimsical and playful touch to your manicure.
Lastly, metallic accents are a must-try trend for spring. Whether it’s a metallic gold stripe or a chrome finish, adding a touch of shine to your nails instantly elevates your look. These eye-catching details are perfect for special occasions or add glamour to your everyday style.
In conclusion, spring is a time to embrace new beginnings and express creativity through nail art. Whether you prefer soft pastels, negative space designs, nature-inspired patterns, or metallic accents, there is a spring nail trend for everyone. So experiment with these trends to create a stunning manicure that captures the season’s essence.
How to Create a Floral Nail Art Design?
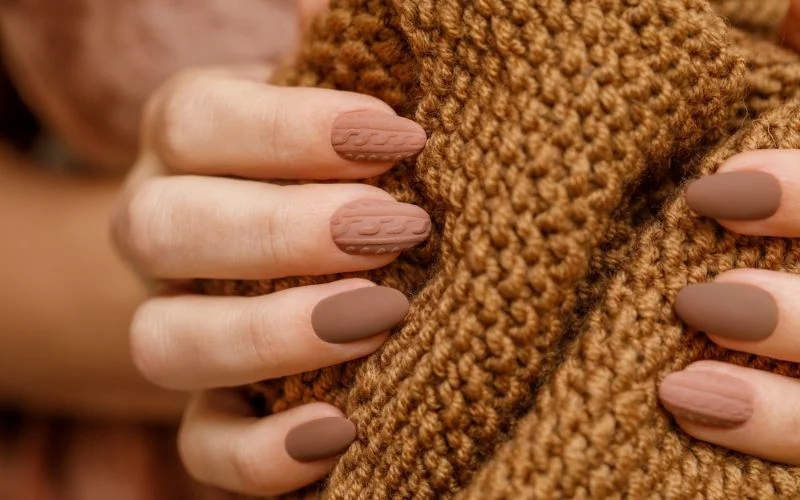
Floral nail art designs are popular for those who want to add a touch of nature to their manicure. Whether you’re a beginner or an experienced nail artist, creating a floral design can be a fun and creative way to express yourself. This article will guide you through creating your stunning floral nail art design.
Firstly, start by preparing your nails. Remove any old polish and shape your nails to your desired length and shape. Apply a base coat to protect your nails and allow them to dry completely.
Next, choose a color for your base. Pastel shades are perfect for a floral design, but you can also opt for a white or nude base to make the flowers stand out. Apply two coats of your chosen color and let it dry.
Now it’s time to create the flowers. You can use a dotting tool, a toothpick, or even the end of a bobby pin to make the petals. Dip your device into a contrasting nail polish color and create small dots on your nails. Then, use a toothpick to drag the bubbles toward the center, making the flower’s petals. Repeat this step to create as many flowers as you like.
You can also use a thin brush to paint leaves or stems around the flowers to add more dimension to your design. This will give your floral nail art a more realistic look.
Once you’re satisfied with your design, finish it off with a top coat to seal in your artwork and add shine. Allow the top coat to dry completely before going about your day.
Creating a floral nail art design is a great way to embrace the beauty of nature at your fingertips. You can make stunning floral arrangements that will turn heads with practice and creativity. So, grab your nail polish and start building your floral masterpiece today!
What Are Some Summer Nail Colors?

Summer is the perfect time to experiment with fun and vibrant nail colors. Whether heading to the beach or attending a summer party, your nails can be the ideal accessory to complete your look. So, what summer nail colors are on-trend and will make a statement?
One popular summer nail color is coral. This vibrant shade is reminiscent of tropical sunsets and adds color to any outfit. It’s perfect for casual and formal occasions and looks great on all skin tones. Another trendy summer color is mint green. This refreshing shade is cool and calming, perfect for hot summer days. It pairs well with neutral outfits and adds a touch of elegance to any look.
Neon colors are a great choice if you want something bold and eye-catching. Neon pink, orange, and yellow are popular summer nail colors that will make a statement. These colors are fun and playful and will turn heads wherever you go.
For those who prefer a more subtle look, pastel shades are a great option. Soft pinks, lilacs, and blues are all popular choices for summer. These colors are feminine and romantic, perfect for a summer date night or a wedding.
When it comes to summer nail colors, the options are endless. From bright and bold to soft and subtle, there’s a shade for everyone. So, embrace the summer vibes and experiment with different colors to find your perfect summer nail look.
How to Do a Beach-themed Nail Design?
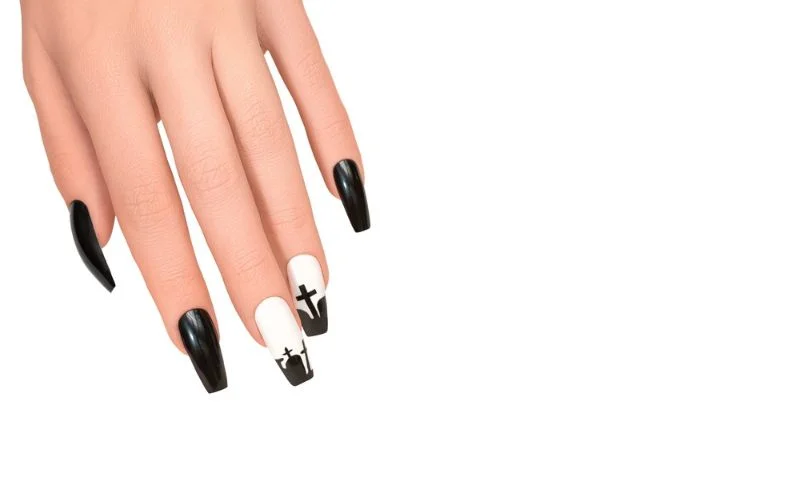
Are you looking to add a touch of summer to your nails? A beach-themed nail design is a perfect way to embrace the sunny vibes and bring a little bit of the ocean to your fingertips. Whether you’re heading to the beach or want to feel like you’re there, these simple steps will guide you through creating stunning beach-inspired nail art.
Start by prepping your nails. File them into your desired shape and gently push back your cuticles. Apply a base coat to protect your nails and ensure your design lasts longer. Choose a light blue nail polish as your base color to represent the clear ocean waters.
Next, it’s time to create the waves. Use a thin brush or a toothpick to paint white lines across your nails in a wavy pattern. These lines will mimic the movement of the waves and add depth to your design. Don’t worry about perfecting them – imperfections will give your nails a more natural beach look.
Now, let’s add some beachy elements. Use a dotting tool to create seashells, starfish, or palm trees on your nails. You can also add tiny dots of different shades of blue to represent bubbles in the water. Get creative and experiment with different designs to make your nails truly unique.
To finish off your beach-themed nail design, apply a top coat to seal in your artwork and add shine. This will also help your structure last longer and prevent chipping.
Now you’re ready to show off your beach-inspired nails! Whether lounging by the pool or dreaming of your next beach vacation, this nail design will transport you to the sandy shores and sunny skies. So grab your favorite beach read and enjoy the summer vibes at your fingertips.
Remember, when it comes to nail art, the possibilities are endless. Let your imagination run wild and create your beach-themed nail design that reflects your style and love for the ocean.
Conclusion
This post has provided a comprehensive overview of seasonal nail art inspiration. We have explored topics such as popular nail colors for fall, creating a gradient nail design, winter nail art ideas, festive holiday nail designs, spring nail trends, floral nail art designs, summer nail colors, and beach-themed nail designs.
Creating a gradient nail design is a fun and easy way to add depth and dimension to your nails. By blending two or more colors, you can achieve a stunning ombre effect that will turn heads.
Winter nail art ideas range from snowflakes and glitter to cozy sweater patterns. These designs capture the season’s essence and add a festive cheer to your nails.
For the holidays, festive nail designs are a must. Whether you opt for classic red and green or experiment with metallic accents and intricate patterns, your nails can reflect the joy and celebration during this time of year.
As we move into spring, floral nail art designs are popular. From delicate blossoms to bold floral patterns, these designs bring a fresh and feminine touch to your nails.
Summer is all about bright and vibrant colors. From neon shades to tropical prints, there are endless possibilities for creating a summer-inspired nail design that will make a statement.
Thank you for reading this post and joining us on this journey through seasonal nail art inspiration. We hope that you have found it informative and inspiring. We encourage you to leave any comments or feedback, as we value your input. Stay tuned for more exciting content in the future!

