

Almond nails have become a popular trend in nail art, and it’s not hard to see why. This elegant and feminine shape is flattering on all hand sizes and adds a touch of sophistication to any manicure. Whether you’re a nail enthusiast or simply looking to switch up your usual nail routine, learning how to shape almond nails is worth mastering.
The beauty of almond nails lies in their versatility. They can be as subtle or dramatic as you desire, making them suitable for any occasion. From a classic nude polish for a timeless look to bold and vibrant colors for a statement manicure, the possibilities are endless.
To achieve the perfect almond shape, trim your nails to a manageable length. Aim for a length extending just past the fingertip, allowing enough space to shape the nail without becoming too fragile. Use a nail file to shape the sides of the nail into a tapered point, gradually narrowing towards the tip. Be sure to file in one direction only, as back-and-forth filing can weaken the nail.
Once you’ve achieved the desired shape, it’s time to smooth out any rough edges. Use a buffing block or a fine-grit nail file to remove any snags or unevenness gently. This step will ensure a flawless finish and prevent potential snags or breakages.
Now that your almond nails are shaped and smoothed, it’s time to get creative with your nail art. Experiment with different colors, patterns, and textures to showcase your style. Whether you prefer a minimalist look or intricate designs, almond nails provide the perfect canvas for your creative expression.
Mastering the art of shaping almond nails opens up a world of possibilities for your manicure. With their elegant and versatile shape, almond nails will turn heads and elevate your overall look. So grab your nail tools and get ready to shape, file, and create the almond nails of your dreams.
How to Shape Almond Nails
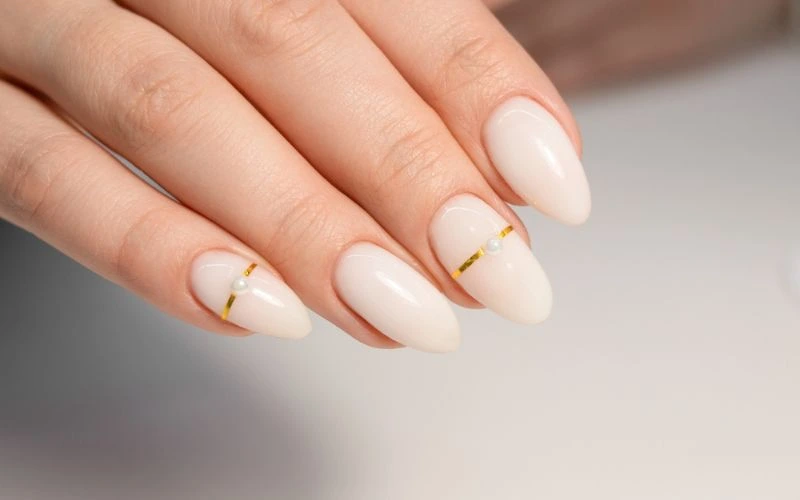
Almond-shaped nails have become increasingly popular due to their elegant and feminine look. If you want to achieve this trendy nail shape, here are some tips on how to shape almond nails.
Firstly, start by trimming your nails to a medium length. Maintaining a moderate length is important to ensure your almond shape is achievable. Use a nail clipper or a nail file to shape the edges of your nails into a gentle curve.
Next, use a nail file to shape the sides of your nails. Start from the outer edge and file towards the center, following the natural curve of your nail. Be careful not to file too much from the sides, as this can weaken your nails.
Once you’ve shaped the sides, it’s time to shape the tip of your nail into the classic almond shape. Use a gentle filing motion to create a pointed tip, maintaining the symmetry of both hands. Remember to file in one direction only to prevent damage to your nails.
To achieve a smooth and polished look, use a buffer to smooth the surface of your nails gently. This will help to remove any rough edges or imperfections, giving your almond nails a flawless finish.
Finally, apply a clear base coat followed by your desired nail color. Almond-shaped nails look great with various nail polish shades, so feel free to experiment with different colors and finishes.
Shaping almond nails requires careful trimming, filing, and buffing. Following these steps, you can achieve the perfect almond shape for a stylish and sophisticated look. Remember to take your time and be patient, as practice makes perfect. Enjoy your beautiful almond-shaped nails!
What Tools Do I Need?
When shaping almond nails, having the right tools is essential. These tools make the process easier and ensure you achieve the desired shape and length. Whether you’re a professional or a DIY enthusiast, here are the tools for shaping almond nails.
First and foremost, you’ll need a nail file. Opt for a fine-grit file that allows you to shape the nails smoothly and precisely. A glass file is a popular choice as it provides a gentle filing experience and helps prevent chipping or splitting of the nails.
Next, you’ll need a nail buffer. This tool helps smooth out rough edges and create a polished finish. Look for a buffer with different grits to achieve the desired level of smoothness.
A cuticle pusher is essential to push back your cuticles and clean the nail bed. This tool helps create a clean canvas for shaping and polishing the nails. Choose a cuticle pusher with a soft rubber tip to avoid damaging the nail bed.
To achieve the perfect almond shape, you’ll need a pair of nail clippers or nail scissors. These tools allow you to trim the nails to the desired length before shaping them. Remember to cut the nails straight across and gently round the edges to create the almond shape.
Lastly, a nail brush and nail polish remover are necessary for cleaning up any excess polish or debris. A clean workspace is crucial for achieving a professional-looking manicure.
Having the right tools is crucial for shaping almond nails. Invest in a good nail file, buffer, cuticle pusher, nail clippers or scissors, nail brush, and nail polish remover to achieve the perfect almond shape. With these tools in hand, you can create beautiful almond nails that are sure to turn heads.
How Do I File Almond Nails?

Almond-shaped nails have become increasingly popular due to their elegant and feminine appearance. If you’re wondering how to shape almond nails, you’ve come to the right place. This article will guide you through filing almond nails to achieve the perfect shape.
To start, you will need a high-quality nail file. Look for a file with a grit of 180 or higher, which will help you achieve a smooth finish. Begin by shaping the sides of your nails, following the natural curve of your fingertips. Be sure to file in one direction only, as filing back and forth can cause damage.
Next, focus on the tips of your nails. Rounded tips characterize almond nails, so gently file the corners to create a soft curve. Take your time and check the shape regularly to ensure symmetry and balance.
Once you’re satisfied with the shape, it’s time to refine the edges. Use a buffer or a finer-grit file to smooth out any roughness or jagged edges. This step will give your almond nails a polished and professional look.
Remember to be patient throughout the filing process. It’s better to take your time and file gradually rather than remove too many nails simultaneously. This will help prevent breakage and maintain the health of your nails.
Filing almond nails requires precision and attention to detail. By following these steps and using the right tools, you can achieve beautifully shaped almond nails that will enhance the overall look of your hands. Practice makes perfect, so don’t be discouraged if it takes a few tries to get the shape right. Happy filing!
How Do I Shape the Tip of Almond Nails?
Almond nails have become increasingly popular due to their elegant and feminine shape. If you’re wondering how to shape the tip of almond nails, you’ve come to the right place. This article will guide you through the steps to achieve the perfect almond shape for your nails.
To start, you will need a few tools: a nail file, a buffer, and a cuticle pusher. Begin by filing the sides of your nails at an angle, creating a tapered shape. Be sure to file in one direction only to avoid damaging the nail. Next, gently file the tip of the nail into a rounded point. This will create the signature almond shape.
Once you have achieved the desired shape, use a buffer to smooth out rough edges and create a polished finish. Take care not to over-buff, as this can weaken the nails. Finally, use a cuticle pusher to gently push back the cuticles, creating a clean and neat appearance.
It’s important to note that almond nails require regular maintenance to keep them looking their best. You must file and shape them every few weeks to maintain the desired shape. Regularly moisturize your nails and cuticles to keep them healthy and strong.
Shaping the tip of almond nails is a straightforward process that can be done at home with simple tools. By following these steps and maintaining regular upkeep, you can enjoy beautiful almond-shaped nails that will turn heads. So go ahead, try it and embrace the elegance of almond nails!
How Do I Maintain Almond Nails?
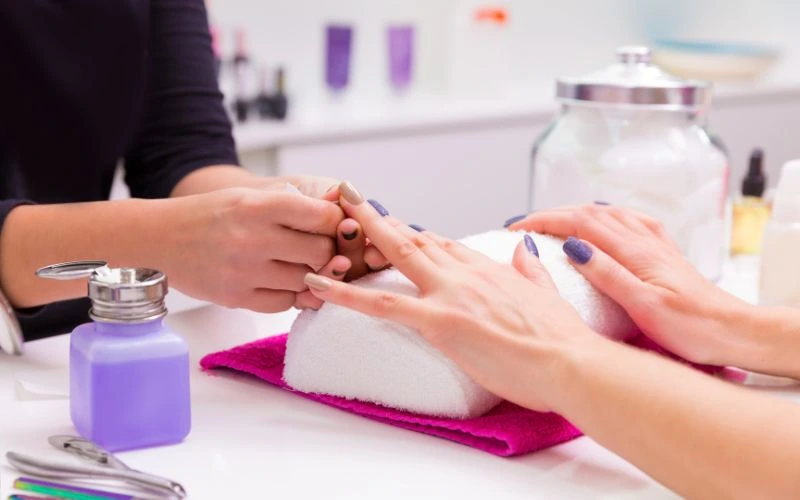
Almond nails are a popular nail shape that can give your hands an elegant and feminine look. However, maintaining this shape requires some effort and care. Here are some tips to help you keep your almond nails in great condition.
First and foremost, it’s important to keep your almond nails clean. Regularly wash your hands and nails with mild soap and water to remove dirt or bacteria. Be sure to dry your nails thoroughly to prevent moisture from getting trapped, which can lead to fungal infections.
To maintain the shape of your almond nails, you’ll need to file them regularly. Use a fine-grit nail file to gently shape the sides of your nails into a soft point. Be careful not to file too aggressively, as this can weaken the nails and cause them to break.
Moisturizing your almond nails is also crucial for their maintenance. Apply cuticle oil or a nourishing hand cream daily to hydrate your nails and cuticles. This will prevent them from becoming dry and brittle, which can lead to breakage.
In addition to moisturizing, protecting your almond nails is essential. Please avoid using your nails as tools to open cans or scrape off stickers, as this can cause them to chip or break. Instead, use appropriate tools for these tasks to prevent damage.
Lastly, being mindful of the products you use on your almond nails is important. Choose nail polishes and removers that are gentle and free of harsh chemicals. This will help prevent your nails from becoming weak or discolored.
By following these tips, you can maintain the shape and health of your almond nails. Remember to be gentle and consistent in your nail care routine; your almond nails will always look their best.
Can Almond Nails be Done on Short Nails?
Almond nails have become a popular trend in the world of manicures. With their elegant and feminine shape, they are often sought after by those who want to add a touch of sophistication to their nails. But can almond nails be achieved on short nails? The answer is yes!
While almond nails are typically associated with longer nail lengths, they can still be done on shorter nails. The key is to shape the nails to mimic the almond shape. This can be achieved by gently filing the sides of the nails to create a tapered effect. By removing excess length and focusing on creating a rounded tip, you can transform your short nails into almond-shaped beauties.
Start trimming your nails to a manageable length to shape almond nails on short nails. Then, gently shape the sides of your nails into a soft curve using a nail file. Be careful not to file too aggressively, as this can weaken the nails. Once you have achieved the desired shape, buff the surface of your nails to smooth out any rough edges.
When it comes to painting your almond-shaped nails, the possibilities are endless. You can opt for a classic nude shade for a timeless look, or experiment with bold and vibrant colors for a more daring style. Don’t forget to apply a top coat to seal your manicure and ensure longevity.
Almond nails can indeed be achieved on short nails. By following the proper techniques and carefully shaping your nails, you can enjoy the elegance and sophistication of almond-shaped nails, regardless of their length. So go ahead, give almond nails a try and elevate your manicure game!
How Often Should I Reshape Almond Nails?
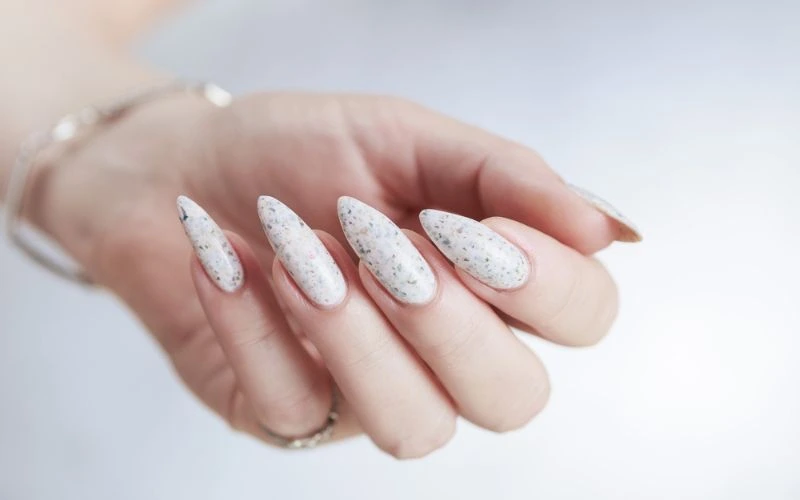
Almond nails have become increasingly popular thanks to their elegant and feminine shape. But once you’ve achieved the perfect almond shape, how often should you reshape them to maintain their appearance? This article will explore the recommended frequency for reshaping almond nails.
The frequency of reshaping almond nails largely depends on how quickly your nails grow. On average, nails grow about 3mm per month. If you prefer to keep your almond nails shorter, you may need to reshape them more frequently. However, if you’re comfortable with longer almond nails, you can extend the time between reshaping sessions.
As a general guideline, it is recommended to reshape almond nails every two to three weeks. This timeframe lets you maintain the desired shape and prevent nail breakage or snagging. Regular reshaping also helps to keep the nails strong and healthy.
Of course, everyone’s nails are different, and you may find that your nails grow slower or faster. It’s important to pay attention to your nail growth and adjust the reshaping frequency accordingly. If you notice your almond nails becoming too long or losing shape before the recommended two to three weeks, it’s time for a touch-up.
In addition to regular reshaping, it’s essential to take good care of your almond nails to keep them looking their best. Moisturize your cuticles regularly, avoid using your nails as tools, and protect them with a top coat to prevent chipping.
Maintaining the perfect almond shape requires regular reshaping. Aim to reshape your almond nails every two to three weeks, but adjust the frequency based on your nail growth. Your almond nails will continue to look stunning and elegant with proper care.
Can I Do Almond Nails At Home?
Almond nails have become increasingly popular, with many opting for this stylish and feminine nail shape. But can you achieve the perfect almond nails at home? The answer is yes! With some practice and tools, you can shape your nails into the coveted almond shape without visiting a salon.
To start, you will need a few essential tools. These include a nail file, a buffer, and a cuticle pusher. You may also want to invest in a nail clipper and a nail brush for a more thorough manicure. Once you have gathered your tools, it’s time to get started.
Begin by trimming your nails to your desired length. Almond nails are typically longer than other nail shapes, so leave enough length. Once you have achieved the desired length, use a nail file to shape the sides of your nails into a tapered point. This will give them the classic almond shape.
Next, use a buffer to smooth rough edges and create a polished look. Be gentle when using the buffer; you don’t want to damage your nails. After buffing, use a cuticle pusher to push back your cuticles gently. This will create a clean and neat appearance.
Once you have shaped and buffed your nails, it’s time to apply a base coat and your chosen nail polish. Almond nails look great in various colors, so feel creative. Finish off with a top coat to seal in your manicure and add shine.
With a little practice and patience, you can achieve salon-worthy almond nails from the comfort of your own home. So go ahead and give it a try – you’ll be amazed at the results!
Conclusion
In conclusion, shaping almond nails is a popular trend in nail care and fashion. This post has covered various aspects of this topic, including how to shape almond nails, the tools needed, filing techniques, shaping the tip, maintenance tips, and whether almond nails can be done on short nails.
It is important to have the right tools to shape almond nails, such as a nail file, buffer, and cuticle pusher. Filing almond nails requires a specific technique, starting from the sides and shaping them into a soft point. The tip of almond nails should be rounded and smooth to achieve the desired look. Regular maintenance is essential to keep almond nails looking their best, including moisturizing the cuticles and applying a protective top coat.
One common question is whether almond nails can be done on short nails. The answer is yes! Almond nails can be achieved on nails of any length, although longer nails provide a more dramatic effect. Reshaping almond nails should be done every two to three weeks to maintain shape and prevent breakage.
Doing almond nails at home is possible with the right tools and techniques. However, professional help is always recommended for the best results, especially if you are new to nail shaping.
Looking ahead, there may be future developments and trends in the world of almond nails. New nail shapes and designs are constantly emerging, providing endless possibilities for creativity. It is important to stay updated with the latest trends and techniques to keep your almond nails looking stylish and on-trend.
Thank you for taking the time to read this post on how to shape almond nails. We hope you found it informative and helpful. If you have any further questions or feedback, please comment below. Happy shaping!

