

Removing SNS nails at home doesn’t have to be a challenging task. You can achieve salon-quality results right from your living room with the correct know-how and patience. In our latest post, we unveil simple yet effective tips to remove your SNS nails at home safely. No more expensive salon visits just for removal or potential damage to your natural nails. It’s time to embrace DIY nail care with confidence!
To safely remove SNS nails at home, you can follow these steps. First, softly buff the top layer of nail polish. Then, apply acetone and individually wrap each nail with cotton wool buds or other materials like tissues or toilet paper. Soak your nails for at least 10 minutes before removing the foil and lightly buffing any remaining nails. Finally, cut and file your nails to the desired length and shape, and apply cuticle oil to moisturize and promote healthy growth. It’s important to prioritize safe removal methods to avoid damaging the nail bed and causing long-term damage.
Preparing SNS Nails for Removal

SNS nails, or Signature Nail Systems, have gained popularity due to their durability and long-lasting effects. However, removing the powder dipping system can prove challenging, especially if not done delicately. Before undertaking any removal process, preparing your nails for the task ahead is essential. This stage is critical in avoiding unnecessary nail damage during removal.
One crucial aspect of preparing your SNS nails for removal is gentle filing.
The Importance of Gentle Filing
Filing down the top layer of the SNS nails allows the acetone chemical or other soak-off solution to seep through the barriers between the nails and polish easily. It should be conducted carefully and gently, as excessive filing can harm your natural nails’ outer protective layers.
Furthermore, in cases where there are three or more dip layers, it’s recommended that a professional handle the filing process as an expert hand is needed to avoid eventual nail thinning that results in sensitivity and weakened natural nails.
Another alternative to filing would be to use a drill but under expert supervision to minimize further damage.
Imagine trying to skin a peach with a cleaver knife- applying too much pressure will result in bruising and loss of moisture on the fruit. This analogy applies when preparing SNS nails for soak-off solutions- excessive filing causes more harm than good.
To sum up, teaming up precision skills with patience during pre-soak preparations helps safeguard the integrity of both acrylic and natural nails.
Pre-Soak Preparations
Before we dive into the safe methods for removing SNS nails at home, there are a few key things to remember when preparing for soak-off.
Firstly, ensuring you have all the necessary materials and supplies is essential. You’ll need acetone, cotton wool buds, nail files, a buffer block, foil, and cuticle oil.
You should consider softening your skin before beginning the removal process. Massaging coconut or rosehip oil into the nails can help keep the skin moist and smooth throughout the process.
It’s also crucial to take preventive measures during the removal process. Preventing damage to your fingers, especially around the edges of your cuticles and nails, is key to ensuring safe removal.
Let’s now look at some safe methods for soaking off SNS nails using ingredients found in most households.
Safe Soaking Methods for Home Use
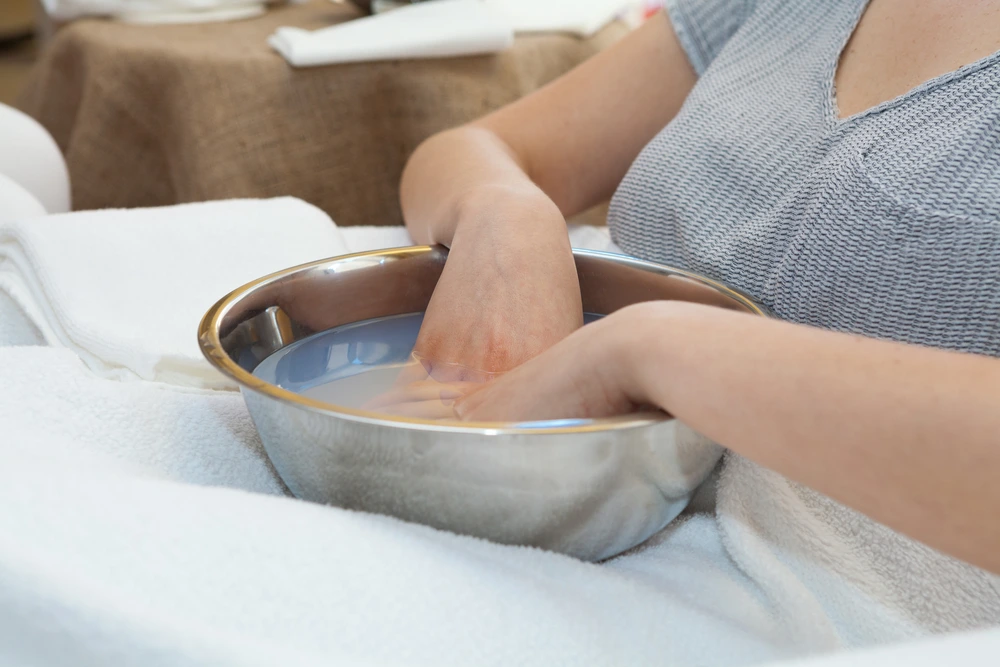
Some simple steps and tools can remove SNS nails without damaging or harming surrounding tissue. Here are two commonly used methods:
Acetone soak
Acetone is an effective ingredient that can break down gel polish bonds with minimal intervention within a reasonable timeframe.
Dip cotton wool buds in acetone and wrap them into even layers onto each nail before wrapping them individually with aluminum foil tight enough to create a seal.
Allow this to sit on your nails for approximately 10 minutes or until you notice that the solution has penetrated through each layer of SNS polish adequately. This approach will soften and disintegrate the gel polish layers.
Use a buffer block to lightly buff away any remaining leftover polish on your nails’ surface, and cut and file your nails according to the desired length and shape. Finish up by applying cuticle oil to promote healthy growth.
Warm water soak
If you don’t have acetone readily available, you can still remove SNS nails with warm water.
Begin by softly buffing the top layer of polish with a nail buffer and pouring lukewarm water into a bowl. Then, add a tablespoon of coconut or any essential oil to the water.
Think of it as taking a relaxing bath that is also gentle on your nails
Soak your nails in the solution for at least 20-30 minutes, after which peeling off layers of polish with a cuticle pusher should be easier. You could also use dental floss to slide under layers gently.
Now that we have covered the safe soaking methods for removing SNS nails at home, let’s explore other tools and techniques you can employ.
Tools and Techniques for Effective Soak-Off
If you want to remove SNS nails at home, you first need proper tools. Here’s a list of items you should have on hand:
- 100% acetone nail polish remover
- Nail buffer
- Cuticle oil
- Cotton wool buds or other suitable materials like tissues or toilet paper
- Aluminum foil (for gel or bio sculpture nails)
You can use two traditional methods to remove SNS nails – soaking in acetone or wrapping your nails in acetone-soaked cotton pads and foil.
To soak off SNS nails:
- Start by buffing the topmost layer of the nails with a gentle file or buffer.
- Apply acetone to each nail, covering it entirely. You can apply this with cotton balls or Q-tips. Alternatively, wrap each nail with aluminum foil after applying acetone over the nail.
- Let your nails soak for 10-15 minutes until the base coat starts peeling off naturally.
- Remove any residue gently with a buffer and moisturize your cuticles using cuticle oil.
By following these steps, you should be able to care for and remove SNS nails effectively from the comfort of your own home.
Post-Soak Nail Care
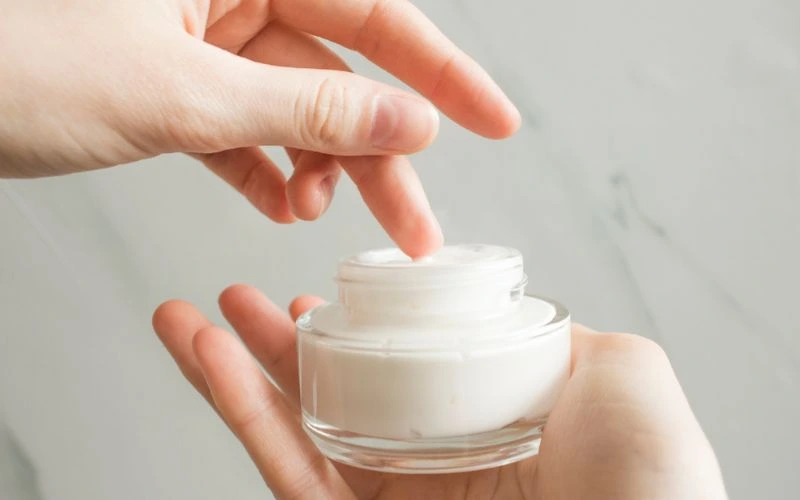
Post-soak nail care is crucial to maintain healthy, strong nails. After removing your SNS nails, take the following measures:
Start by washing your hands thoroughly using warm water and soap to remove any excess debris.
Then, gently dry your hands using a soft towel. Avoid going for long hours without moisturizing your hands, which could lead to dry skin and cracked cuticles.
To moisturize your cuticles, apply appropriate oils such as TPR Hydrate Cuticle Oil, coconut oil, or rosehip oil.
Think of moisturizing your cuticles as essential as applying sunscreen after a swim in the sun. It helps to protect and maintain the overall health of the nail bed.
Now that we understand the importance of post-soak nail care, let’s explore moisturizing cuticles’ critical role in promoting healthy growth.
The Critical Role of Moisturizing
When removing SNS nails, paying close attention to your nail health and the critical role moisturizing plays in protecting them is essential. Once you’re done removing your nails, apply cuticle oil or a recommended nail moisturizer like TPR Hydrate Cuticle Oil, coconut oil, or rosehip oil to rejuvenate and restore healthy growth. Dryness can cause peeling, cracking, and general weakening of nails – so take moisturizing seriously.
Think of it like taking care of your skin after a long winter’s day; applying lotion protects against dryness and cracking.
Without proper maintenance, brittle nails are highly prone to damage and breakage. So, prevention is key when maintaining durable nail health, especially when you frequently wear artificial nails that could weaken natural nail composition.
- According to the American Academy of Dermatology, using acetone to remove gel or SNS nails is safe and efficient, removing up to 90% of the nail coating on the first attempt.
- Research published in the Journal of Cosmetic Science revealed that soaking nails in acetone for an average of 20 minutes can reduce the strength of natural nails by about 25%.
- According to a study published in Scientific Reports in 2020, improper removal of SNS or gel nails can cause up to 50% reduction in surface roughness, leading to brittle and unhealthy nail beds.
Steps to Prevent and Repair Nail Damage
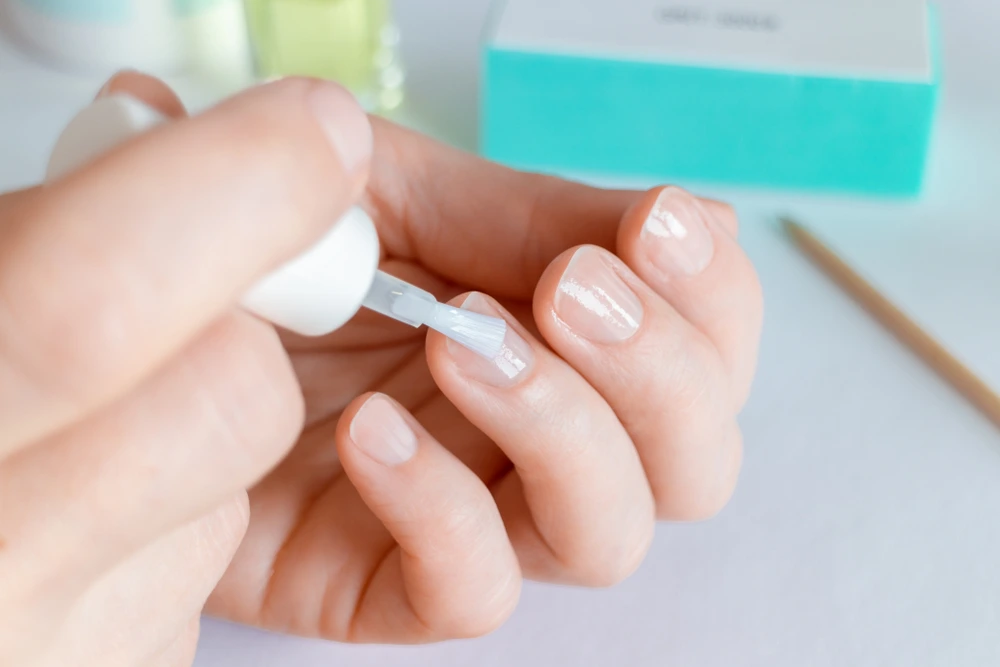
Accordingly, we recommend implementing these simple-to-follow steps for preventing and repairing nail damage:
- Take breaks from artificial nails: Give your natural nails a chance to breathe between sets by spending at least two weeks without them.
- File your nails properly: Use a fine-grit file to avoid damaging them unnecessarily. Don’t see side-to-side or back-and-forth; instead, file in one direction while avoiding using too much pressure.
- Be gentle with polish removal: Harsh acetone is infamous for causing severe drying, leading to damage. Use a recommended product or the bubble bath method – soaking fingers in warm water with a mild soap.
- Use a correct base coat: This will help prevent staining and make it easier to remove the polish without excessive aggressive scrubbing.
- Eat nutrient-rich foods: Opt for biotin-rich meals dripping in proteins, whole grains, and fatty acids, such as nuts or oily fish, which are vital components that promote healthy nail growth.
While specialist care is suitable for damaged nails, following these preventive steps could eliminate reliance on specialists for nail repair. It also saves money while promoting overall nail health.
Knowing how to protect and maintain healthy nails – especially after artificial nail removal – will keep your hands looking their best and prevent damage that leads to long-term harm.
Taking proper care of your nails is crucial for preventing damage and promoting overall health. By following simple steps such as taking breaks from artificial nails, filing your nails properly, being gentle with polish removal, using a correct base coat, and eating nutrient-rich foods, you can avoid needing specialist care and save money in the long run. Protecting and maintaining healthy nails will keep your hands looking their best and prevent long-term harm.

