

Green marble nails have taken the world of nail art by storm, offering a unique and eye-catching design that adds a touch of elegance and nature-inspired beauty to your fingertips. Whether you’re a seasoned nail enthusiast or just dipping your toes (or, should we say, fingers) into the world of nail art, this article will guide you through creating gorgeous green marble nails. We’ve covered you, from techniques and tools to troubleshooting common issues.
Getting Started with Green Marble Nails
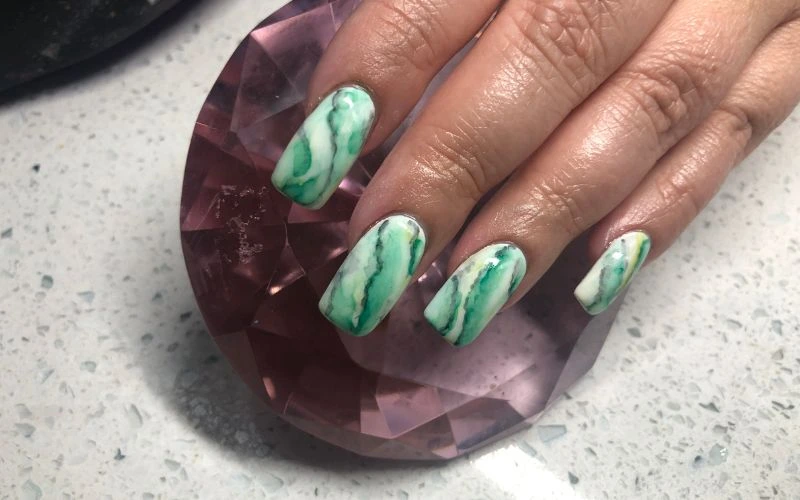
Creating green marble nails requires a few essential steps and some creativity. Let’s dive in:
Materials and Tools
Before you begin, gather the following materials and tools:
- Nail polish colors: You’ll need at least two shades of green nail polish for the marble effect. Choose lighter and darker shades for contrast.
- Base and topcoat: These are essential for protecting your nails and ensuring the design lasts.
- A small nail art brush or toothpick: These will help you create the marble pattern.
- Nail polish remover and cotton pads: Clean up any mistakes or excess polish.
- A shallow dish of room-temperature water: This is where the magic happens.
Step-by-Step Guide
Follow these steps to achieve green marble nails:
- Prepare your nails: Clean, shape, and apply a base coat.
- Choose your colors: Select two or more shades of green that complement each other.
- Drop the polish: Add a few drops of each nail polish color into the water dish.
- Create the marble effect: Use a toothpick or nail art brush to swirl the colors in the water gently.
- Dip your nails: Submerge your nails into the water with the design facing downward. Hold for a few seconds to allow the polish to adhere.
- Clean up: Remove your fingers from the water and use a cotton pad soaked in nail polish remover to clean up any excess polish.
- Seal the design: Finish with a topcoat to protect and seal your beautiful green marble nails.
Tips for Perfect Green Marble Nails
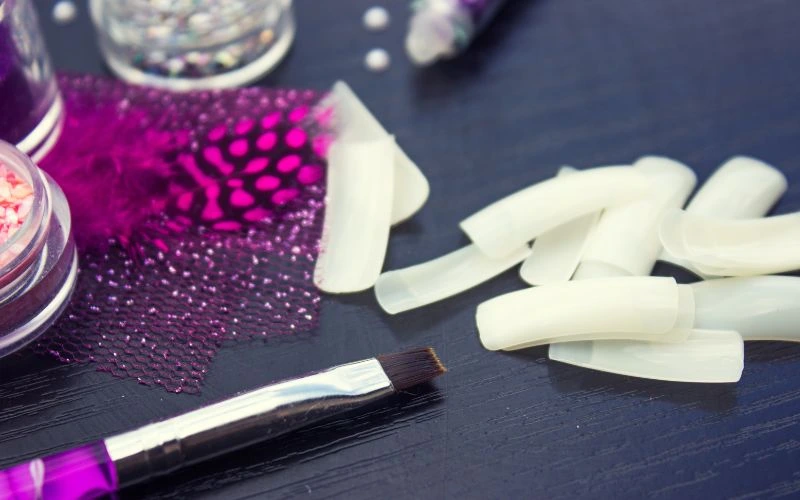
Achieving flawless green marble nails requires some practice and attention to detail. Here are some tips to help you get it right:
Experiment with Color Combinations
Don’t be afraid to mix and match different shades of green or even add a touch of white or metallic colors to create unique marble effects.
Practice Makes Perfect
Practice on a nail art wheel or plastic surface before attempting the design on your nails. This will help you refine your technique and get comfortable with the process.
Be Patient
Take time when swirling the polish in the water and dipping your nails. Rushing can lead to smudged or messy designs. Practice patience for stunning results.
Troubleshooting Common Green Marble Nail Issues
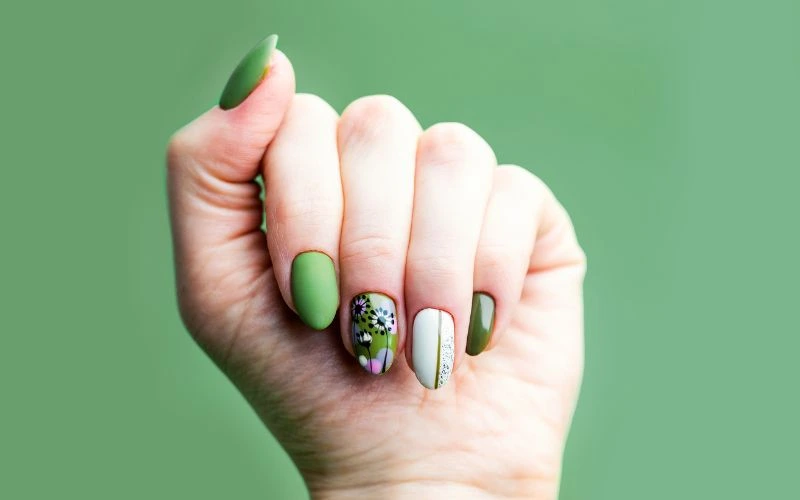
While creating green marble nails is a beautiful and rewarding experience, you may encounter some common issues. Here’s how to troubleshoot and overcome them:
Smudged Design
Problem: Your marble design smudged while dipping your nails into the water.
Solution:
- Ensure your base coat and initial nail polish layers are completely dry before attempting the marble effect.
- Be gentle when dipping your nails into the water, and avoid any sudden movements or contact with the sides of the dish.
- If you still encounter smudging, use a clean toothpick dipped in nail polish remover to clean up the design and try again.
Air Bubbles
Problem: Air bubbles appear on your nails after applying the marble design.
Solution:
- Thoroughly mix your nail polish colors in the water before dipping your nails to minimize the chances of air bubbles forming.
- Use a slow and steady motion when dipping your nails into the water to reduce the chances of trapping air.
- If air bubbles still appear, gently tap your nails with a toothpick to release them before the polish dries.
Uneven Patterns
Problem: The marble pattern on your nails looks uneven or lacks cohesion.
Solution:
- Practice your swirling technique on a practice surface to achieve a smoother and more cohesive design.
- Experiment with how much polish you drop into the water to find the right balance between colors for a balanced pattern.
- Be mindful of the angle you dip your nails into the water to ensure even coverage and a consistent pattern.
Maintenance and Care for Green Marble Nails
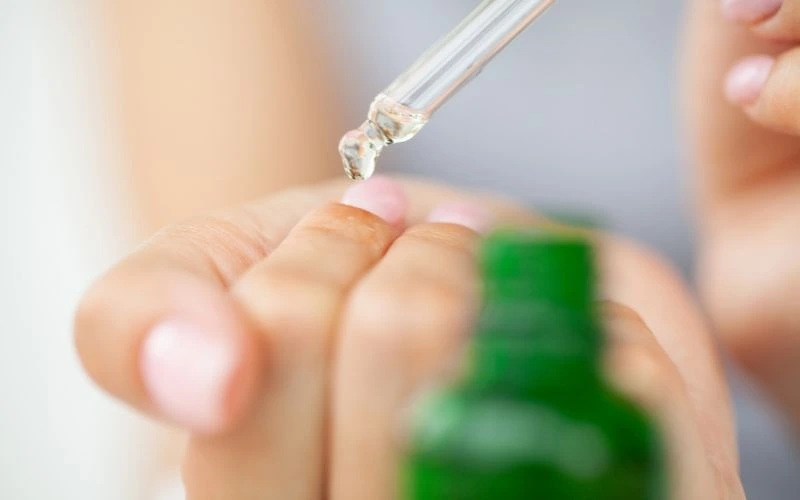
Once you’ve achieved your stunning green marble nails, it’s essential to maintain and care for them to keep them looking their best.
Protect Your Nails
Avoid using your nails to open or scrape objects to prevent chipping and fading. Use your fingertips instead.
Moisturize Your Cuticles
Regularly apply cuticle oil or moisturizer to keep your cuticles healthy and prevent them from drying out.
Touch-Up as Needed
If you notice any chips or imperfections in your green marble nails, you can touch up the design with a small brush and matching nail polish.
Conclusion
Green marble nails are a captivating and artistic way to showcase your style and creativity. By following the step-by-step guide, incorporating the tips, and addressing common issues, you can master the art of creating stunning green marble nails. With practice and patience, you’ll be able to enjoy the beauty of this unique nail design for longer periods. Remember to take good care of your nails, and don’t hesitate to experiment with different color combinations to make them look your own. Happy nail art-ing!
FAQs
How long does it take to create green marble nails?
Creating green marble nails typically takes 30-45 minutes, including drying between coats and the final topcoat.
Can I use other colors besides green for the marble effect?
You can experiment with different colors to create unique marble nail designs. However, green marble nails remain a popular and elegant choice.
How can I make my green marble nails last longer?
To extend your green marble nails’ longevity, apply a good-quality base and topcoat. Additionally, avoid exposing your nails to excessive moisture for the first few hours after application.
Can I use regular tap water for creating green marble nails?
While tap water can work for creating green marble nails, it’s essential to use room temperature or lukewarm water to prevent the nail polish from drying too quickly. Some individuals prefer bottled or distilled water for the best results, as it can be purer and free from impurities that may affect the outcome.

