

Are you tired of plain, boring nails? Do you want to express your unique style and creativity through your manicures? Look no further than step-by-step nail art guides! These guides are key to unlocking endless possibilities for your nails.
With step-by-step nail art guides, you can transform your nails into stunning works of art. Whether you’re a beginner or an experienced nail artist, these guides provide easy-to-follow instructions to help you achieve professional-looking designs from the comfort of your home.
From simple patterns and designs to intricate and elaborate creations, step-by-step nail art guides cover everything. You’ll learn to create stunning ombre effects, intricate floral designs, geometric patterns, and more. The possibilities are truly endless.
Not only do these guides provide detailed instructions, but they also offer valuable tips and tricks to help you perfect your nail art skills. You’ll learn about the best tools and products, how to properly care for your nails, and how to make your designs last longer. You’ll gain more confidence and expertise in creating beautiful nail art with each guide.
Whether you want to impress your friends with a stunning manicure or express your style, step-by-step nail art guides are your go-to resource. They provide the inspiration and guidance you need to create unique, eye-catching designs that will leave everyone in awe.
So, what are you waiting for? Dive into the world of step-by-step nail art guides and unlock your creativity. Your nails will thank you for it!
What are the basic tools needed for nail art?
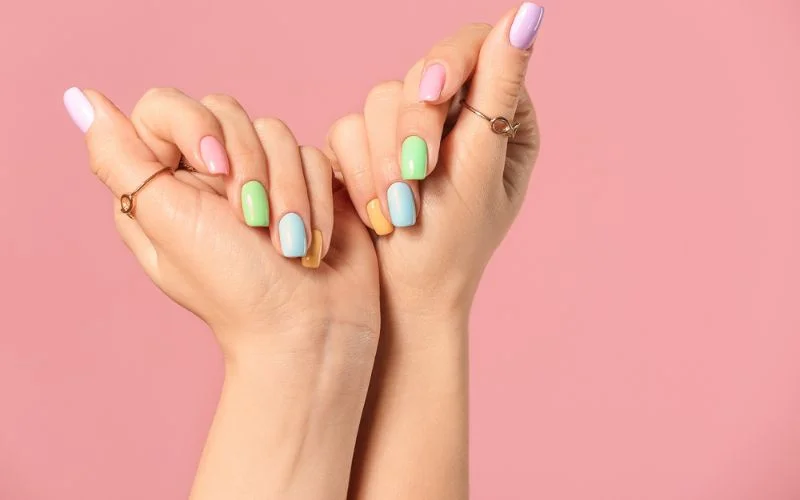
When creating beautiful nail art designs, having the right tools is essential. Whether you’re a beginner or an experienced nail artist, there are a few basic tools that you’ll need to get started. Here is a list of the must-have tools for nail art:
Nail polish: Of course, nail polish is the foundation of any nail art design. Choose colors to create different looks and experiment with different finishes like matte or glitter.
Base coat and top coat: These two products are essential for protecting your nails and ensuring that your nail art lasts longer. The base coat helps to prevent staining and provides a smooth surface for your design, while the top coat seals everything in and adds shine.
Nail art brushes: A set of nail art brushes is a must-have for creating intricate designs. Look for brushes with different tip shapes and sizes to give you more versatility in your designs.
Dotting tools: Dotting tools are perfect for creating dots and small details in your nail art. They come in various sizes, allowing you to create different dot sizes easily.
Nail or striping tape: Nail tape creates clean lines and geometric designs. It can be used to create straight lines or to mask off areas for different colors.
Rhinestones and studs: Adding some bling to your nail art is always good. Rhinestones and studs come in various shapes and colors, allowing you to create stunning designs.
Nail decals and stickers: If you’re not confident in your freehand nail art skills, nail decals and stickers are a great alternative. They come in a wide range of designs, from flowers to animals, making it easy to create unique nail art.
How to prepare your nails before applying nail art?
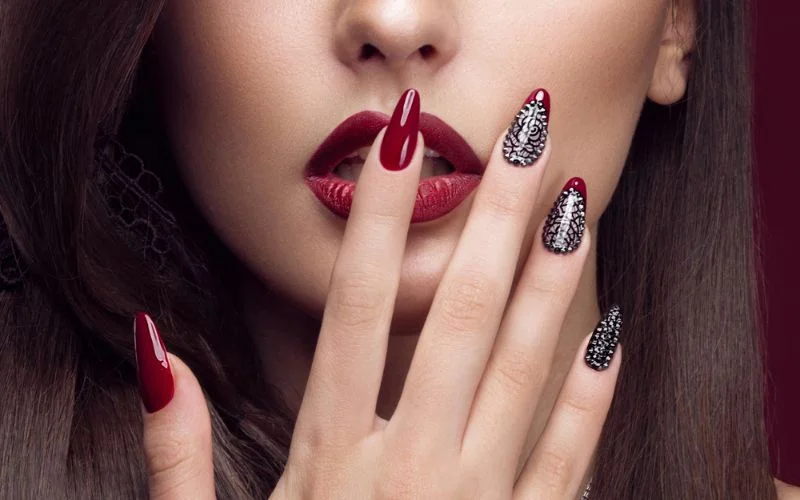
To achieve stunning nail art designs, properly preparing your nails is essential. By following these steps, you can ensure that your nail art lasts longer and looks flawless.
Firstly, start by removing any old nail polish using a gentle nail polish remover. This will provide a clean canvas for your nail art. Make sure to choose a non-acetone remover to avoid damaging your nails.
Next, trim and shape your nails to your desired length and shape. Use a nail file to gently shape the edges, whether you prefer square, round, or almond-shaped nails. Remember to file in one direction to prevent splitting or peeling.
After shaping, soak your nails in warm soapy water for a few minutes. This will soften the cuticles, making them easier to push back. Use a cuticle pusher or a wooden stick to push back the cuticles gently. Be careful not to cut or damage them, which can lead to infections.
Once the cuticles are pushed back, buffing your nails is time. Use a nail buffer to smooth out any ridges or imperfections on the surface of your nails. This will create a smooth base for your nail art and help the polish adhere better.
Before applying any nail polish, clean your nails with a nail cleanser or rubbing alcohol. This will remove any oils or residue, ensuring the nail polish adheres properly.
Finally, apply a base coat to protect your nails and prevent staining. This will also help the nail polish last longer. Allow the base coat to dry completely before moving on to your chosen nail art design.
What are some popular nail art designs for beginners?
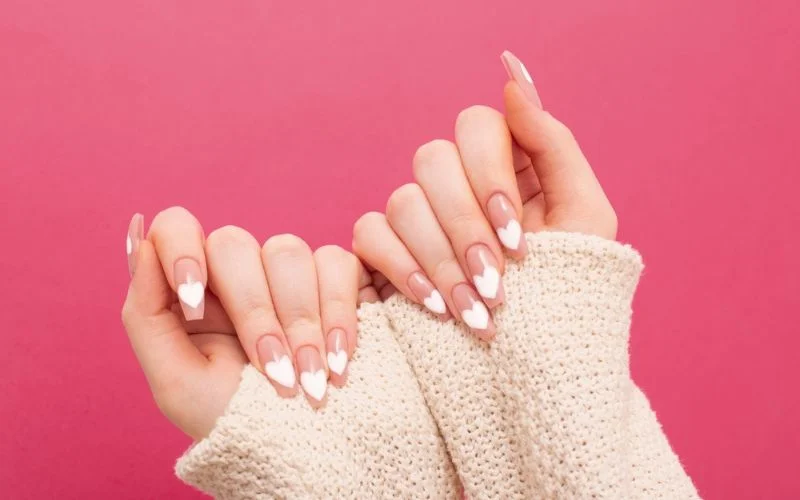
When it comes to nail art, beginners often feel overwhelmed by the countless options available. From intricate designs to simple yet elegant patterns, there is something for everyone. This article will explore some popular nail art designs perfect for beginners.
The classic French manicure is one of the easiest and most popular designs for beginners. This timeless look involves painting the tips of your nails white and the rest of the nail bed with a sheer or nude color. It’s simple, elegant, and fits any outfit or occasion.
Another popular design is the polka dot manicure. You only need a dotting tool or a toothpick to create cute, playful dots on your nails. You can choose different colors and sizes of beads to create a unique and fun look.
The floral nail art design is perfect for those who love floral patterns. You can use nail stamps, stickers, or even freehand painting to create beautiful flowers on your nails. This design is versatile and can be customized to suit your preferences.
Lastly, the geometric nail art design is a great choice for beginners. It involves creating simple shapes and patterns using tape or nail art brushes. You can experiment with different colors and shapes to create a unique and modern look.
In conclusion, numerous nail art designs are perfect for beginners. Whether you prefer a classic French manicure or a more intricate design, the key is to have fun and experiment with different techniques. You can create stunning nail art designs in no time with practice and patience.
How to create a gradient nail art design?
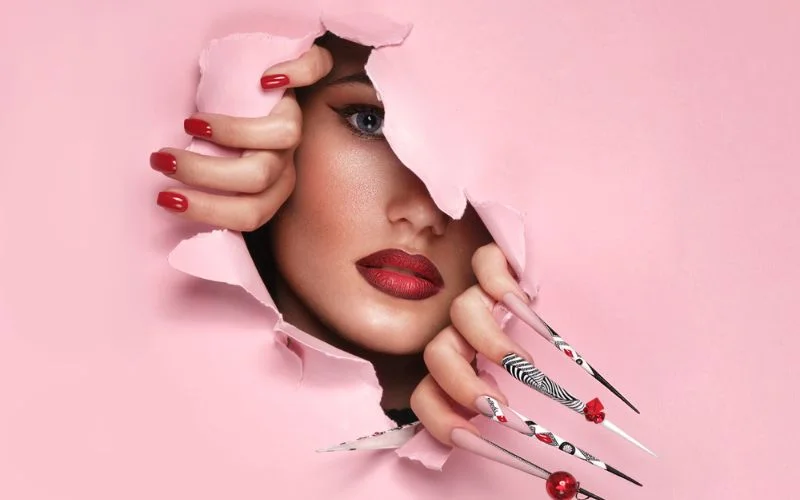
Creating a gradient nail art design is a great way to add flair to your nails. Whether you’re a beginner or an experienced nail artist, this step-by-step guide will walk you through achieving a stunning gradient effect.
To start, gather the necessary materials. You will need two or more nail polish colors that blend well together, a makeup sponge, a base coat, and a top coat. Choosing colors that complement each other and create a seamless transition is important.
Begin by applying a base coat to protect your nails. Once dry, apply a light coat of your most delicate color as the base color. This will serve as the foundation for the gradient.
Next, take your makeup sponge and apply a small amount of your darkest color to one corner. Dab the sponge lightly onto your nails, starting from the tip and working up. Please repeat this step, gradually adding the darker color to the sponge and blending it into the lighter color. This will create a smooth gradient effect.
Continue dabbing the sponge onto your nails until you achieve the desired gradient. If needed, you can add more polish to the sponge or blend the colors with a clean part of the sponge.
Once you’re satisfied with the gradient, let it dry completely. Apply a top coat to seal in the design and add shine. This will also help to protect your nail art and make it last longer.
Remember to have fun and enjoy the process of creating your nail art. The possibilities are endless, so let your creativity shine through!
What are the steps to create floral nail art?
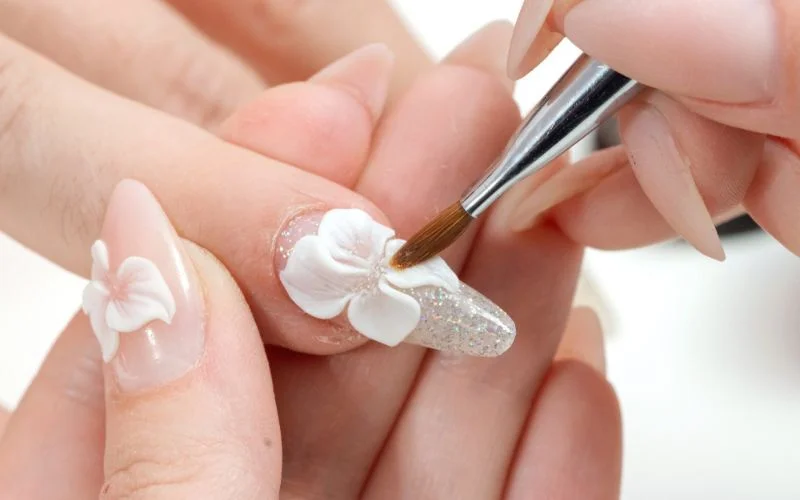
Creating a beautiful floral nail art design is a great way to add color and elegance to your nails. You can achieve stunning results with the right tools and a little patience. Here are the step-by-step instructions to create a floral nail art design:
Step 1: Start by preparing your nails. Remove any old polish and shape your nails to your desired length and shape. Apply a base coat to protect your nails and allow them to dry.
Step 2: Choose your desired colors for the floral design. Select two or more colors that complement each other for a gradient effect. Apply the lighter color as the base and let it dry completely.
Step 3: To create the gradient effect, take a makeup sponge and apply the darker color(s) onto the sponge. Gently dab the sponge onto your nails, starting from the tip and working toward the base. Repeat this step until you achieve the desired intensity of the gradient.
Step 4: Once the gradient is dry, it’s time to create the floral design. Use a thin nail art brush or a dotting tool to draw small flowers on your nails. Start by making the petals with one color and then add a contrasting color for the center of the flowers. You can also add leaves and other details to enhance the design.
Step 5: Allow the floral design to dry completely, and seal it with a top coat to protect your artwork and give it a glossy finish.
You can create a stunning floral nail art design following these step-by-step instructions. Experiment with different color combinations and flower shapes to create your unique designs. With practice, you’ll be able to master this technique and create beautiful nail art that will impress everyone.
How to do a French manicure with nail art?
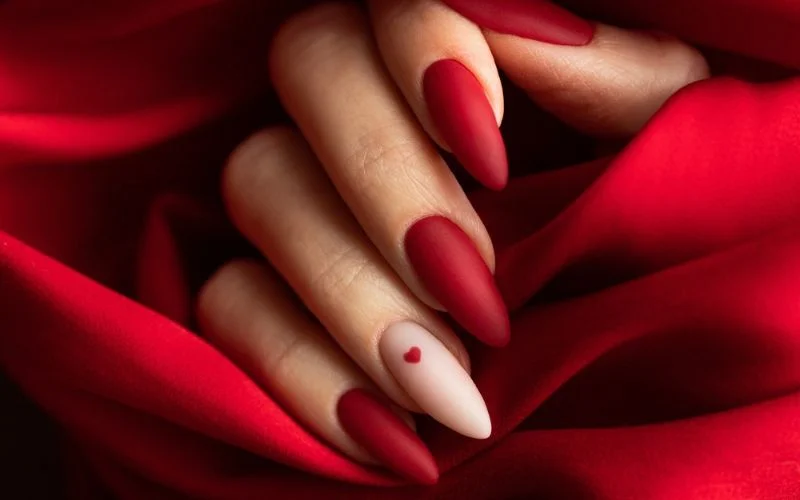
French manicures are a classic and elegant nail design that never goes out of style. Adding a touch of nail art to your French manicure can take it to the next level, allowing you to showcase your creativity and individuality. This step-by-step guide will show you how to achieve a stunning French manicure with floral nail art.
To start, gather all the necessary materials: a base coat, a sheer pink or nude polish for the tips, a white polish for the information, a dotting tool or toothpick, and a top coat. Make sure your nails are clean and dry before beginning.
Apply a base coat to protect your nails and ensure long-lasting wear.
Once the base coat is dry, apply two coats of sheer pink or nude polish to the entire nail. This will create a natural-looking base for your French manicure.
Using the white polish, carefully paint a thin line across the tip of each nail. This line should follow the natural curve of your nail.
Allow the white polish to dry completely before moving on to the next step.
Now, it’s time to add the floral nail art. Dip the dotting tool or toothpick into the white polish and create small dots along the edge of the white tip. These dots will serve as the centers of your flowers.
Using a different color polish, such as pink, purple, or yellow, create small petals around each dot. You can use the dotting tool or toothpick to drag the polish outwards, forming the shape of a flower.
Following these simple steps, you can create a beautiful French manicure with floral nail art. Experiment with different colors and designs to create your unique look. With a little practice, you can master this stunning nail art technique.
What are some tips for long-lasting nail art?
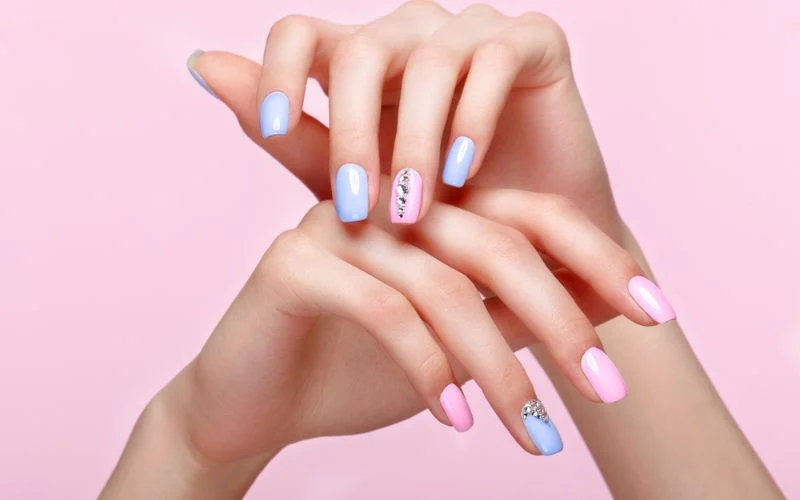
French manicures are a classic and elegant nail art style that never goes out of fashion. Whether you’re heading to a formal event or want to add a touch of sophistication to your everyday look, a French manicure is the perfect choice. However, one challenge many people face is making their nail art last as long as possible. Here are some tips to help you achieve a long-lasting French manicure.
Firstly, preparation is key. Before applying nail polish, ensure your nails are clean and dry. Remove any old polish and gently shape your nails using a file. Push back your cuticles and apply a base coat to create a smooth surface for the polish to adhere to.
When applying the polish, use thin and even coats. Avoid applying too much polish simultaneously, leading to smudging and chipping. Allow each coat to dry completely before applying the next one. This will help to build up a strong and durable color.
Consider using a top coat designed for long wear to make your French manicure last longer. These top coats are formulated to provide extra protection and prevent chipping. Apply a thin layer of full skin every few days to maintain the shine and durability of your manicure.
Lastly, be mindful of your daily activities. Avoid exposing your nails to excessive water, as it can weaken the polish and cause it to chip. Wear gloves when doing household chores or gardening to protect your nails from damage.
You can enjoy a beautiful and long-lasting French manicure by following these tips. Remember to take care of your nails and give them the attention they deserve. Proper preparation and maintenance ensure your nail art stays flawless for days.
How to remove nail art without damaging your nails?
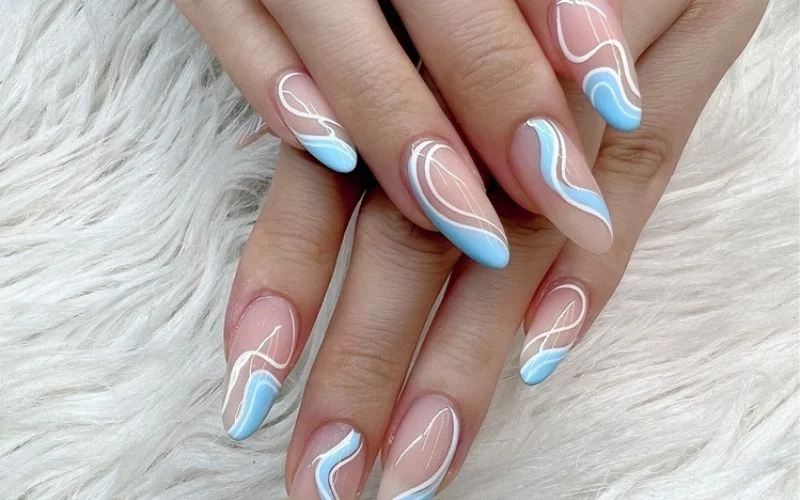
Regarding nail art, we all love experimenting with different designs and colors. However, removing nail art can be tricky; it can damage our nails if not done properly. In this article, we will discuss some tips and techniques to remove nail art without causing any harm to your nails.
One of the most common methods to remove nail art is using acetone-based nail polish removers. However, these removers can be harsh on your nails and cuticles. Soak a cotton pad in the remover to minimize damage and place it on your nail. Wrap your finger with aluminum foil to hold the cotton pad in place. Leave it for 10-15 minutes to allow the remover to penetrate the nail polish. Press the cotton pad and slide it off your nail, removing the nail art.
Another alternative to acetone-based removers is a nail polish remover free from acetone. These removers are less harsh on your nails and cuticles. Follow the same process as mentioned above, but remember that it may take a bit longer for the nail polish to dissolve.
If you want to avoid using any chemical removers, you can try soaking your nails in warm soapy water for about 10-15 minutes. This will help soften the nail polish, making it easier to remove. After washing, gently scrape off the nail art using a cuticle pusher or an orangewood stick.
Remember to always moisturize your nails and cuticles after removing nail art. This will help restore moisture and prevent them from becoming dry and brittle.
In conclusion, removing nail art without damaging your nails is possible if you follow the right techniques. Whether you use acetone-based removers, acetone-free removers, or a more natural approach, always be gentle and take care of your nails. Happy nail art experimenting!
Nail Art Removal
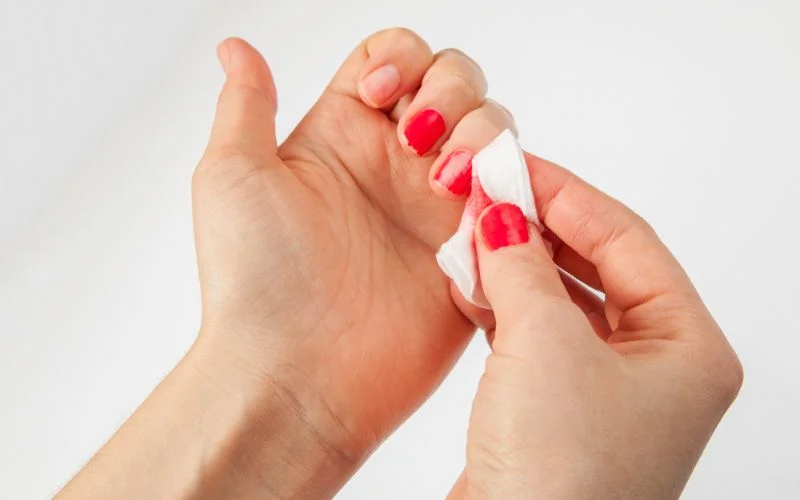
Nail art has become a popular trend among women all over the world. From intricate designs to bold colors, nail art allows individuals to express their creativity and style. However, just like any form of art, there comes a time when it needs to be removed. In this article, we will explore the step-by-step process of nail art removal, ensuring that your nails stay healthy and beautiful.
Firstly, gather all the necessary tools for the removal process. You will need acetone or nail polish remover, cotton balls or pads, aluminum foil, a cuticle pusher, and a nail file. These tools will help make the removal process easier and more efficient.
Start by filling down the top layer of your nail art. This will help break the seal and allow the remover to penetrate the layers of polish. Be gentle while filing to avoid damaging your natural nails.
Next, soak a cotton ball or pad in acetone or nail polish remover. Place the soaked cotton ball on your nail and wrap it with a small piece of aluminum foil. Repeat this process for all your nails and let them soak for about 10 minutes. The acetone will help dissolve the nail polish, making it easier to remove.
After the soaking process, gently remove the aluminum foil and cotton balls. Use a cuticle pusher to scrape off any remaining nail polish. Be careful not to push too hard or scrape too aggressively, as this can damage your nails.
Finally, wash your hands thoroughly to remove any remaining residue. Apply a nourishing cuticle oil or hand cream to moisturize your nails and cuticles. This will help restore moisture and prevent any dryness or damage.
Conclusion
Step-by-step Nail Art Guides provide valuable information and guidance for anyone interested in exploring the world of nail art.
Throughout this post, we have covered a wide range of topics related to nail art, including the basic tools needed, nail preparation techniques, popular designs for beginners, and advanced techniques such as gradient and floral arrangements.
Following the step-by-step guides, readers can confidently create stunning nail art designs at home. The importance of having the right tools and preparing the nails properly cannot be overstated, as these factors greatly contribute to the overall success of nail art.
Additionally, we have highlighted the significance of long-lasting nail art and provided tips to help readers maintain their designs for as long as possible. It is important to note that trends in nail art are constantly evolving, and staying updated with the latest techniques and procedures is essential.
We anticipate nail art’s continued growth and popularity, with new developments and trends emerging regularly. With the increasing accessibility of nail art tools and products, more and more people are embracing this creative self-expression.
We thank you for taking the time to read this post. We hope that the information provided has been helpful and inspiring. We encourage you to leave any comments or feedback, as we value your input. Please let us know if you have any further questions or would like to see more content on this topic. Happy nail art-ing!

