

Is there anything more glamorous than a perfect set of acrylic nails? Just imagine how empowering it would feel to have a salon-worthy manicure from the comfort of your home! Learning to apply acrylic nails at home can seem daunting at first. But don’t let this stop you. You can rock those intricately designed nails just like any professional nail artist with the right guidance, tools, and patience. So get ready as we provide you with a step-by-step guide on mastering the art of DIY acrylic nails, saving you both time and money. Say goodbye to frequent salon visits and hello to show-stopping, jaw-dropping nails anytime you wish!
Our comprehensive guide on acrylic nail steps provides a detailed process walkthrough. It includes everything from preparing your natural nails, applying the tips, mixing the liquid and powder, shaping and filing the nails, and finishing touches. Follow these steps carefully for a professional-looking acrylic nail application.
Getting Ready: Tools & Preparations
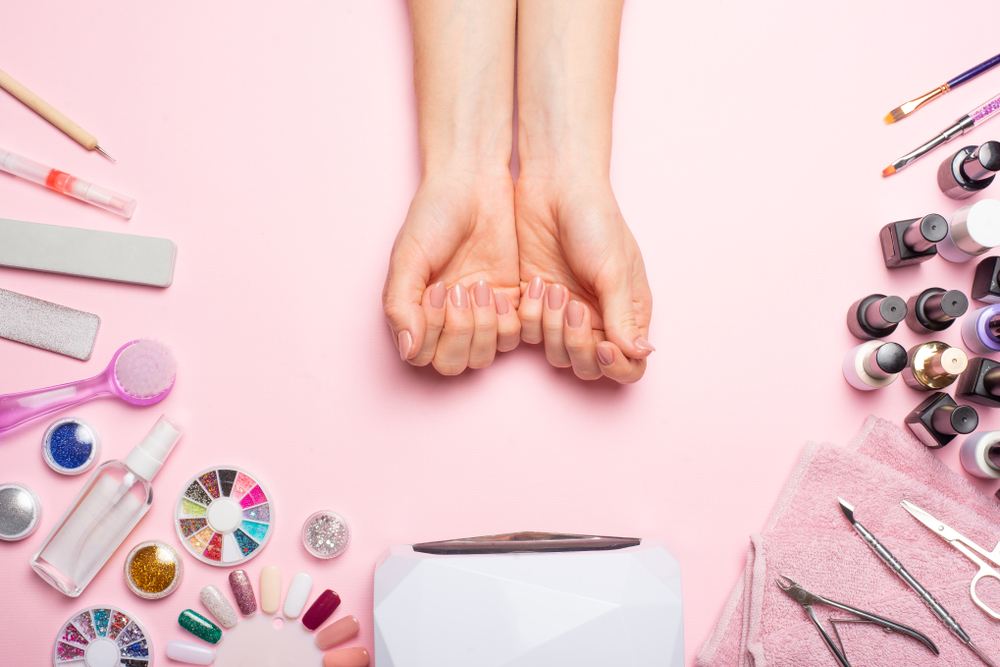
If you are used to paying hefty sums for regular salon visits, perhaps it’s time to embark on a new money-saving adventure – doing your acrylic nails at home. Applying acrylic nails takes patience and attention to detail but can be incredibly rewarding once mastered. This tutorial will guide you through the process, starting with preparing all the essential tools and prepping your natural nails.
- As per a report by Allied Market Research, the global artificial nails market, which includes acrylic nails, is expected to reach $1.6 billion by 2027, growing at a CAGR of 3.9% from 2020 to 2027.
- According to a survey conducted in 2019, nearly 31% of women in the U.S. used artificial nails or nail extensions like acrylics.
- A study published in the Journal of Cosmetic Science cited that approximately 20% of all dermatitis seen in the general population is hand dermatitis, and keeping natural nails covered with artificial ones can increase the chances of developing this condition.
- If you want to save money on salon visits, consider learning how to do your acrylic nails at home. It may take some practice, but the process can be highly rewarding. This tutorial will walk you through the necessary steps, including gathering all the required tools and preparing your natural nails.
Essential Tools for Acrylic Nails
Before starting your first set of acrylic nails, ensure you have ample time to avoid feeling rushed. Consider setting aside two or more hours for your first attempt. You must create a conducive environment while remaining cautious since some products may have unpleasant fumes.
Start by gathering the following necessary tools:
Prepping Your Natural Nails
- Acrylic nail tips
- Nail tip glue
- Clippers
- Files
- Acrylic liquid
- Acrylic powder
- An acrylic brush
- An acrylic bowl
- Training fingers or a training hand
If this is your first time working with acrylics, consider purchasing an acrylic nail kit containing everything needed to get started and detailed instructions in the box. Some kits contain EMA (Ethyl Methacrylate) monomer, which is safer and less harsh on natural nails than MMA (Methyl methacrylate). Ensure you choose a kit with an EMA monomer. For those looking for more control over the appearance of their acrylics, purchase supplies separately. Additionally, you should remove old polish from your nails before applying.
For beginners looking to buy their supplies individually using recommendations from Reddit users who do their acrylics at home, the Kiss Complete Acrylic Kit from Walmart includes everything needed, from forms and tips to additional products like prep and prime dehydrator and dappen dish. The package also comes with easy-to-follow instructions and is a comprehensive kit for beginners.
Consider other retail stores like Sally’s, which stocks Beauty Secret clear and pink acrylic powders for a more natural-looking finish. They also provide a dehydrator and primer from their Beauty Secrets line that prevents lifting. 100/180 grit files and buffing blocks are highly recommended for tools. A specific quality brush like the ones from the Alpha brush range proves indispensable for an even application, while a nail drill with at least 25,000 Rpms helps achieve a smoother and more precise finish.
Step-by-Step Application Process

Before applying acrylic nails, taking good care of your natural nails is important. Start by cleaning any old nail polish and trimming your nails. Use a nail primer to remove moisture and oils from your nails to ensure better adhesion. In addition, buffing the surface of your nails makes them slightly rougher, which allows the acrylic to stick better. Finally, push back or trim cuticles to keep them out of the way when applying artificial tips.
Applying Artificial Tips
Once you have prepped your natural nails through cleaning, trimming, buffing, and applying primer as described in the previous section, follow these steps for applying acrylic nails:
- Choose the right artificial tip: Select an appropriate size of artificial tips that fit your natural nails. They should be neither too small nor too large.
- Apply the adhesive: Apply a small amount of glue on the underside of the artificial tip using a toothpick or other suitable tool.
- Apply the artificial tip: Place the tip over the natural nail and press down gently for a few seconds until it sticks well.
- Trim and shape: Use clippers to trim the length of your artificial tips according to the desired length and shape.
- Prepare the mixture: Mix liquid acrylic and powder in an acrylic bowl. Use only EMA (Ethyl Methacrylate) monomer as MMA (Methyl methacrylate) can damage natural nails.
- Dip the brush: Dip an acrylic brush into the mixed liquid acrylic and powder. Make sure to remove any excess by wiping it against the edge of the bowl.
- Apply acrylic: Start with a smile line at the top of your artificial tip and work slowly towards the cuticle without touching it.
- Dry and shape again: Let it dry for about ten minutes before shaping and filing according to the desired shape and length using a buffer.
- Finish: Once you have shaped your nails, you can apply a layer of clear topcoat to protect them from breaking or turning yellow.
Layering the Acrylic
One of the first steps to applying acrylic nails at home is preparing your natural nails and applying the artificial tips. Begin by removing old nail polish, trimming your nails, and buffing their surface to make them slightly rougher. This will help the glue that adheres to the tips stay in place. Next, apply nail primer to remove oils from your nails and ensure better adhesion. Select an appropriately sized tip that fits snugly on each nail. Apply a small amount of glue onto the tip, positioning it correctly before pressing it down firmly.
Let’s say you want to switch up your style with French tips or something more intricate. You might select appropriately sized tips or shape them accordingly and glue them onto your natural nails, much like any other tip application. The choice of size will determine the final shape and length you can achieve using acrylic.
Having prepped our nails and applied artificial tips, let’s look at layering acrylic.
Achieving a Professional Look at Home
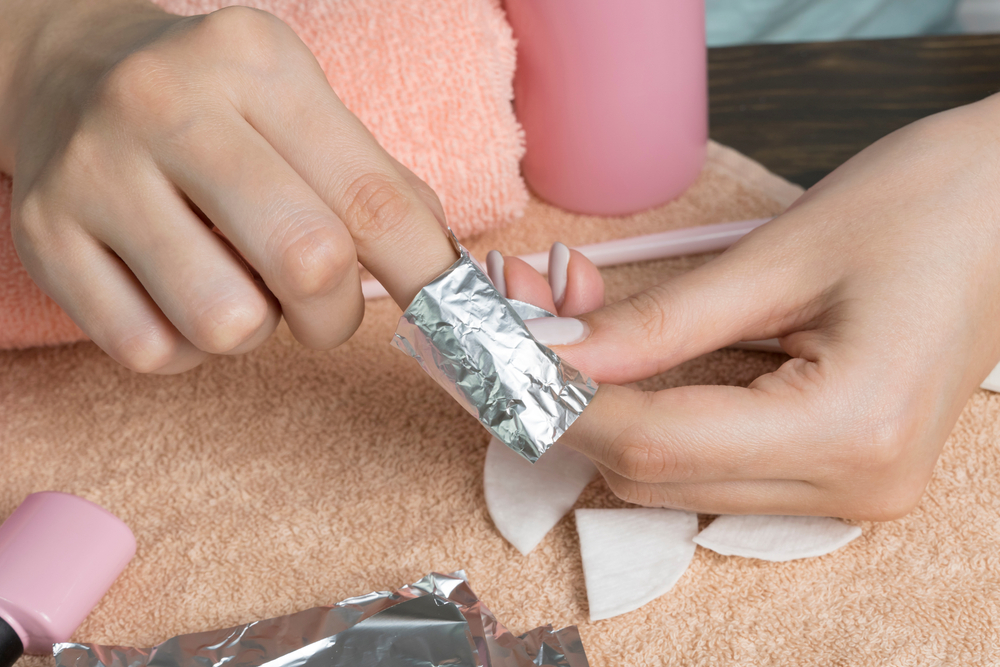
Layering acrylic liquid and powder may appear daunting at first glance, yet this step is crucial for achieving long-lasting salon-quality extensions at home. Begin by ensuring a well-ventilated workspace, clean tools, gloves (if preferred), and comfortable seating. Prepare liquid acrylic and powder in separate containers according to package instructions.
Dip an acrylic brush into the liquid mixture and blot out excess liquid on the side of the container. Roll the brush tip into powdered polymer until a moist but not too wet ball forms on your brush.
Starting at the ‘smile line’ where you’ve glued on the artificial tip, carefully place this ball mixture onto your natural nail, working it towards but never touching your cuticle area.
Once applied evenly to all fingernails, let the acrylic dry for ten minutes or until it’s firm before filing or shaping further with buffer or drill, depending on preference.
Applying acrylic is like making a 3D painting, gradually building up layers bit by bit while allowing each layer to dry before adding another.
Remember that practice makes perfect, whether opting for a simple elongated shape or more intricate designs. Once you’ve mastered the application process, you’ll soon be achieving beautifully polished nails in the comfort of your own home.
Maintaining Your Acrylic Nails at Home
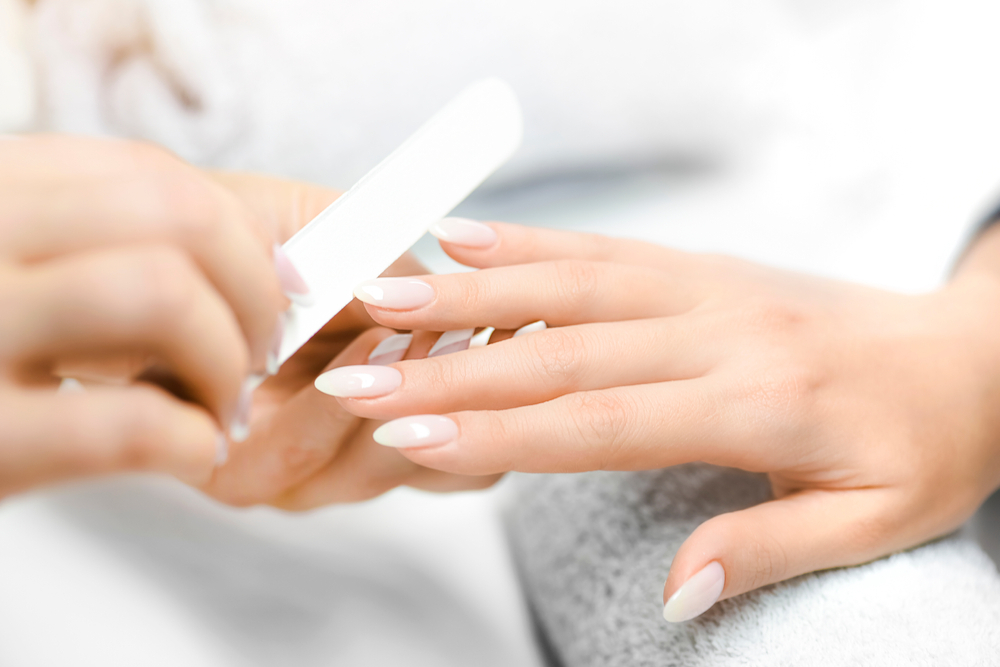
When applying acrylic nails at home, achieving professional-looking results can be challenging. However, anyone can learn how to do it with proper instruction and practice. One key aspect of achieving a professional look is ensuring that the nail tips fit snugly on your natural nails. This will prevent air bubbles from forming and ensure the nails last longer. Another critical factor is using the right amount of acrylic liquid and powder. Too much liquid can make the mixture runny, while too much powder can make it hard to apply. You can develop the skills needed for a polished and professional look with practice and patience.
Proper Nail Hygiene Practices
Once you’ve applied your acrylic nails, it’s important to maintain them properly to ensure they last as long as possible. Proper nail hygiene is one of the most critical aspects of maintaining your acrylic nails. Regularly wash your hands and keep your nails clean to prevent bacteria from forming under the acrylics. It’s also crucial to avoid using your nails as tools to open packages or perform other tasks that may put unnecessary stress on them.
Another key aspect of maintaining acrylic nails is avoiding exposure to water for prolonged periods. Water can weaken the bond between the nail and the acrylic, causing the nails to lift or even fall off. If you must expose your nails to water, wear gloves or use water-resistant polish to protect them.
Regularly moisturizing your cuticle area will also help keep your nails healthy. Lastly, ensure you get regular maintenance appointments with a professional technician who can fill in gaps or fix any issues between applications.
One important thing to remember is that proper maintenance goes hand-in-hand with application technique. So if you follow all these tips carefully, you’ll be well on your way to maintaining beautiful acrylic nails at home!
Preserving and Enhancing Your Acrylics
Before applying acrylic nails, it’s essential to ensure your nails are healthy, clean, and strong. Proper nail hygiene practices help prevent infection, damage, or weakening of the natural nail bed. Here are some tips:
- Keep your nails dry and avoid prolonged exposure to water while doing dishes or engaging in water sports.
- Wear gloves when cleaning, gardening, or contacting harmful chemicals.
- Avoid biting your nails, as this introduces harmful bacteria and weakens the nail bed.
- Use a moisturizer regularly to keep cuticles and nails hydrated.
You’re well on your way to healthier nails by implementing these simple habits.

