

Nail art has taken the beauty industry by storm, and one of the latest trends that has captured the imagination of nail enthusiasts worldwide is the use of blooming gel. Blooming gel is a must-try product if you want to elevate your nail game and create stunning, intricate designs. This comprehensive guide will explore everything you need to know about blooming gel, from its basics to advanced techniques. Whether you’re a seasoned nail artist or a newbie, you’ll find valuable insights and tips to help you master the art of blooming gel nails.
What Is Blooming Gel?
Before delving into the practical aspects of using blooming gel, let’s start by understanding what blooming gel is. Blooming gel, or blossom gel, is a specialized nail art product that enables you to create beautiful, watercolor-like designs on your nails. It comes in a bottle with a thin brush, making it easy to apply, and it’s available in various colors, allowing for endless creative possibilities.
How Do You Use Blooming Gel?
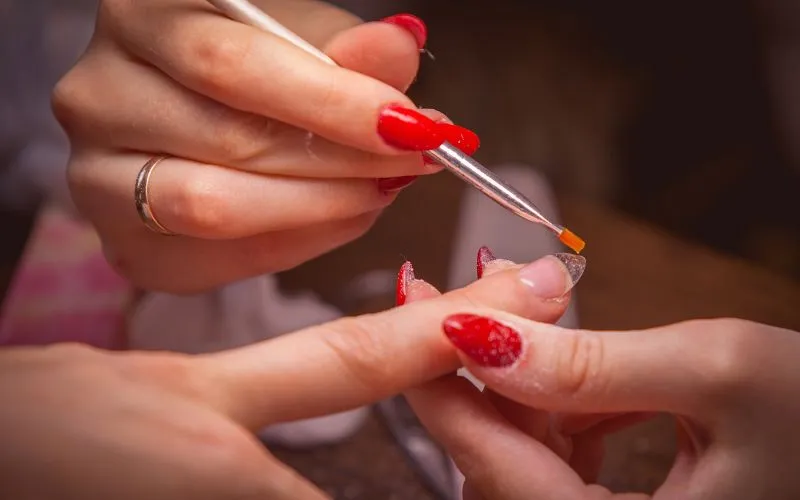
To use blooming gel effectively, proper preparation is key. Applying a blossom gel base coat is essential, as it protects your natural nails and enhances the longevity of your blooming gel design.
Preparation is Everything
Achieving stunning blooming gel nail designs begins with proper preparation. Follow these steps to ensure your nails are ready for the blooming gel application:
- Clean Your Nails: Start by removing old nail polish and ensuring your nails are clean and oil-free.
- Shape and Buff: Shape your nails to your desired length and shape. Gently buff the surface of your nails to create a smooth canvas for the blooming gel.
- Apply a Base Coat: To protect your natural nails and help the blooming gel adhere better, apply a high-quality blossom gel base coat. This step is essential for a long-lasting design.
Always Use a Blossom Gel Base Coat
A blossom gel base coat is the foundation for your blooming gel design. It enhances the longevity of your nail art and provides a smooth surface for the blooming gel to spread and bloom effectively. Here’s how to use it:
- Apply a Thin Base Coat: Using a brush, apply a thin layer of the blossom gel base coat to your nails, ensuring it covers the entire nail surface.
- Cure Under a UV/LED Lamp: Once applied, the base coat should be cured under a UV or LED lamp according to the manufacturer’s instructions. This typically takes 30-60 seconds.
- Avoid Skipping This Step: Skipping the base coat can result in uneven blooming and shorter-lasting nail art.
What You Need to Do Blooming Gel Nails
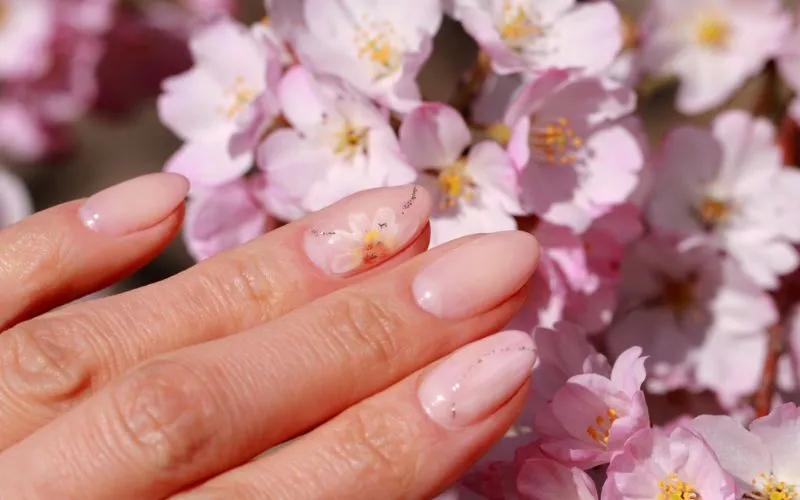
Now that your nails are ready, let’s dive into the exciting part – creating beautiful blooming gel nail designs. Here’s a step-by-step guide:
- Choose Your Blooming Gel Color: Select your desired blooming gel color. You can opt for a single or multiple colors for a more intricate design.
- Apply the Blooming Gel: Using the thin brush provided with the blooming gel, apply a small amount of gel to your nails. Be creative with your application, as this is where you can experiment with different patterns and shapes.
- Let It Bloom: The magic of blooming gel happens as it spreads and creates mesmerizing patterns. You can use a nail art brush or toothpick to manipulate the gel and create unique designs.
- Cure Under a UV/LED Lamp: Once satisfied with your design, cure your nails under a UV or LED lamp for the recommended time. This typically takes 60-120 seconds, depending on the thickness of the gel.
- Apply a Top Coat: Finish off your blooming gel nails with a high-quality top coat to seal in the design and add shine. Make sure to apply it evenly and cure it under the lamp.
- Clean Up: Use a nail brush dipped in nail polish remover to clean up any excess gel or smudges around your nails.
Advanced Techniques for Blooming Gel Nail Art
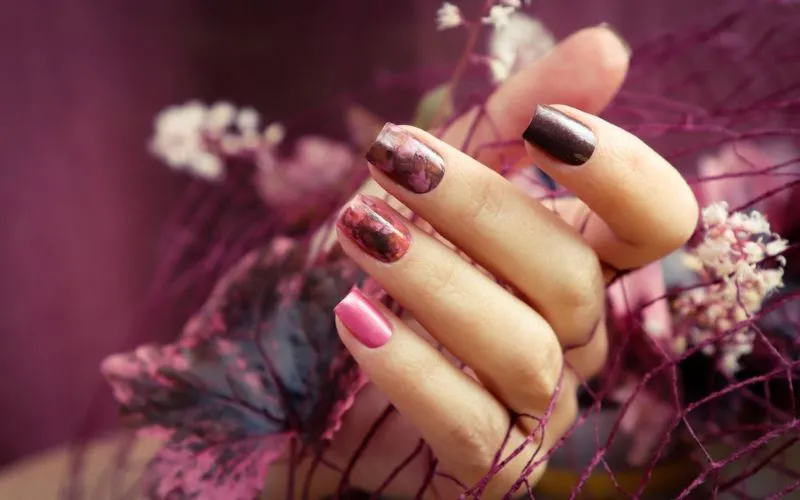
Now that you’ve mastered the basics of blooming gel, let’s explore some advanced techniques to take your nail art to the next level. These techniques will help you create intricate and eye-catching designs that impress you.
Gradient Blooming
A gradient effect with blooming gel can add depth and dimension to your nail art. Here’s how to do it:
- Choose Your Colors: Select two or more blooming gel colors that blend well. You can go from light pink to dark pink for a subtle gradient.
- Apply the Lightest Color: Start by applying the lightest color of blooming gel as a base on your nails. Allow it to bloom partially.
- Layer with Darker Colors: Apply the darker colors on top of the light base, creating a gradient effect. You can use a nail art brush to blend the colors for a seamless transition.
- Cure and Finish: Cure your nails under a UV/LED lamp, apply a top coat, and witness the beautiful gradient blooming gel effect.
Blooming Gel Stamping
Stamping is a popular nail art technique, and you can incorporate blooming gel into it for stunning results:
- Prepare a Stamping Plate: Choose a stamping plate with a design you like. Apply blooming gel to the design you want to transfer.
- Stamp the Design: Transfer the blooming gel design onto your nails using a stamper. Press gently and lift the stamper to reveal the design.
- Manipulate the Blooming Gel: While the design is on your nails, you can use a nail art brush or toothpick to manipulate the blooming gel and create unique patterns within the stamped design.
- Cure and Seal: Once satisfied with the design, cure your nails under a UV/LED lamp and seal the art with a top coat.
Blooming Gel 3D Flowers
Creating 3D flowers with blooming gel can add a touch of elegance and sophistication to your nails:
- Prepare Your Blooming Gel: Choose a blooming gel color for the flower petals and another color for the center. You’ll also need a fine nail art brush.
- Petals: Use the blooming gel to create small petal shapes on your nails. Please start with the outer petals and work inward, layering them to form a flower shape.
- Center: In the center of the flower, use a different color of blooming gel to create a contrasting center or stamen.
- Add Details: To make your 3D flowers even more realistic, add tiny dots or lines with a contrasting color of blooming gel to mimic flower veins and texture.
- Cure and Finish: Cure your nails under a UV/LED lamp and apply a top coat to protect and enhance the 3D flower design.
Conclusion
FAQs
1. Can I use blooming gel on natural nails?
Yes, you can use blooming gel on natural nails. However, applying a blossom gel base coat before using blooming gel is recommended to protect your natural nails and enhance the durability of the design.
2. Can I mix different colors of blooming gel to create unique designs?
Absolutely! Mixing different colors of blooming gel can result in stunning, one-of-a-kind nail art. Experiment with various color combinations to express your creativity.
3. How do I remove blooming gel nail art?
To remove blooming gel nail art, soak your nails in acetone for about 10-15 minutes. Gently scrape off the softened gel with a wooden cuticle stick. Finish by moisturizing your nails and cuticles.

