

Welcome to the fascinating world of nail art! Whether you’re a nail art enthusiast or a beginner looking to enhance your nail painting skills, this guide is here to help you achieve beautiful and flawless manicures.
From classic shades to intricate designs, painting your nails is a creative and enjoyable way to express yourself.
This comprehensive guide will explore the step-by-step process of painting your nails, including preparation, application techniques, and finishing touches. We will also delve into nail art trends and provide tips and tricks to ensure long-lasting results.
Painting your nails is not just about adding color; it’s an art form that allows you to showcase your personality and style. With the right tools and techniques, you can transform your nails into stunning works of art that complement any outfit or occasion.
This guide will discuss nail shapes, polish types, and application methods. We’ll cover everything from nail care basics to more advanced techniques, such as ombre gradients and intricate nail stamping.
Whether you prefer a classic French manicure or want to experiment with bold and vibrant designs, this guide will equip you with the knowledge and skills to achieve professional-looking results.
You can create stunning nail art with practice and creativity that will turn heads and leave a lasting impression.
So, grab your favorite nail polish and prepare to embark on a journey of self-expression and creativity. Let’s dive into nail art and learn how to paint your nails like a pro!
How to Paint Your Nails

Painting your nails can be a fun and creative way to express yourself. Whether you’re getting ready for a special occasion or want to pamper yourself, here are some tips on how to paint your nails like a pro.
First, gather all the necessary supplies. You will need nail polish in your desired color, a base coat, a top coat, a nail file, a cuticle pusher, cotton balls, and a nail polish remover. Make sure your nails are clean and dry before you begin.
Start by shaping your nails with a nail file. File them into your desired shape, whether square, round, or somewhere between. Be gentle and avoid filing too aggressively, which can weaken the nails.
Next, push back your cuticles using a cuticle pusher or an orangewood stick. This will create a clean canvas for your nail polish and help prevent smudging.
Apply a thin layer of base coat to each nail. This will protect your nails from staining and help the polish adhere better. Allow the base coat to dry completely before moving on to the next step.
Now, it’s time to apply the nail polish. Start with a thin coat, starting from the base of your nail and moving towards the tip.
Be careful not to apply too much polish, leading to streaks and smudges. Allow the first coat to dry before applying a second coat for a more opaque finish.
Once the polish is dry, apply a top coat to seal in the color and add shine. This will also help your manicure last longer. Allow the top coat to dry completely before touching anything.
And there you have it! With these simple steps, you can achieve a salon-worthy manicure at home. Experiment with different colors and designs to create your unique nail art. Happy painting!
Choosing the Right Nail Polish
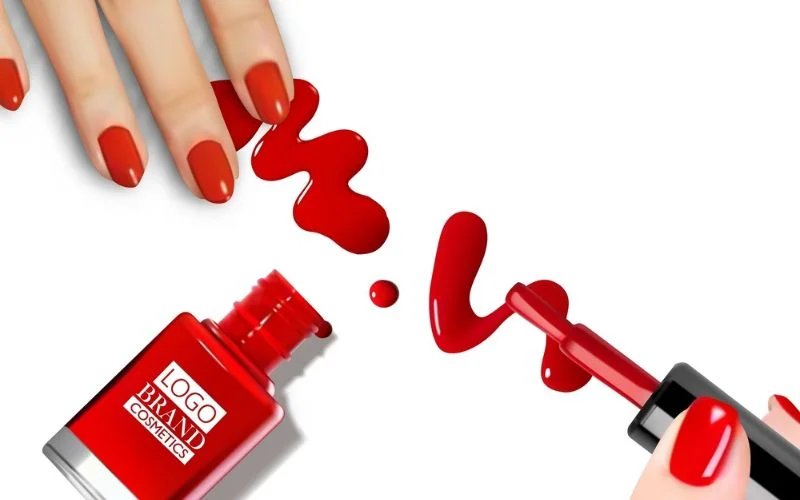
Choosing the right nail polish is one of the most important decisions when painting your nails. The color you choose can say a lot about your personality and style. This article will explore tips and tricks to help you make the perfect choice.
First and foremost, consider the occasion. Are you painting your nails for a formal event or a casual outing? Sticking classic colors like red, nude, or soft pink for formal occasions is best.
These shades are timeless and will never go out of style. On the other hand, for a casual day out, you can experiment with bolder and brighter colors like blue, green, or even neon shades.
Another factor to consider is your skin tone. Different nail polish shades complement different skin tones. If you have fair skin, pastel colors like baby blue or light lavender look great.
If you have medium skin, wear warm shades like coral or peach. And if you have a darker skin tone, opt for rich and deep colors like burgundy or chocolate brown.
Next, think about the season. Like your wardrobe, your nail polish should change with the seasons.
In spring and summer, embrace vibrant and fun colors like bright pink or sunny yellow. In the fall and winter, go for darker, more muted shades like deep red or forest green.
Lastly, don’t be afraid to experiment and have fun with your nail polish choices. Nail art and designs are a great way to showcase your creativity and individuality. From glitter gradients to geometric patterns, the possibilities are endless.
In conclusion, choosing the right nail polish is an important decision that can enhance your overall look. Consider the occasion, skin tone, and season, and don’t be afraid to experiment. With these tips in mind, you’ll be well on your way to having fabulous nails that perfectly complement your style.
Preparing Your Nails
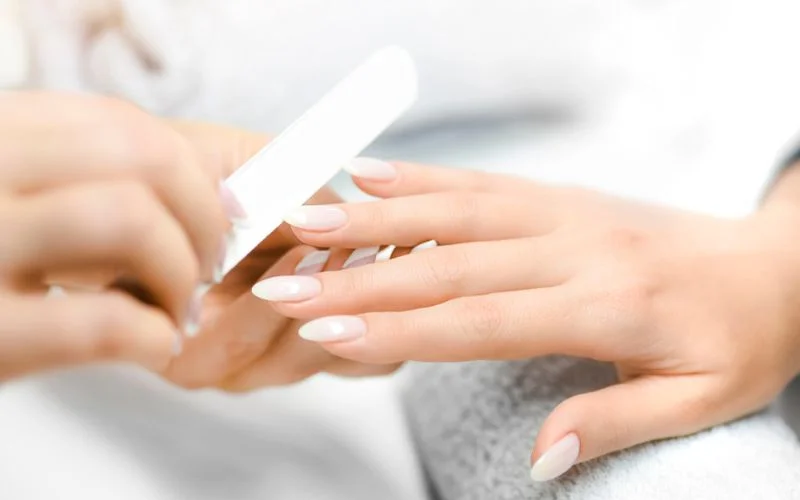
Before painting your nails, it is crucial to prepare them to ensure a long-lasting and flawless manicure properly. You can create the perfect canvas for your nail polish by following these simple steps.
Start by removing any existing nail polish using a gentle acetone-free nail polish remover. This will help to eliminate any residue and oils on your nails, allowing the new polish to adhere better. Choosing a gentle remover on your nails is important to avoid drying them out.
Next, trim and shape your nails to your desired length and style. Use a nail file to shape the edges and smooth any roughness gently. Remember to file in one direction to prevent splitting and weakening of the nails.
Once your nails are shaped, soak them in warm, soapy water for a few minutes. This will help to soften the cuticles and make them easier to push back.
Gently push back the cuticles using a cuticle pusher or a wooden stick. Be careful not to cut or damage the cuticles, as they protect the nail bed from infections.
After pushing back the cuticles, it is time to exfoliate your nails. Use a gentle scrub or a soft toothbrush to remove dead skin cells and debris. This will create a smooth surface for the nail polish to adhere to.
Lastly, moisturize your nails and cuticles with a nourishing oil or cream. This will help to hydrate and strengthen your nails, preventing them from becoming brittle and prone to breakage.
By following these steps, you will have perfectly prepped nails ready for a beautiful and long-lasting manicure. Always allow your nails to dry completely before applying nail polish to avoid smudging or chipping. Happy painting!
Applying a Base Coat

Applying a base coat is a crucial step in achieving flawless nail polish. This simple yet essential step helps your manicure last longer and protects your nails from staining and damage.
This article will guide you through applying a base coat to ensure a professional-looking manicure every time.
Before diving into the application process, choosing the right base coat for your nails is important. Look for a formula that suits your needs, whether strengthening, nourishing, or simply a clear skin. Once you have your base coat ready, follow these steps:
Start with clean nails: Remove old nail polish and wash your hands thoroughly. Dry them completely before proceeding.
Prep your nails: Gently push back your cuticles using a cuticle pusher or an orangewood stick. File your nails into your desired shape and buff the surface lightly to create a smooth canvas.
Apply the base coat: Open your base coat bottle and wipe off any excess polish from the brush. Start at the center of your nail and apply a thin, even layer from the base to the tip. Be sure to cover the entire surface of each nail.
Allow it to dry: Give the base coat a few minutes to dry completely before moving on to the next step. This will prevent any smudging or bubbling when you apply your colored polish.
Proceed with your nail polish: Apply your chosen nail polish color once the base coat is dry. The base coat will provide a smooth surface for the polish to adhere to, resulting in a longer-lasting manicure.
By following these steps and incorporating a base coat into your nail care routine, you’ll notice a significant improvement in the longevity and appearance of your manicure. Remember, a little extra effort in the beginning can go a long way in achieving beautiful nails that last.
Applying the Nail Polish
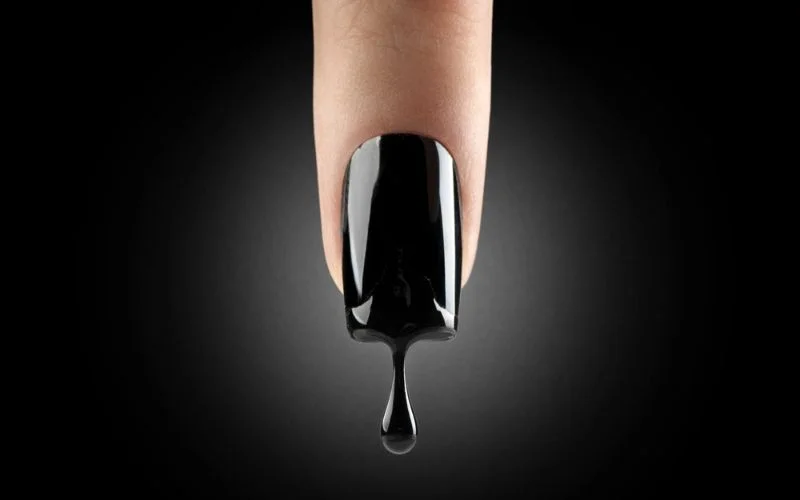
When painting your nails, applying the nail polish correctly is crucial for achieving a flawless and long-lasting manicure.
Whether you’re a beginner or a seasoned pro, here are some tips and tricks to help you master applying nail polish.
Firstly, start by preparing your nails. Make sure they are clean and free from any old polish or oils. Trim and shape your nails to your desired length and gently file them to smooth any rough edges. Push back your cuticles using a cuticle pusher or a wooden stick, taking care not to damage them.
Before applying the nail polish, it’s important to use a base coat. This will protect your nails and help the polish adhere better. Apply a thin layer of base coat and let it dry completely before moving on to the next step.
Now, it’s time to apply the nail polish. Start by wiping off any excess polish from the brush and then use a thin coat in three strokes – one down the center and one on each side.
Make sure to leave a small gap between the polish and your cuticles to prevent smudging. Allow the first coat to dry completely before applying a second coat for a more vibrant color.
To avoid streaks and bubbles, apply thin coats and wait for each layer to dry before adding another. If you’re using a sheer or light-colored polish, you may need to apply an additional coat for full coverage.
Finish with a top coat once you’re satisfied with the color and coverage. This will seal in the paint, add shine, and help your manicure last longer. Apply a thin layer of head skin and let it dry completely.
Remember, practice makes perfect when it comes to painting your nails. With time and patience, you’ll achieve salon-worthy results right at home. So go ahead, grab your favorite nail polish, and start experimenting with different colors and designs. Happy painting!
Adding Nail Art or Designs

Nail art and designs are a fun and creative way to enhance the look of your nails. Whether you’re going for a simple design or something more intricate, there are endless possibilities to explore.
This article will discuss techniques and tips to help you add nail art or designs to your manicure.
One popular technique for adding nail art is using nail stickers or decals. These pre-designed stickers can be easily applied to your nails and instantly transform your manicure.
They come in a wide range of designs, from floral patterns to geometric shapes, allowing you to express your style.
If you’re feeling more adventurous, try freehand nail art. This technique involves using nail polish and a thin brush to create intricate designs directly on your nails.
From delicate flowers to intricate patterns, the possibilities are endless. Practice makes perfect with freehand nail art, so don’t be discouraged if your first attempts aren’t perfect.
Another popular trend in nail art is the use of nail stencils. These adhesive stencils can be placed on your nails, and you can apply nail polish.
Once the polish is dry, you can carefully remove the stencil, revealing a beautiful design. Stencils are a great option if you want a precise and professional-looking design without the need for artistic skills.
In conclusion, adding nail art or designs to your manicure is a fantastic way to express your creativity and enhance the look of your nails.
Whether you use nail stickers, try your hand at freehand nail art, or use stencils, the key is to have fun and experiment with different designs. So go ahead and let your nails be your canvas!
Sealing with a Top Coat
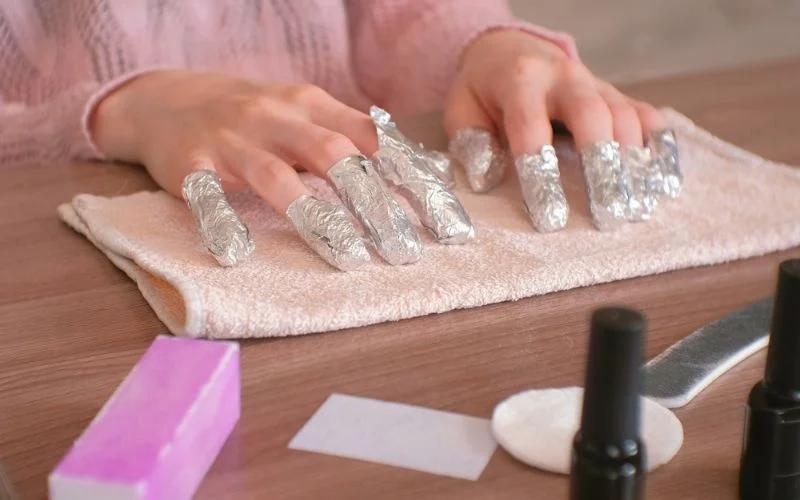
Painting your nails is a fun way to express yourself and add color to your look. But to ensure your nail polish lasts longer and stays chip-free, it’s essential to seal it with a top coat.
A top coat adds shine to your nails and acts as a protective layer, preventing your nail polish from chipping and fading.
This article will discuss the importance of sealing with a top coat and provide tips for a long-lasting manicure.
One of the main reasons to use a top coat is to extend the life of your manicure. Applying a top coat creates a barrier that protects your nail polish from daily wear and tear. It helps prevent chips, cracks, and fading, ensuring your nails look fresh and vibrant for longer periods.
When selecting a top coat, opt for one that is quick-drying and high-shine. Quick-drying top coats save you time and reduce the risk of smudging your freshly painted nails. High-shine top coats give your nails a glossy finish, making them look professionally done.
To seal your nail polish with a top coat, apply a thin layer of color to your nails. Allow it to dry completely before applying the top coat.
This step is crucial to prevent smudging or streaking. Once your colored polish is dry, apply a thin layer of top coat, starting from the base of your nail to the tip. Be sure to cap the edges to seal the polish properly.
After applying the top coat, give it ample time to dry. Avoid touching or bumping your nails during this time to prevent smudges or dents. Once dry, your nails will have a beautiful, glossy finish, and your manicure will last much longer.
Sealing with a top coat is essential in achieving a long-lasting and professional-looking manicure. By following these tips, you can ensure your nail polish stays chip-free and vibrant for days. So, next time you paint your nails, don’t forget to seal the deal with a top coat!
Drying and Cleaning Up
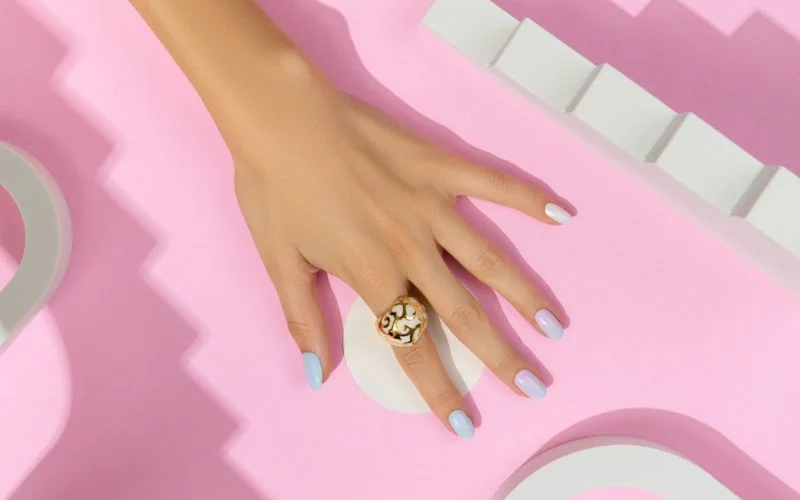
After painting your nails, it’s important to dry and clean up to ensure a perfect manicure properly. Here are some tips to help you achieve a flawless finish.
First, allow your nails to air dry for at least 10 minutes before doing anything else. This will help prevent smudging and smearing. If you’re in a hurry, you can use a quick-dry top coat or nail-drying spray to speed up the process.
Once your nails are dry, it’s time to clean up any mistakes or excess polish. Dip a small brush or a cotton swab in nail polish remover and carefully remove any polish that has gotten on your skin or cuticles. Be gentle to avoid damaging your manicure.
Next, it’s important to clean up your tools. Rinse your brushes with warm water and mild soap to remove leftover polish.
Clean between the bristles to remove any dried polish if you’re using a nail art brush. Wash nail files and buffers with soap and water, or use a nail file brush to remove debris.
To keep your nails looking their best, apply a top coat to seal in the color and add shine. This will also help protect your manicure from chipping and peeling. Allow the top coat to dry completely before touching anything to avoid smudging.
Finally, take care of your nails by moisturizing your hands and cuticles. Massage a hydrating hand cream into your skin to keep it soft and supple. You can also use cuticle oil or balm to nourish and moisturize your cuticles.
By following these steps, you can ensure that your manicure lasts longer and looks flawless. Remember to take your time and be patient, as the drying and cleaning up process is just as important as the painting. Happy painting!
Conclusion
This post has covered a range of topics related to the keyword “how to paint your nails.” We started by discussing the step-by-step process of painting your nails, from choosing the right nail polish to drying and cleaning up.
Additionally, we stressed the importance of sealing the nail polish with a top coat to ensure a glossy and long-lasting finish.
It is worth noting that nail trends and developments are constantly evolving. New techniques and styles are emerging, and staying updated with the latest trends is essential to keep your nails looking fresh and fashionable.
Whether it’s experimenting with different colors, textures, or patterns, there are endless possibilities to explore.
Lastly, thank you, the reader, for taking the time to read this post. We hope that you found the information and tips provided helpful and insightful. We encourage you to leave any comments or feedback, as we value your input and strive to improve our content continuously.
Remember, painting your nails is a form of self-expression and a way to pamper yourself and boost your confidence.
So, choose your favorite nail polish, and let your creativity shine through your fingertips. Happy painting!

