

Ombre nails have taken the beauty world by storm, offering a unique and eye-catching twist to traditional manicures. This trend, which originated in the world of hair color, has quickly made its way to our fingertips, allowing us to showcase a gradient of colors that seamlessly blend.
The beauty of ombre nails lies in their versatility. Whether you prefer soft pastels, vibrant neons, or rich jewel tones, an ombre combination suits every taste. The possibilities are endless, from subtle transitions that create a natural gradient effect to bold contrasts that make a striking impact.
Achieving the perfect ombre manicure may seem daunting initially, but with a little practice and the right tools, anyone can master this technique. Using a sponge or a brush, you can blend multiple shades, seamlessly transitioning from one color to another.
Whether you start with a light shade at the base of your nails and gradually darken towards the tips or opt for a reverse ombre effect, the key is to blend the colors smoothly for a flawless finish.
In addition to the endless possibilities for color combinations, ombre nails offer various design options. From simple gradients to intricate patterns and nail art, you can let your creativity run wild.
Whether you prefer a subtle ombre effect or a bold and vibrant design, ombre nails allow you to express your style and make a statement with your manicure.
In conclusion, ombre nails are a stunning trend that allows you to transform your manicure into a work of art. Their versatility and endless possibilities offer a unique and eye-catching twist to traditional nail designs.
So why not try ombre nails and discover this trend’s beauty for yourself?
What Are Ombre Nails?

Ombre nails have become a popular trend in the world of nail art. This technique involves blending two or more colors seamlessly on the nails, creating a gradient effect.
The word “ombre” is derived from the French word meaning “shaded” or ” shadowed,” which perfectly describes the look achieved with this style.
A sponge is often used to apply the colors onto the nails to create ombre nails. The sponge helps blend the colors, smoothly transitioning from shade to shade. Nail technicians may also use a brush or a special gradient brush tool to achieve the desired effect.
One of the reasons why ombre nails have gained so much popularity is their versatility. There are endless possibilities when it comes to color combinations and designs. From subtle pastel shades to bold and vibrant hues, ombre nails can be customized to suit any occasion or personal style.
Another advantage of ombre nails is that they can be done on natural and artificial nails. The ombre can be adapted to suit any length or shape, whether you prefer a short and simple look or long and glamorous nails.
Ombre nails can also be combined with other nail art techniques, such as glitter, rhinestones, or nail stamping, to create even more stunning designs. The gradient effect adds depth and dimension to the look, making it eye-catching and unique.
In conclusion, ombre nails offer a creative and stylish way to express yourself through nail art. With endless color options and design possibilities, they have become a favorite among nail enthusiasts worldwide. So why not try ombre nails and add a touch of elegance and flair to your manicure?
How to Do Ombre Nails?

Are you looking to add a trendy and stylish touch to your nails? Ombre nails are the perfect choice! This popular nail art technique creates a beautiful gradient effect that will catch everyone’s attention.
This article will guide you through the steps to achieve stunning ombre nails that will make you stand out.
To start, gather all the necessary supplies. You will need nail polish in two or more complementary colors, a makeup sponge, a nail polish remover, a small brush for cleanup, and a top coat. Once you have everything ready, follow these simple steps:
Begin by preparing your nails. File them into your desired shape and apply a base coat to protect your natural nails.
Choose the colors you want to use for your ombre effect. It’s best to select shades that blend well together, such as light pink and dark pink or blue and purple.
Apply the lighter shade as the base color on all your nails. Let it dry completely before moving on to the next step.
Take your makeup sponge and apply a slightly overlapping stripe of each color you selected. Dab the sponge onto your nails, gently pressing and rolling it to transfer the pigments. Repeat this step until you achieve the desired gradient effect.
Use a small brush dipped in nail polish remover to clean up any excess polish around your nails.
Once your ombre design is dry, apply a top coat to seal and protect your nails. This will also enhance the glossy finish of your manicure.
With these simple steps, you can create stunning ombre nails at home. Experiment with different color combinations to find the perfect look for any occasion. So go ahead and try it – you’ll be amazed at the beautiful results you can achieve!
What Colors Can I Use for Ombre Nails?
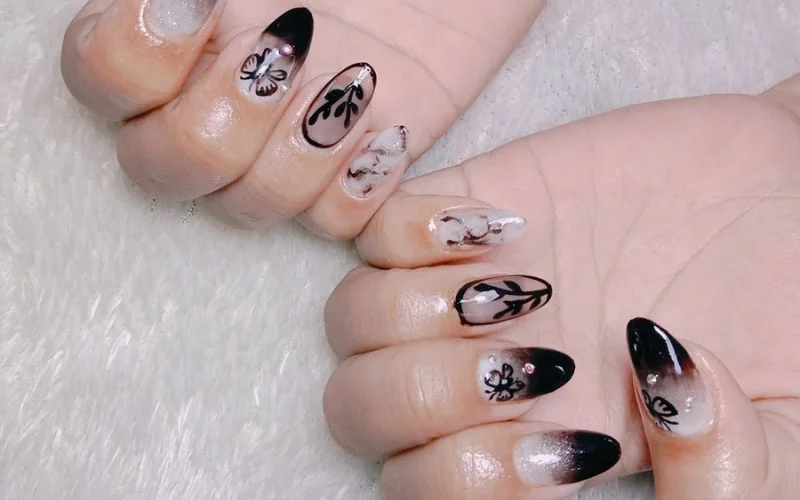
Ombre nails have become a popular trend in nail art, and it’s no wonder why. The gradual blending of colors creates a stunning and unique look that can be customized to suit any style or occasion.
But when choosing the right colors for your ombre nails, the options are seemingly endless. So, what colors can you use to achieve the perfect ombre effect?
From light baby blue to deep navy, the range of blues allows for a beautiful gradient effect. Blues can create a stunning, elegant, and eye-catching look, whether you prefer a subtle ombre or a bold statement.
If you’re looking for something more vibrant, consider using shades of pink. From soft pastel pinks to bright fuchsias, the variety of pink hues allows for endless possibilities.
Whether you want a romantic and feminine look or a bold and edgy style, pinks can create a stunning ombre effect that will turn heads.
For those who prefer a more natural and earthy look, shades of brown and beige can create a beautiful ombre effect. From light tan to rich chocolate, the warm tones of browns and beiges can create a sophisticated, timeless look perfect for any occasion.
If you’re feeling adventurous, why not try a combination of different colors? The beauty of ombre nails is that you can mix and match colors to create a truly unique look. The possibilities are endless, from bold and contrasting colors to subtle and complementary shades.
In conclusion, choosing colors is entirely up to you regarding ombre nails. Whether you prefer a soft and subtle look or a bold and vibrant style, there are no limits to what you can achieve. So, experiment with different colors to create stunning ombre nail designs.
What Tools Do I Need for Ombre Nails?
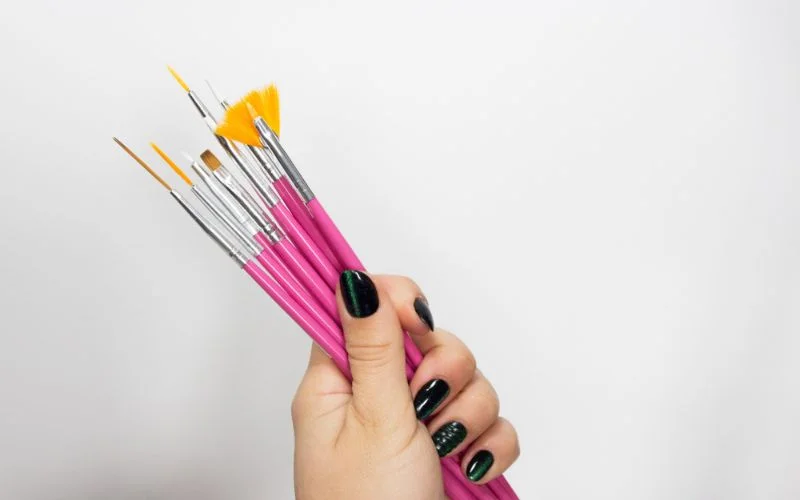
Ombre nails have become a popular trend in the world of nail art. This technique combines two or more colors to create a gradient effect on your nails.
Achieving the perfect ombre look requires skill and the right tools. This article will discuss the essential tools you need to create stunning ombre nails.
First and foremost, you will need a variety of nail polishes in different shades. Opt for colors that complement each other and create a smooth transition from one shade to another. Choosing classes specifically formulated for nail art is important to ensure optimal results.
You will need a makeup sponge or a special ombre brush to apply the nail polish. The sponge allows you to blend the colors seamlessly, while the ombre brush helps you create precise lines and gradients. Both tools are essential for achieving a flawless ombre effect.
Next, you will need a top coat and a base coat. The base coat helps protect your nails and provides a smooth surface for the polish to adhere to. The top coat adds shine and durability to your ombre nails, ensuring they last longer.
Keep a small brush or cotton swabs handy to clean up any mistakes or excess polish. These tools will help you remove any smudges or stray polish, giving your ombre nails a clean and professional finish.
Lastly, don’t forget about nail polish remover and cotton pads. These are essential for removing old polish and preparing your nails for the ombre application. Choose a gentle nail polish remover that won’t dry out your nails.
In conclusion, creating beautiful ombre nails requires the right tools. Each instrument is crucial in achieving the perfect gradient effect, from various nail polishes to sponges and brushes. So gather your tools, unleash your creativity, and rock stunning ombre nails!
How Long Does Ombre Nails Last?
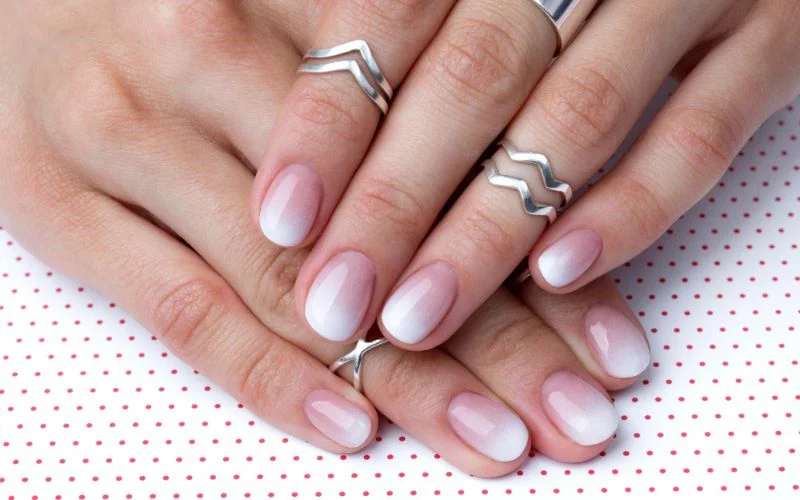
Ombre nails have become increasingly popular in recent years, with many opting for this trendy nail art technique. But how long can you expect your ombre nails to last? The answer depends on several factors.
Firstly, the longevity of your ombre nails will depend on the quality of the products used and the technician’s skill.
If you opt for a professional nail salon, they will likely use high-quality products and have experienced technicians who can create long-lasting ombre nails.
On the other hand, if you choose to do it yourself or go to a less reputable salon, the results may not last as long. Additionally, the durability of your ombre nails will depend on how well you take care of them.
It’s essential to follow proper nail care routines, such as keeping your nails clean, avoiding excessive exposure to water, and using a top coat to protect the design. By taking these steps, you can help prolong the lifespan of your ombre nails.
Another factor to consider is your daily activities. If you frequently engage in activities that stress your nails, such as typing, gardening, or playing sports, your ombre nails may not last as long. The constant friction and impact can cause the polish to chip or peel.
You can expect your ombre nails to last anywhere from one to three weeks. However, it’s important to note that individual experiences may vary. Some people may find that their ombre nails last longer, while others may need to touch up or remove the design sooner.
In conclusion, the longevity of your ombre nails depends on various factors, including the quality of products used, nail care routines, and daily activities. By taking the necessary precautions and following proper maintenance, you can enjoy beautiful ombre nails for an extended period.
Can I Do Ombre Nails at Home?

Regarding nail trends, ombre nails have been all the rage in recent years. This popular style involves blending two or more colors seamlessly on the nails, creating an eye-catching and stylish gradient effect. But can you achieve this look at home? The answer is yes!
Creating ombre nails at home is easier than you might think. You only need a few basic supplies and a little patience.
Start by gathering your materials: nail polish in your chosen colors, a makeup sponge, and a top coat. For any mistakes, you may also want some nail polish remover and cotton pads on hand.
To begin, apply a base coat to protect your nails and help the polish adhere better. Once the base coat is dry, paint your nails with the lightest color in your ombre design. Allow this coat to dry completely before moving on to the next step.
Next, take your makeup sponge and apply a small amount of each color in your ombre design to it. Press the sponge onto your nails, starting at the tip and working towards the cuticle.
This will create the gradient effect that ombre nails are known for. Repeat this step until you achieve the desired intensity of color.
Once the polish is dry, apply a top coat to seal in your design and add shine. This will also help your ombre nails last longer. Clean any excess polish around your nails with a cotton pad soaked in nail polish remover.
You can easily achieve salon-worthy ombre nails at home with a little practice and experimentation. So go ahead and give it a try! Show off your creativity and style with this trendy nail look.
Can I Use Gel Polish for Ombre Nails?
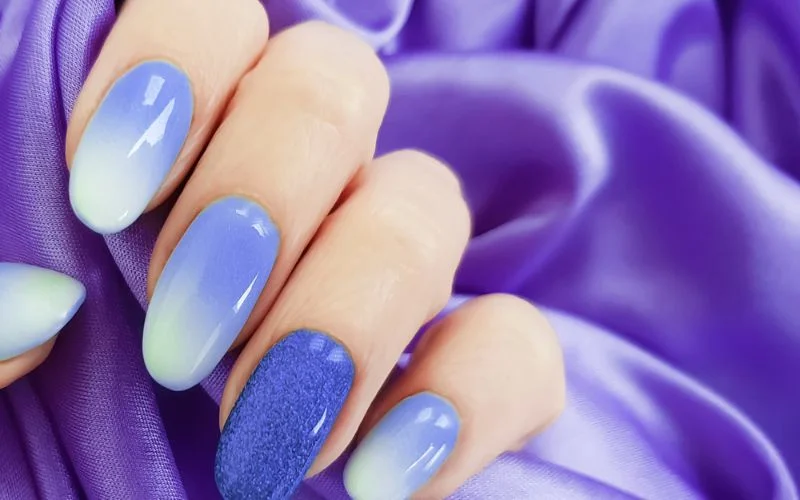
You’ve probably heard of ombre nails if you’re a nail art fan. This trendy style involves blending two or more colors seamlessly on your nails, creating a beautiful gradient effect. But can you achieve this look using gel polish? Let’s find out.
Gel polish is known for its long-lasting and durable nature. It’s a popular choice for those who want their manicure to last weeks without chipping. But gel polish can be tricky to work with with ombre nails.
One of the challenges of using gel polish for ombre nails is the blending process. Gel polish tends to dry quickly under a UV or LED lamp, making it difficult to transition between colors smoothly.
However, with the right technique and patience, you can still achieve stunning ombre nails with gel polish.
You’ll need a few essential tools to create ombre nails with gel polish. Start by applying a base coat and curing it under the lamp.
Then, please apply your desired colors to a makeup sponge. Gently dab the sponge onto your nails, blending the colors. Repeat this step until you achieve the desired gradient effect.
It’s important to note that gel polish can be thicker than regular nail polish, so you may need to apply multiple layers to achieve the desired opacity. Make sure to cure each layer under the lamp before moving on to the next one.
Once you’ve achieved the perfect ombre effect, finish with a top coat and cure it under the lamp. This will seal in the colors and give your nails a glossy finish.
In conclusion, while gel polish can be challenging for ombre nails, achieving this trendy look is possible. With the right technique and practice, you can create stunning ombre nails for weeks. So go ahead and give it a try!
How to Remove Ombre Nails?
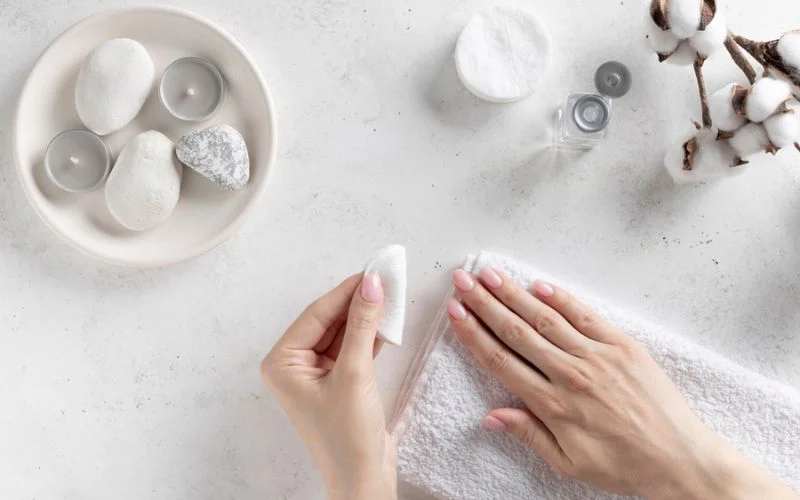
Ombre nails have become a popular trend in the world of nail art. The seamless gradient effect of blending two or more colors is undeniably eye-catching.
However, there comes a time when you need to remove your ombre nails and start fresh. In this article, we will guide you on effectively removing ombre nails.
One of the most common methods to remove ombre nails is using acetone. Acetone is a powerful solvent that helps break down the nail polish.
Next, soak a cotton ball or pad in acetone and place it on your nail. Wrap your finger with aluminum foil to hold the cotton ball in place. Repeat this process for all your nails and let them soak for 10-15 minutes. The acetone will dissolve the nail polish, making it easier to remove.
After the soaking time, gently remove the foil and cotton ball. Use an orange stick or a cuticle pusher to scrape off the softened polish.
Be careful not to scrape too hard, as this can damage your natural nails. If any stubborn patches of polish are left, you can repeat the soaking process or use a nail polish remover with acetone to remove them.
Once all the polish is removed, wash your hands thoroughly and apply cuticle oil or moisturizer to nourish your nails and cuticles. This will help restore moisture and prevent dryness.
Remember to take your time and be gentle to avoid damaging your nails. Now, you’re ready to try out a new nail art design or enjoy the natural beauty of your nails.
Conclusion
Throughout this post, we have explored various aspects of ombre nails, including what they are, how to achieve them, color options, necessary tools, longevity, home application, gel polish compatibility, and removal techniques.
By following simple steps, anyone can achieve this stunning look at home. The possibilities are endless regarding color choices, allowing individuals to personalize their nails to match their style and mood.
To successfully create ombre nails, having the right tools, such as sponge applicators and nail brushes, is important. These tools enable precise blending and ensure a professional finish. Additionally, it is crucial to properly prepare and care for the nails to maximize the longevity of the ombre design.
While ombre nails can last for several weeks with proper maintenance, it is essential to remember that everyone’s nail health and lifestyle can affect their durability. Regular touch-ups and nail care routines can help extend the lifespan of ombre nails.
One of the great advantages of ombre nails is that they can be done at home, saving time and money. With practice and patience, anyone can master this technique and enjoy beautiful ombre nails without visiting a salon.
However, following the proper application and curing techniques is important to ensure a long-lasting and flawless finish. Nail artists constantly push boundaries, experimenting with different color combinations and designs.
Thank you for taking the time to read this post. We hope you found it informative and inspiring. We encourage you to leave any comments or feedback, as your thoughts are valuable to us. Keep exploring the world of ombre nails, and let your creativity shine!

