

Choosing the Perfect Shades of Blue and Silver
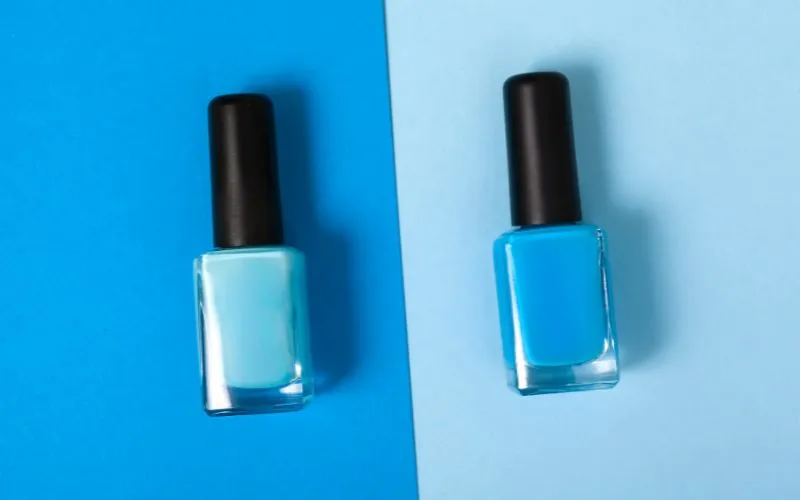
Selecting the right shades of blue and silver when creating stunning Christmas nails is crucial. Here are some considerations:
Light vs. Dark
- Light blue shades, like baby blue or powder blue, complement fair skin tones beautifully.
- Darker blue tones, such as navy or royal blue, can add depth and elegance to deeper skin tones.
- Silver, a neutral metallic shade, complements a wide range of skin tones.
Matte vs. Metallic
- Matte finishes provide a subtle and sophisticated look, perfect for a minimalist approach.
- On the other hand, metallic finishes bring shimmer and shine to your Christmas nails, making them stand out.
Mixing and matching
- Don’t be afraid to experiment with various shades of blue and silver. Mixing and matching different hues can lead to stunning and personalized nail art.
Blue and Silver Christmas Nail Art Ideas
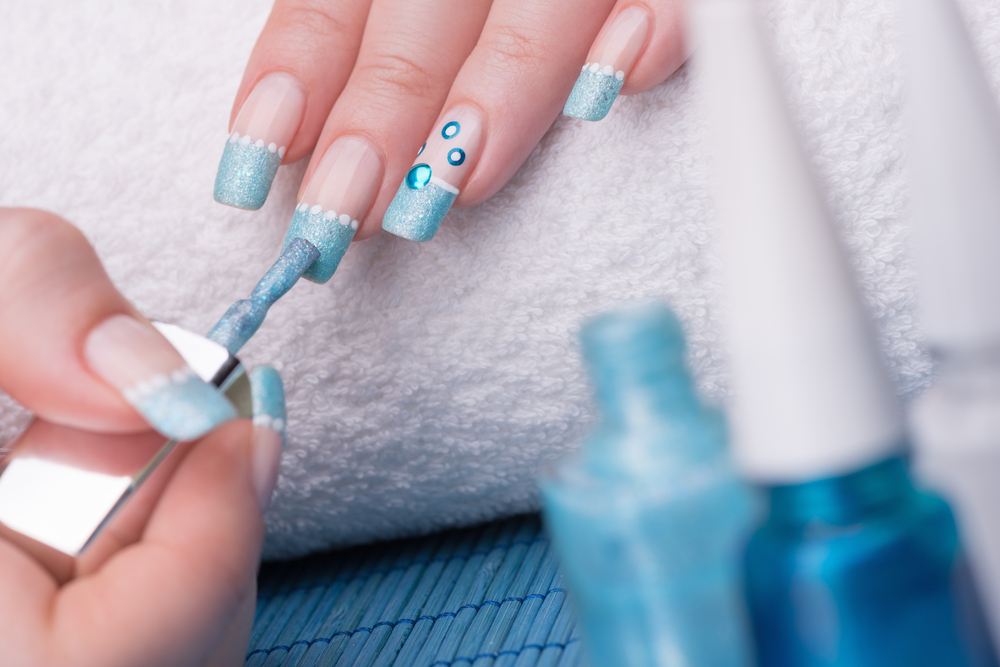
Now that you’ve chosen your nail polish shades, let’s explore some creative nail art ideas to transform your nails into festive masterpieces.
Frosty Snowflakes
- Start with a light blue base coat.
- Use a thin nail art brush to paint intricate snowflakes in silver carefully.
- Finish with a clear topcoat to seal the design and add a glossy finish.
Glittery Ombre
- Apply a light blue base coat.
- Create an ombre effect by blending silver glitter polish from the tips towards the cuticles.
- Seal with a topcoat for a dazzling finish.
Midnight Starry Night
- Begin with a dark blue base coat resembling a starry night sky.
- Add silver star and moon accents with a fine nail art brush.
- Finish with a layer of topcoat to give your nails a celestial glow.
Nail Art Accessories for Christmas Nails
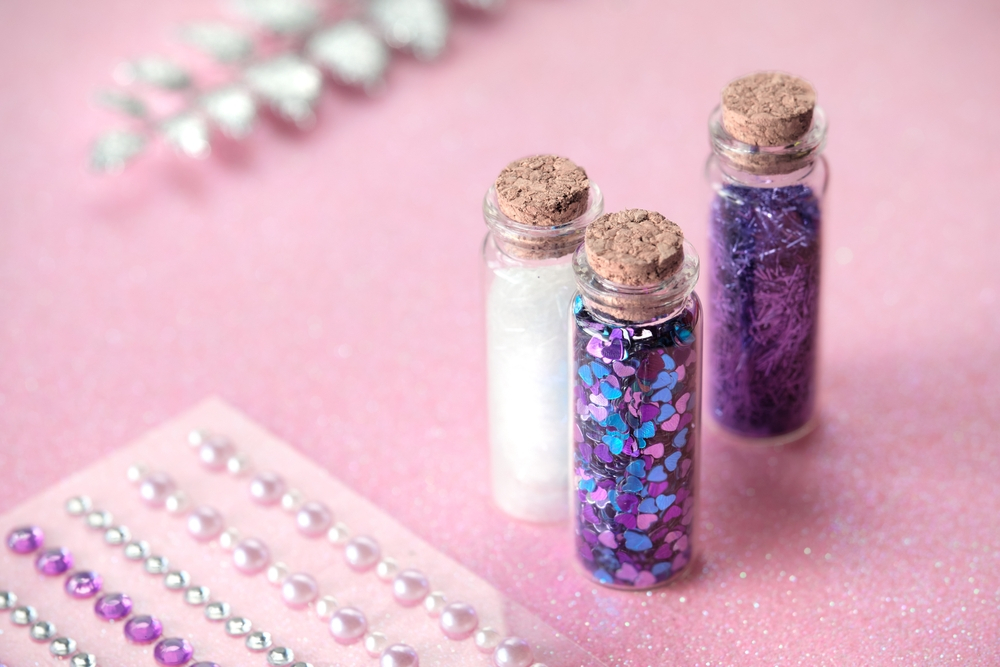
Choosing accessories is crucial when aiming to create festive and stunning Christmas nails. Enhancing nail art with the right elements can elevate your manicure, whether for a traditional red and green theme or a unique and personalized design. Explore a variety of accessories to add flair to your Christmas nails.
Glitter Galore
One of the most popular and versatile accessories for Christmas nails is glitter. The addition of glitter can instantly transform your manicure into a festive masterpiece. Opt for silver glitter polish or loose glitter to achieve a gradient effect, or apply it exclusively to the tips for a subtle yet glamorous touch. Glitter offers a dazzling way to embrace the holiday spirit and make your nails stand out.
Radiant Rhinestones
Rhinestones are another fantastic accessory to enhance your Christmas nail art. These small gems can be applied using nail glue or a top coat, allowing for intricate designs or simple accents. Silver rhinestones, in particular, complement a blue and silver Christmas theme splendidly. Experiment with different arrangements to create a sparkling and glamorous look that captures the essence of the holiday season.
Winter Wonderland with Decals and Stamps
For a touch of winter magic, consider snowflake decals and nail stamps. Snowflake decals are convenient stickers with various designs, ranging from simple snowflakes to more elaborate options with added sparkle. Nail stamps provide a fun and straightforward method to achieve intricate designs like snowflakes, Christmas trees, and reindeer. Unleash your creativity by combining decals and stamps to create a winter wonderland on your nails.
Incorporating glitter, rhinestones, snowflake decals, or nail stamps into your Christmas nail art allows you to express your creativity and celebrate the holiday season with a showstopping manicure. Enjoy the process and experiment with different accessories to achieve the perfect festive look for your nails.
Creating Stunning Blue And Silver Christmas Nails

Follow this step-by-step tutorial to achieve picture-perfect Christmas nails.
Prepping Your Nails: The essential steps for a flawless finish.
- Start by trimming and shaping your nails to your desired length and shape.
- Gently push back your cuticles to create a clean canvas for your nail art.
- Buff the surface of your nails lightly to remove any shine.
Applying Base Coat: The foundation for long-lasting nail art.
- Apply a thin layer of clear base coat to all your nails and allow it to dry completely.
- The base coat provides a smooth surface and helps prevent staining.
Designing with Detail: Techniques for precision and creativity.
- Use nail art brushes or nail polish pens for precise application.
- Create your chosen nail art designs using the selected shades of blue and silver.
- Take your time and practice on a spare nail tip if needed.
Sealing the Look: Topcoat application and maintenance.
- Once your nail art is dry, apply a clear topcoat to protect and enhance the design.
- Reapply topcoat every few days to maintain the shine and durability of your Christmas nails.
Maintenance and Longevity Tips
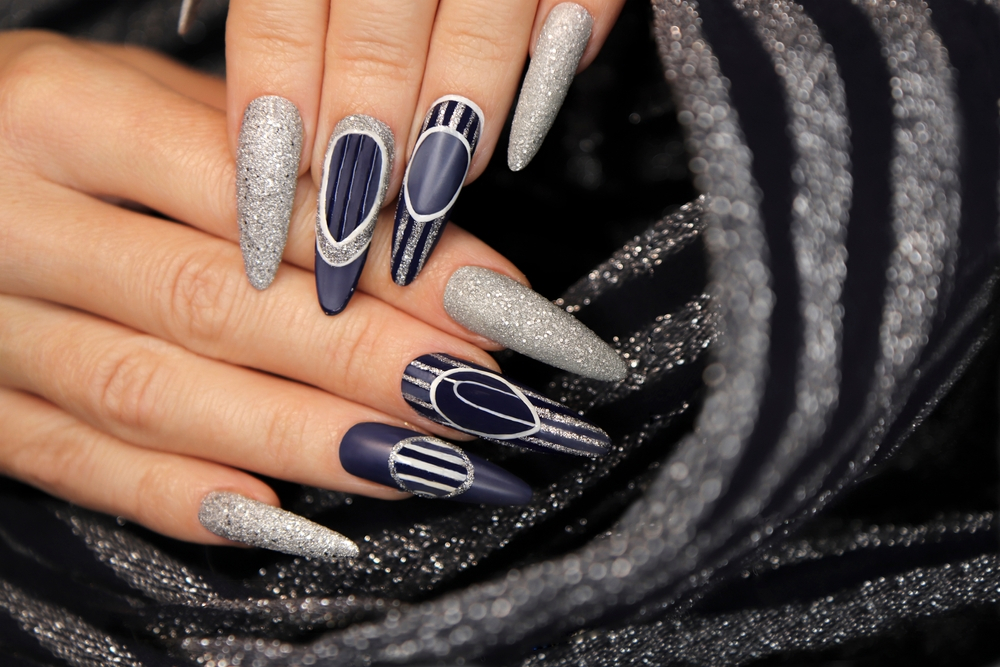
To ensure your blue and silver Christmas nails stay dazzling throughout the holiday season, follow these maintenance tips:
Protecting Your Art
To ensure the longevity of your blue and silver Christmas nails, it’s crucial to protect them from potential chips and smudges. Wearing gloves can be a shield when engaging in household chores, preventing accidental damage. Exercise caution when opening packages or performing tasks that expose your nails to undue stress. Treating your nails with care lets you maintain the pristine look of your holiday manicure.
Topcoat Maintenance
A fresh layer of topcoat is the guardian of your nail art’s longevity. Regularly applying a topcoat every few days helps seal and protect the intricate designs on your nails. This step enhances the shine and is a barrier against external factors that could compromise the polish. Avoid exposing your nails to extreme temperatures, as this can lead to cracks and diminish the overall durability of your festive nail art.
Hydration and Nail Health
Accessorizing Your Festive Nails
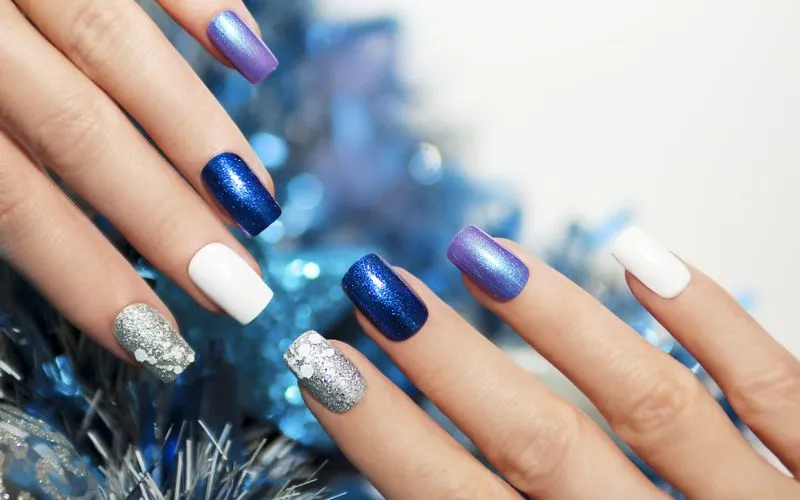
Take your blue and silver Christmas nails to the next level with these accessories and techniques:
Nail Jewelry
- Apply rhinestones or studs to accentuate your nail art designs.
- Use nail glue or a clear topcoat to secure them in place.
Festive Stamping
- Invest in nail stamping plates with Christmas-themed patterns for quick and precise designs.
- Stamp your chosen design onto your nails with ease.
Nail Wraps and Decals
- Nail wraps and decals come in various Christmas designs, making it easy to create festive nails in no time.
- Apply them to your nails and seal them with a topcoat for a polished look.
Add Glitter to Blue and Silver Nails
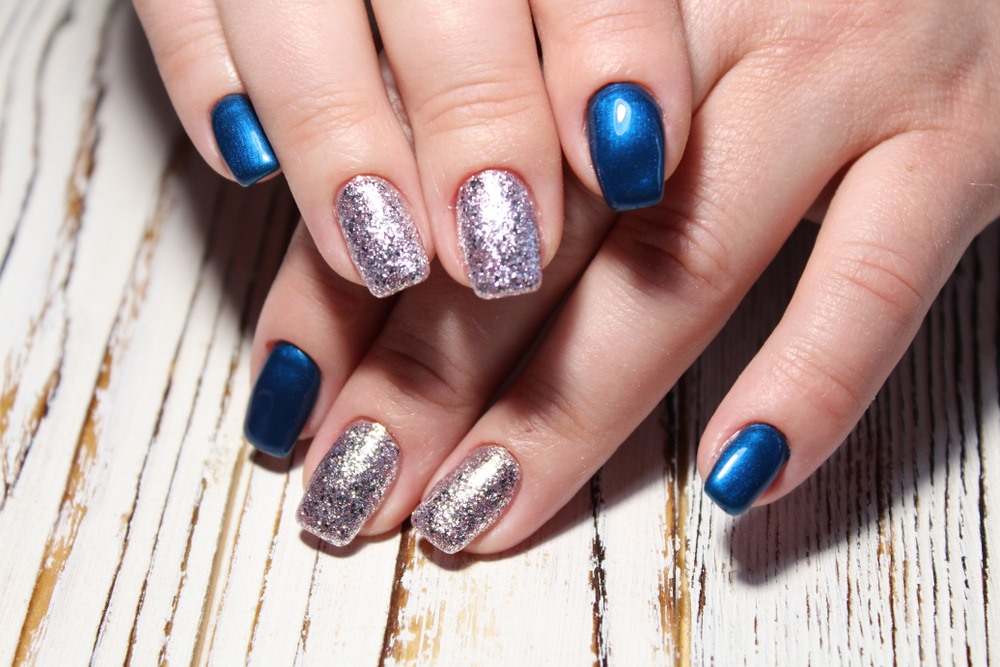
Glitter adds a touch of glamour to your blue and silver Christmas nails. Start with a protective base coat and dry blue or silver polish. Create a dazzling effect using a glitter top coat, applying it precisely on tips or in a gradient. Seal the brilliance with a clear top coat for a polished finish.
Explore loose glitter for artistic freedom. After base and color, dip a brush in clear polish and glitter, allowing for various designs like French tips or glitter ombre. For intricate elegance, try glitter nail powders. Sprinkle onto wet nails, press gently with a sponge or finger, and seal with a clear top coat. With these techniques, your festive nails will unquestionably captivate attention.
Remove Blue and Silver Nail Polish

Saying goodbye to your festive blue and silver nails? Removing nail polish, especially in darker shades, requires care. Discover effective techniques for a clean and easy removal process.
Acetone-Based Remover
One of the most popular methods involves acetone-based nail polish remover. Soak a cotton ball or pad, press it onto your nail, and let it sit for a few seconds to penetrate the layers of polish. Gently swipe the cotton ball downward, repeating until the polish is removed. Be gentle to avoid nail damage. This potent solution thoroughly removes blue and silver polish, leaving your nails clean.
Non-Acetone Alternative
For a milder option, choose a non-acetone nail polish remover. Following the same steps as with acetone-based remover may require more effort. While being gentler on your nails, this alternative ensures effective removal. Don’t forget to moisturize your nails afterward to keep them hydrated and healthy.
Precision with Nail Polish Remover Pen
Conclusion
FAQs
How long will my blue and silver Christmas nails last?
The longevity of your blue and silver Christmas nails depends on proper maintenance, including regular topcoat application and avoiding exposure to extreme conditions. You can enjoy the festive look for up to two weeks with care.
Can I create these designs at home or need a professional nail technician?
You can easily create these designs at home with the right tools and techniques. Many nail art ideas, such as frosty snowflakes or glittery ombre, can be achieved with simple DIY methods, making it a fun and creative activity for the holiday season.

