

Are you tired of dull, lackluster nails that fail to make a statement? If so, it’s time to discover the art of nail buffing.
In this introductory guide, we will delve into the world of nail buffing, exploring the techniques and tools to help you achieve flawless, salon-worthy nails from the comfort of your home.
Buffing your nails is a simple yet effective way to bring out their natural shine and smooth out any imperfections.
Unlike nail polish, which can chip and fade over time, buffing provides a long-lasting, natural-looking finish that enhances the beauty of your nails.
Whether you’re preparing for a special occasion or want to elevate your everyday look, mastering the art of nail buffing is a skill worth acquiring.
You’ll need a few essential tools to begin your journey to perfectly buffed nails. A nail buffer, also known as a buffing block, is the key to achieving a smooth and glossy finish.
Look for one with different grits on each side, ranging from coarse to fine. This will allow you to refine your nails’ surface, leaving them immaculate gradually.
Before you start buffing, it’s important to prep your nails properly. You remove old nail polish and trim your nails to your desired length.
Next, gently shape them using a nail file, ensuring they are uniform in length and shape. Once your nails are prepped, it’s time to dive into the buffing process.
Using the coarse side of your nail buffer, gently rub it back and forth across the surface of your nails. This will help smooth out ridges or bumps, creating a flawless canvas.
As you progress, switch to the finer side of the buffer to refine the surface further. Remember to buff in one direction to avoid causing damage to the nail bed.
In conclusion, nail buffing is a simple yet transformative technique that can elevate the appearance of your nails. By following the steps outlined in this guide, you’ll be well on your way to achieving perfectly polished results. So, why wait? Grab your nail buffer and start buffing your way to beautiful nails today!
How to Buff Nails

Buffing nails is an essential step in achieving a flawless manicure. Not only does it smooth out any ridges and imperfections, but it also helps promote healthy nail growth.
In this article, we will guide you through buffing your nails, ensuring you achieve salon-worthy results from the comfort of your home.
To begin, gather all the necessary tools for the task. You will need a nail buffer, which typically consists of three or four sides with varying levels of coarseness. It is also recommended to have a cuticle oil or cream on hand to moisturize the nails and surrounding skin.
Start by shaping your nails using a nail file, ensuring they are all even and free from sharp edges. Once you have achieved your desired shape, take the coarsest side of the nail buffer and gently rub it across the surface of each nail. This will help to remove any ridges or bumps, creating a smooth canvas.
Next, move on to the finer sides of the buffer. Using light pressure, buff each nail in a back-and-forth motion. This will further smooth out the surface and bring out a natural shine. Be careful not to over-buff, as this can weaken the nails.
After buffing, apply a generous amount of cuticle oil or cream to the nails and massage it. This will help nourish and hydrate the nails, leaving them healthy and shiny.
In conclusion, knowing how to buff nails is valuable for achieving a perfect manicure. Following these steps and using the right tools can easily achieve salon-worthy results at home. Remember always to be gentle and care for your nails to maintain their health and beauty.
Tools Needed
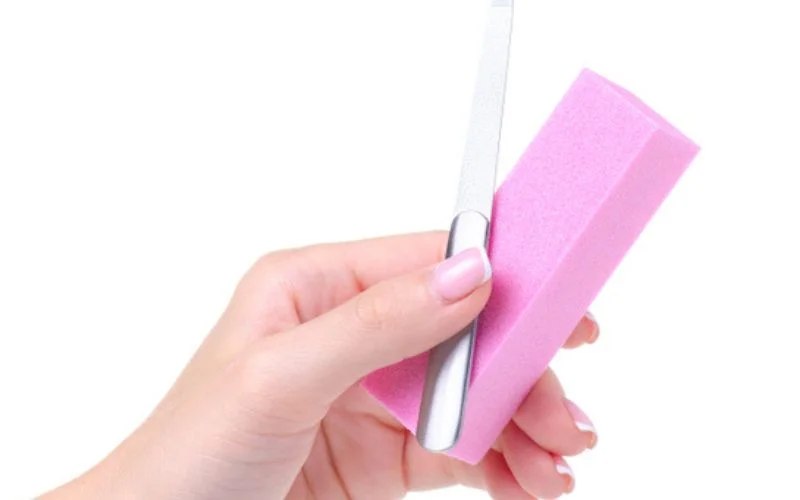
To achieve perfectly buffed nails, you’ll need a few essential tools. These tools are readily available and help you achieve a professional-looking manicure at home. Here are the must-have tools for buffing your nails:
Nail Buffer: A nail buffer is a rectangular block with different grits on each side. It is used to smooth out the surface of the nails and create a glossy finish. Look for a buffer with at least four grits for the best results.
Nail File: A good-quality nail file is essential for shaping and smoothing the edges of your nails. Opt for a file with fine grit to avoid damaging the nails. You can choose between a glass file or an emery board, depending on your preference.
Cuticle Pusher: A cuticle pusher gently pushes back the cuticles, making it easier to buff the nails. Look for a stainless steel or wooden cuticle pusher for best results. Avoid using metal pushers if you have sensitive cuticles.
Cuticle Oil: Cuticle oil moisturizes and nourishes the cuticles, keeping them healthy and preventing dryness. Apply a small amount of cuticle oil after buffing your nails to keep them looking their best.
Hand Cream: To complete your nail buffing routine, use a moisturizing hand cream to hydrate and soften your hands. This will give your nails a healthy and polished appearance.
With these essential tools, you’ll be well-prepared to buff your nails to perfection. Remember always to follow proper nail care techniques and take time when sanding to avoid damaging the nails. With practice, you’ll be able to achieve salon-worthy results in the comfort of your own home.
Preparation
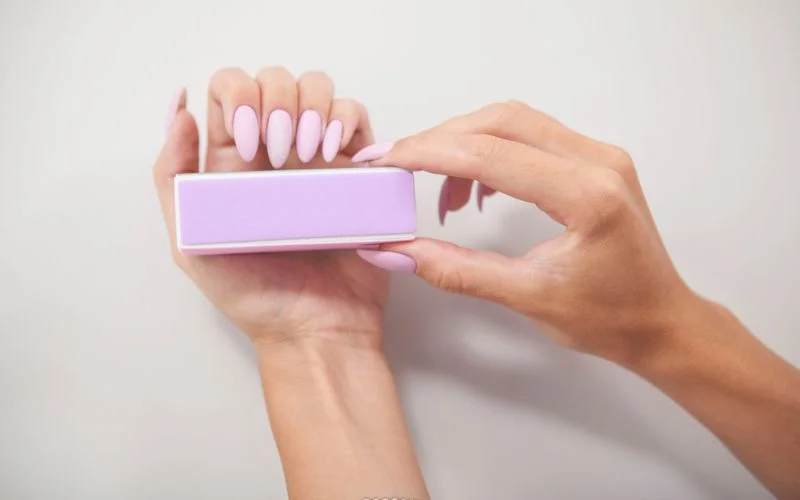
When it comes to achieving beautifully buffed nails, preparation is key. By properly preparing your nails before filing, you can ensure a smooth and flawless finish. Follow these steps to get your nails ready for the buffing process.
First, remove any old nail polish or residue from your nails. Use a gentle nail polish remover and a cotton pad to remove remnants. This will create a clean canvas for buffing and allow the nail buffer to work effectively.
Next, trim and shape your nails to your desired length and shape. Use a nail clipper to trim the nails, then a nail file to shape them. Whether you prefer a square or rounded form, file in one direction to prevent damage to the nails.
After shaping, soak your nails in warm, soapy water for a few minutes. This will soften the cuticles and make them easier to push back. Use a cuticle pusher or a wooden stick to push back the cuticles gently. Be careful not to apply too much pressure, which can cause damage.
Once the cuticles are pushed back, it’s time to exfoliate your nails. Use a gentle nail scrub or a homemade mixture of sugar and olive oil to gently scrub the nails and remove dead skin cells. This will leave your nails looking fresh and healthy.
Finally, wash your hands and nails thoroughly to remove any residue from the exfoliation process. Dry your hands and nails completely before moving on to the next step of the buffing process.
By following these preparation steps, you are setting the stage for a successful nail buffing session. You can move on to the next step with clean, well-shaped nails and achieve that perfect buffed shine. Stay tuned for the next article in this series, where we will delve into the actual buffing process.
Buffing Technique
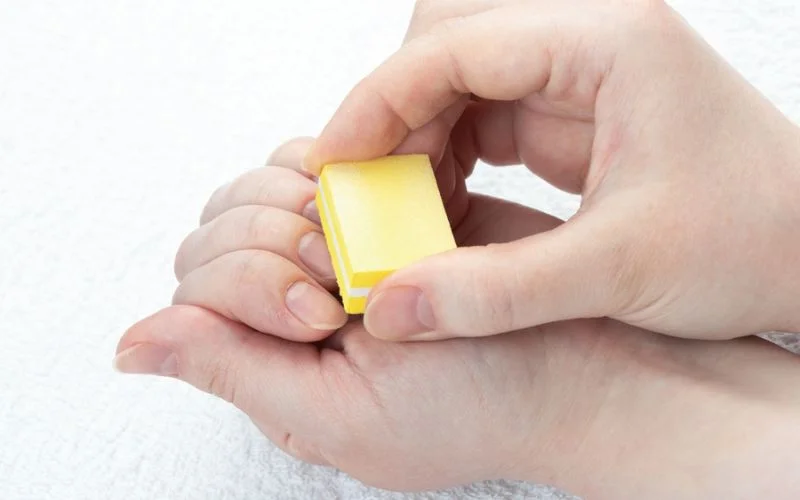
Buffing your nails is essential in achieving a polished and professional look. Whether you’re preparing for a special occasion or want to enhance the natural beauty of your nails, mastering the buffing technique is key. This article will guide you to buff your nails like a pro.
To begin, gather all the necessary tools: a nail buffer, a buffing block, and a cuticle oil. Start by removing any existing nail polish and shaping your nails to your desired length and shape. Once your nails are clean and dry, it’s time to start buffing.
The first step is to use the coarse side of the buffer to buff the surface of your nails gently. This will help remove any ridges or imperfections, creating a smooth base for the next steps. Be sure to use light, circular motions and avoid applying too much pressure.
Next, switch to the finer side of the buffer and repeat the same circular motions. This will further smooth out the surface of your nails and prepare them for the final step. Remember to be gentle and take your time to achieve the best results.
Once your nails are smooth and shiny, it’s time to apply a thin layer of cuticle oil. This will moisturize and nourish your nails, leaving them looking healthy and vibrant. Massage the oil into your cuticles and nails, allowing it to absorb fully.
In conclusion, mastering the buffing technique is essential for achieving beautiful and well-groomed nails. Following these simple steps and using the right tools can buff your nails like a pro. Always be gentle and take your time to achieve the best results. Happy buffing!
Shaping Nails
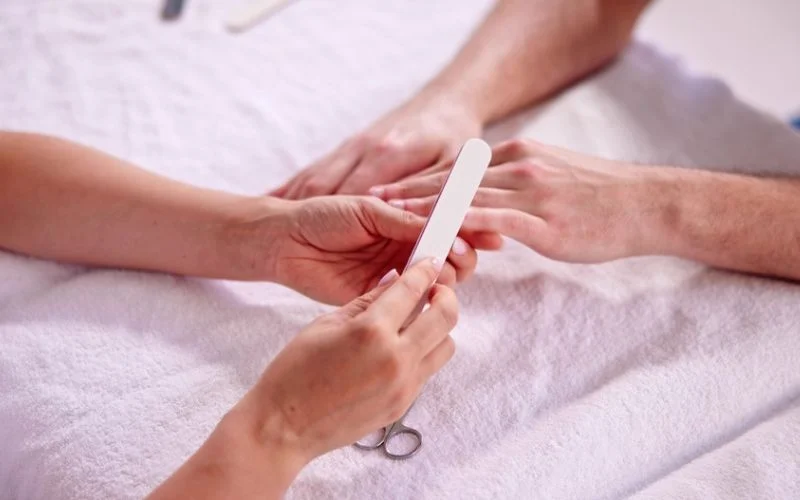
When it comes to achieving perfectly manicured nails, shaping is a crucial step. The right nail shape can enhance the overall appearance of your hands and make your nails look more polished.
In this article, we will explore different nail shapes and provide step-by-step instructions on how to shape your nails.
One popular nail shape is the square shape. This shape is achieved by filing the nails straight across and rounding the corners.
It gives a clean and modern look to your nails. To achieve this shape, use a nail clipper to trim your nails to the desired length.
Then, take a nail file and gently file the edges of your nails in a straight line. Once you have achieved the desired length, round the corners slightly to create a square shape.
Another popular nail shape is the oval shape. This shape is achieved by filing the nails into an oval shape, resembling the shape of an egg.
To achieve this shape, start by filing the sides of your nails in a curved motion, following the natural form of your nail bed. Then, rub the tip of your nails into a rounded shape. This shape gives a feminine and elegant look to your nails.
The stiletto shape is perfect if you prefer a more edgy and dramatic look. This shape is achieved by filing the nails into a sharp point, resembling a stiletto heel. To achieve this shape, start by rubbing the sides of your nails into a tapered shape.
Then, file the tip of your nails into a pointy shape. This shape requires longer nails to achieve the desired effect.
In conclusion, shaping your nails is important in achieving a professional-looking manicure. Following the steps outlined in this article, you can easily shape your nails into various shapes, such as square, oval, or stiletto.
Experiment with different shapes to find the one that suits your style and enhances your hands’ beauty.
Applying Cuticle Oil
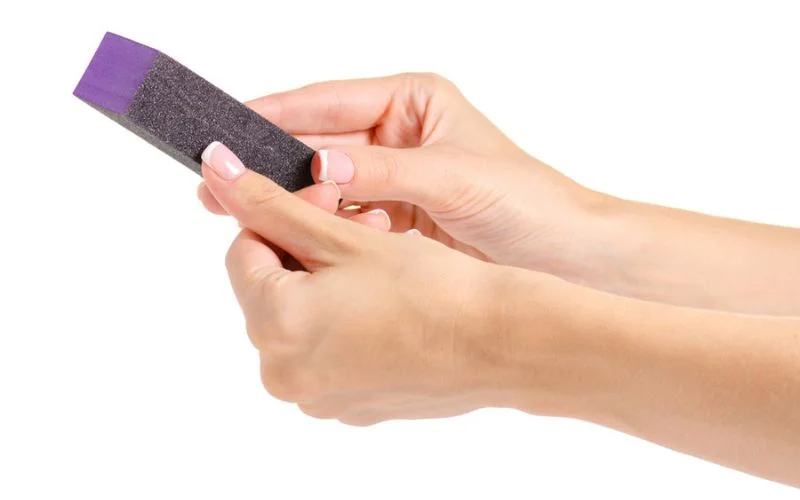
Cuticle oil is an essential part of any nail care routine. It not only moisturizes the cuticles but also promotes healthy nail growth. This article will guide you through applying cuticle oil to achieve beautiful, well-nourished nails.
To begin, ensure that your nails are clean and dry. Remove old nail polish and gently push back the cuticles using a cuticle pusher. This will create a clean canvas for the cuticle oil to work its magic.
Next, choose a high-quality cuticle oil that suits your preferences. There are various options available, including scented and unscented oils.
Apply a small amount of oil to each nail, focusing on the cuticle area. Massage the oil into the cuticles using gentle circular motions. This will help improve blood circulation, stimulating nail growth.
Allow the cuticle oil to absorb a few minutes before continuing your nail care routine. You can use this time to relax and enjoy the soothing benefits of the oil.
Afterward, you can apply nail polish or leave your nails bare for a natural look.
For best results, apply cuticle oil daily. This will moisturize your cuticles and prevent them from becoming dry or cracked. Regular use of cuticle oil will also help strengthen your nails, making them less prone to breakage.
In conclusion, applying cuticle oil is a simple yet effective way to maintain healthy nails. You can achieve nourished and beautiful nails by following the steps outlined in this article. Make cuticle oil a part of your daily nail care routine for optimal results.
Maintaining Nail Buff
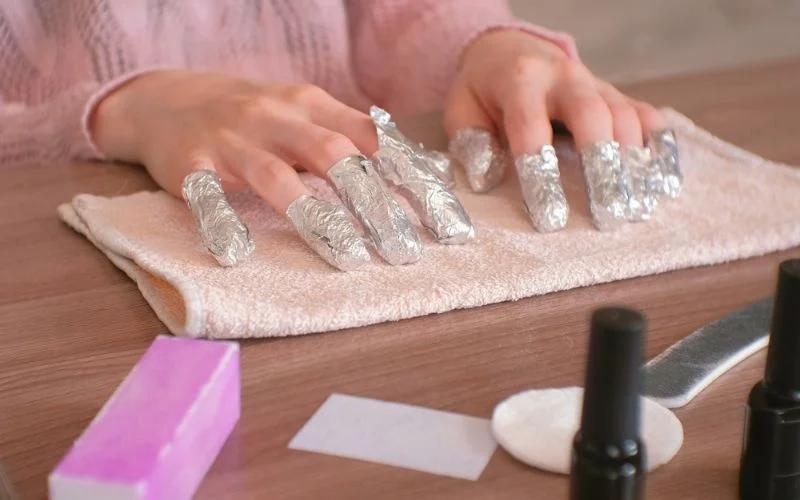
Buffing nails is an essential part of the nail care routine, as it helps to create a smooth and shiny surface while promoting healthy nail growth.
Whether you prefer a natural look or want to prepare your nails for a flawless manicure, maintaining a nail buff is crucial. This article will explore the best practices for keeping your nails buffed and beautiful.
Firstly, it’s important to start with clean, dry nails. Remove any old nail polish and wash your hands thoroughly. Using a gentle nail brush, scrub your nails to remove dirt or debris. Once your nails are clean, you can begin the buffing process.
You will need a nail buffer block or a four-sided buffing file to buff your nails. Start by using the coarsest side of the buffer to gently file away any ridges or imperfections on the surface of your nails. Be careful not to apply too much pressure, weakening the nails.
Next, switch to the finer side of the buffer and smooth out your nails’ surface. Use gentle, circular motions to buff away any remaining roughness. If you prefer a bare look, this will create a smooth and even base for your manicure or a natural shine.
After buffing your nails, it’s important to moisturize and protect them. Apply nourishing cuticle oil or cream to hydrate your nails and cuticles. This will help to prevent dryness and promote healthy nail growth.
In conclusion, maintaining a nail buff is essential to a nail care routine. By following these simple steps and incorporating regular buffing into your nail care routine, you can achieve smooth, shiny nails that are the perfect canvas for your next manicure.
Common Mistakes
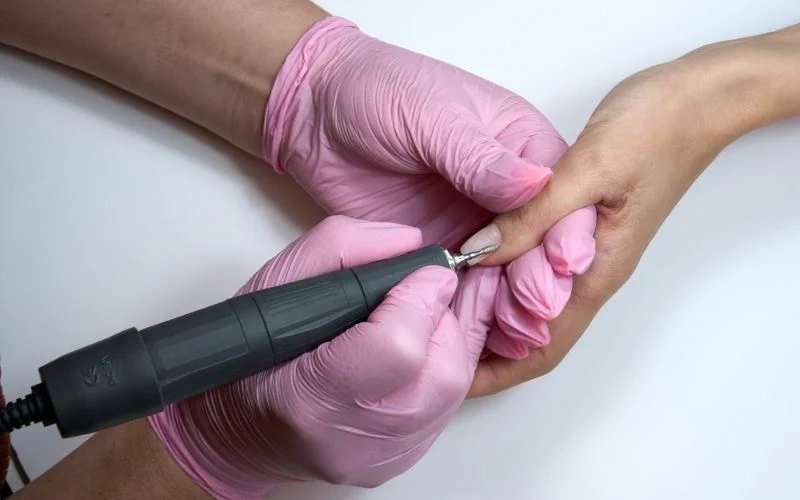
Buffing nails is an essential step in achieving a perfect manicure. However, many people unknowingly make common mistakes that can hinder the effectiveness of the buffing process.
In this article, we will discuss these mistakes and provide tips on how to avoid them. One of the most common mistakes people make when buffing their nails is using the wrong buffer type.
Choosing a buffer with fine grit that is specifically designed for nails is important. Using a pad with coarse grit can cause damage to the nail bed and result in a rough surface.
Another mistake is buffing too aggressively. While it may be tempting to rub the nails to achieve a high shine, this can weaken them and make them more prone to breakage. It’s important to use gentle, circular motions when buffing to avoid causing damage.
Many people also neglect to moisturize their nails after buffing. Buffing can strip the staples of their natural oils, leaving them dry and brittle.
To prevent this, applying a nourishing cuticle oil or moisturizer after buffing is important to restore moisture and keep the nails healthy.
Additionally, some people buff their nails too frequently. Buffing should only be done once every two to three weeks to prevent over-buffing and thinning of the nails. Overbuffing can weaken the nails and make them more susceptible to damage.
In conclusion, avoiding these common mistakes can greatly improve the results of your nail buffing routine.
You can achieve beautiful, healthy nails by using the right type of buffer, buffing gently, moisturizing afterward, and limiting the frequency of buffing. So, remember to take your time and be gentle when filing, and your nails will thank you for it.
Conclusion
This post has covered various topics related to the keyword “how to buff nails.” We discussed the importance of knowing the correct technique and tools for effective nail buffing.
Firstly, we explored the steps involved in buffing nails, from preparation to the actual technique. It is crucial to have the right tools, such as a nail buffer and a cuticle pusher, to achieve the desired results. We also discussed the importance of shaping the nails properly before buffing.
Additionally, we highlighted the significance of applying cuticle oil after buffing to nourish and moisturize the nails. This step helps to maintain the nail buff and prevents dryness and brittleness.
Furthermore, we addressed common mistakes people often make when buffing their nails. These include filing too aggressively, using the wrong side of the buffer, and neglecting to clean and sanitize the tools.
It is important to note that buffing nails enhances their appearance and improves their overall health. Regular buffing can promote blood circulation and stimulate nail growth.
Future developments and trends in the nail care industry could impact the process of buffing nails. New tools, techniques, and products may emerge, providing even better results and convenience for nail enthusiasts.
In conclusion, we would like to thank you for reading this post and for your interest in learning how to buff nails. We hope that the information provided has been helpful and informative. We encourage you to leave any comments or feedback, as your input is valuable to us.
Remember, with the right tools and technique, anyone can achieve beautifully buffed nails. So go ahead and give it a try!

