

In beauty and self-expression, nail art has emerged as a captivating form of creativity. One of the trendiest and most eye-catching nail art styles to hit the scene in recent years is “Star Nails.” This mesmerizing design combines celestial aesthetics with intricate detailing, making your nails shine like stars in the night sky. In this comprehensive guide, we will delve into the world of Star Nails, covering everything from the basics to advanced techniques, and answer three frequently asked questions to ensure you have all the information you need to achieve stunning Star Nails.
What Are Star Nails?
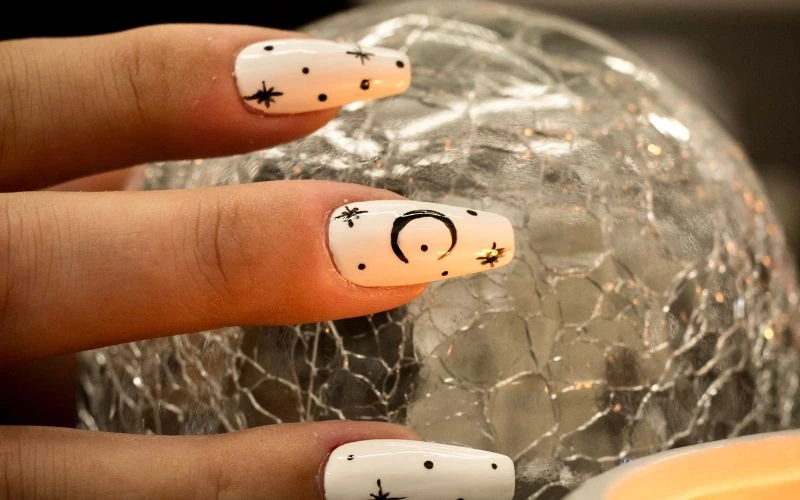
Star Nails are a nail art trend that has gained immense popularity for their unique and captivating appearance. This style features a celestial theme, often incorporating elements like stars, moons, galaxies, and cosmic dust. Star Nails are all about creating a sense of wonder and mystique at your fingertips. Here’s a breakdown of the key elements that make up Star Nails:
Starry Night Sky
The foundation of Star Nails is a dark, often black or navy blue, nail polish as the backdrop, symbolizing the night sky. This sets the stage for the stars to shine brightly against the darkness.
Star Patterns
The starry aspect of these nails comes from meticulously crafted star patterns using nail art brushes or stamps. You can create stars of different sizes and arrangements, giving your nails a unique and celestial appearance.
Cosmic Elements
Consider incorporating cosmic elements such as planets, galaxies, shooting stars, or even a crescent moon to add depth and dimension to your Star Nails. These details enhance the overall celestial vibe of your nail art.
How to Create Star Nails
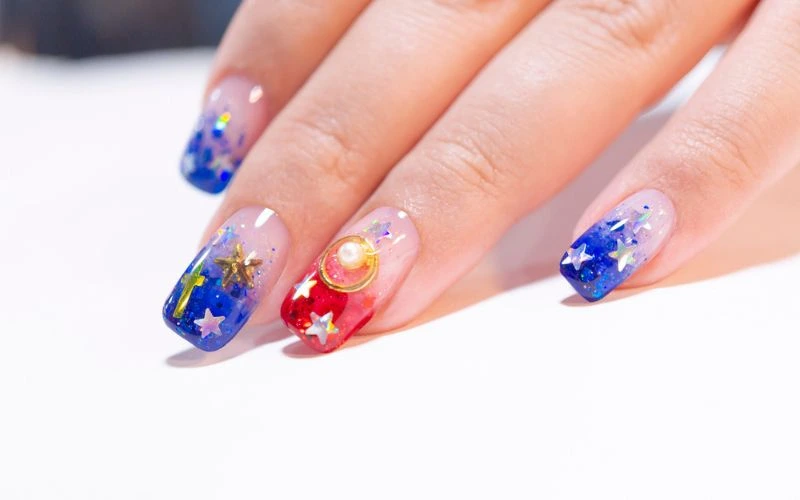
Now that you understand the basics of Star Nails let’s dive into the process of creating your very own celestial masterpiece. Here’s a step-by-step guide:
Gather Your Supplies
Before you begin, gather the necessary tools and materials. You’ll need:
- Dark nail polish (black, navy, or deep blue)
- White or silver nail polish for the stars
- Nail art brushes or stamping tools
- A top coat for sealing your design
- Nail polish remover and cotton swabs for cleanup
Prep Your Nails
Start by shaping and filing your nails to your desired length and shape. Apply a base coat to protect your nails and ensure the nail polish adheres smoothly.
Create the Night Sky
Apply the dark nail polish to all your nails as the base color. Let it dry completely before moving on to the next step.
Add the Stars
Carefully create star patterns on each nail using a nail art brush or stamping tool. You can vary the size and placement of the stars to create a natural and random look. Wait for the stars to dry completely.
Cosmic Details
For an extra touch of cosmic beauty, add details like planets, galaxies, or a crescent moon using your nail art tools. This step allows you to personalize your Star Nails and make them truly unique.
Seal the Design
Apply a top coat over the entire nail to protect your Star Nails and make the design last longer. This will also give your nails a glossy finish, enhancing the celestial effect.
Maintaining Your Star Nails
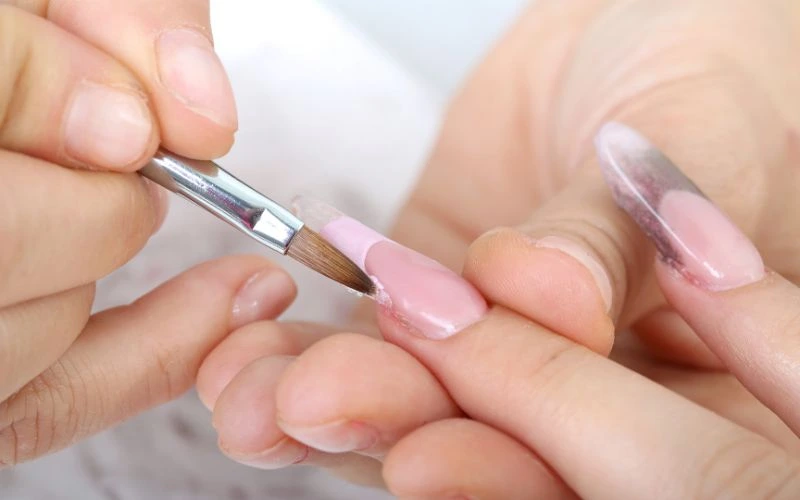
Now that you’ve successfully created your Star Nails, it’s essential to know how to maintain them for a long-lasting, celestial look. Here are some tips for upkeep:
- Avoid Harsh Chemicals: Household cleaning agents and acetone-based nail polish removers can dull the shine of your Star Nails. Use gentle, acetone-free removers and wear gloves when doing household chores.
- Regular Touch-Ups: The dark base color may become visible near the cuticles as your nails grow. To maintain the flawless night sky look, touch up the dark polish and stars as needed.
- Protect Your Nails: Be mindful of your nails when performing tasks that could chip or damage your nail art. Using gloves when gardening or other hands-on activities can help preserve your Star Nails.
- Moisturize: Keep your cuticles and nails well-moisturized to prevent them from becoming brittle and chipped.
Exploring Star Nails Variations
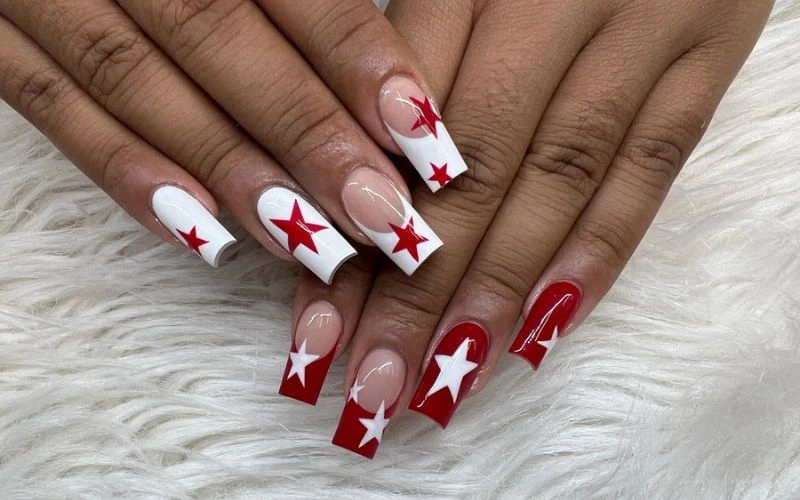
While the classic Star Nails design is undeniably stunning, there are several variations and creative ways to incorporate celestial elements into your nail art. Here are a few exciting options to consider:
Galaxy Nails
Galaxy Nails takes Star Nails to the next level by featuring a full cosmic scene on your nails. To create a galaxy effect, you can experiment with various colors, including deep purples, blues, pinks, and blacks. Add stars, planets, and even a touch of glitter for that ethereal touch.
Constellation Nails
If you are fascinated with constellations and star maps, consider recreating your favorite constellations on your nails. Using white or metallic nail polish, carefully draw the connecting dots and lines to mimic well-known constellations like the Big Dipper or Orion.
Ombre Star Nails
Combine the trendy ombre nail technique with Star Nails for a unique look. Start with a dark base color and gradually transition to a lighter shade towards the tips of your nails. Add stars and cosmic details to the gradient background for a mesmerizing effect.
Holographic Stars
Use holographic nail polish for the stars in your Star Nails design for an extra dose of shimmer and shine. Holographic polish reflects light in a stunning, colorful way, giving your nails an otherworldly appearance.
Conclusion
Star Nails offers a captivating, out-of-this-world way to express creativity and style. Whether you’re a seasoned nail artist or just beginning your nail art journey, this guide has given you the knowledge and inspiration to create stunning celestial nail art. From the basics of Star Nails to advanced variations and maintenance tips, you now have the tools to make your nails shine as brightly as the stars themselves. So, embrace your inner astronomer and prepare to show off your stellar nail art to the world!
FAQs
1. How long does it take to create Star Nails?
The time required to create Star Nails depends on your skill level and the complexity of the design. It can take approximately 1 to 2 hours, including drying time between coats and layers.
2. Can I get Star Nails done at a salon?
Yes, many nail salons offer Star Nails as a service. Professional nail artists have the expertise and tools to create intricate celestial designs that can be challenging at home. Just make sure to choose a reputable salon with experienced nail technicians.
3. How can I make my Star Nails last longer?
To extend the lifespan of your Star Nails, follow proper nail care practices, such as using a top coat, avoiding harsh chemicals, and getting regular touch-ups. Additionally, wearing gloves when performing tasks that may damage your nails can help preserve your stunning nail art.

